52
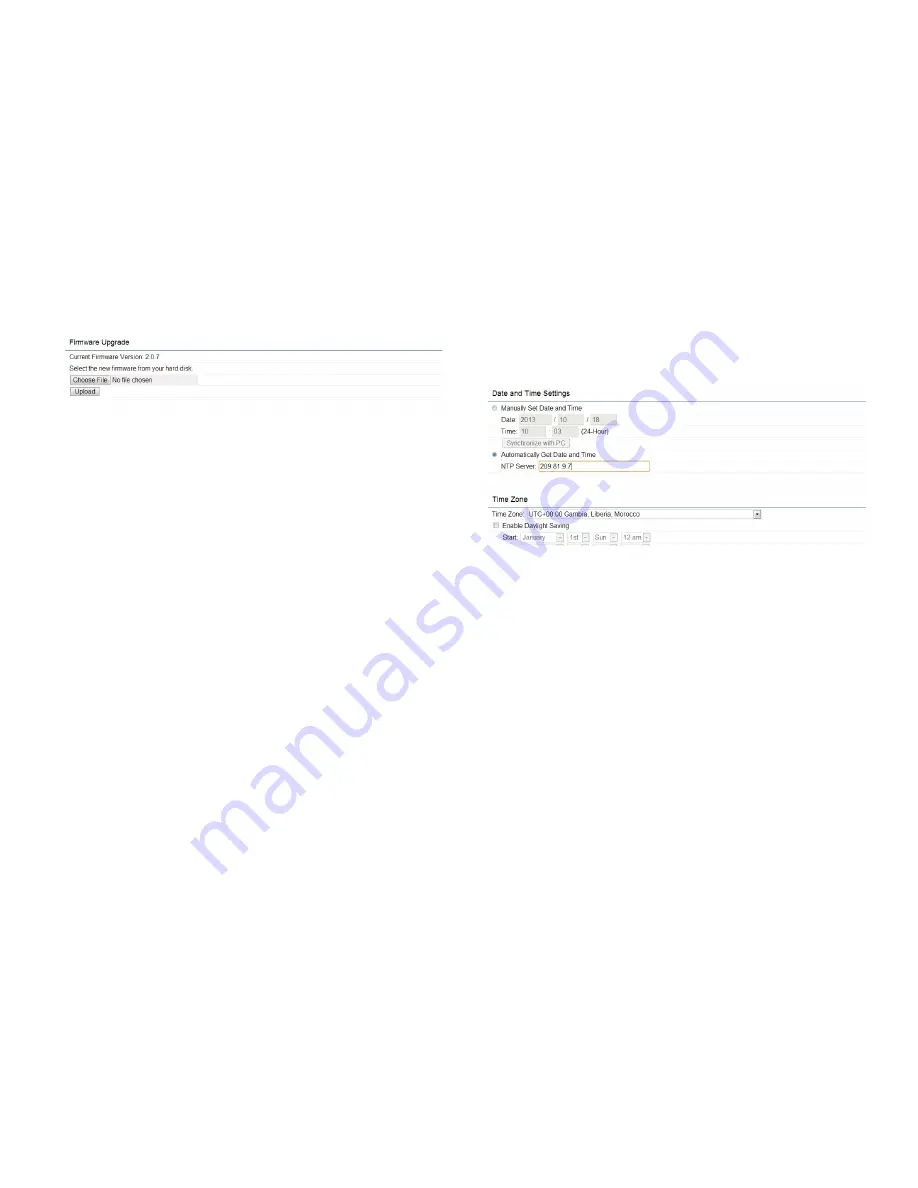
To Perform the Firmware Upgrade:
1.
Click the
Choose File
button and navigate the OS File
System to the location of the Firmware upgrade file.
2.
Select the upgrade file. The name of the file will appear
in the Upgrade File field.
3.
Click the
Upload
button to commence the Firmware
upgrade.
Note:
The device is unavailable during the upgrade
process and must restart when the upgrade is completed.
Any connections to or through the device will be lost.
Date and Time Settings
This page allows you to set the internal clock of the
EAP1750H. To access the Date and Time settings, click
Time Zone
under the Management tab on the side bar.
Manually Set Date and Time:
Manually specify the
date and time.
Synchronize with PC:
Click to Synchronize the
EAP1750H with the computer’s internal clock.
Automatically Get Date and Time:
Enter the IP address
of an NTP server or use the default NTP server to have
the internal clock set automatically.
Time Zone:
Choose the time zone you would like to use
from the drop-down list.
Enable Daylight Savings
: Check the box to enable or
disable daylight savings time for ther EAP1750H. Next,
enter the dates that correspond to the present year’s
daylight savings time.
Summary of Contents for EAP1750H
Page 4: ...4 Chapter 1 Product Overview ...
Page 10: ...10 Chapter 2 Before You Begin ...
Page 18: ...18 Chapter 3 Configuring Your Access Point ...
Page 20: ...20 Chapter 4 Building a Wireless Network ...
Page 24: ...24 Chapter 5 Overview ...
Page 27: ...27 Chapter 6 Network ...
Page 31: ...31 Chapter 7 2 4GHz 5GHz Wireless ...
Page 44: ...44 Chapter 8 Management ...
Page 58: ...58 Appendix ...


