STEP 3
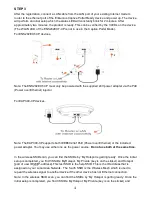
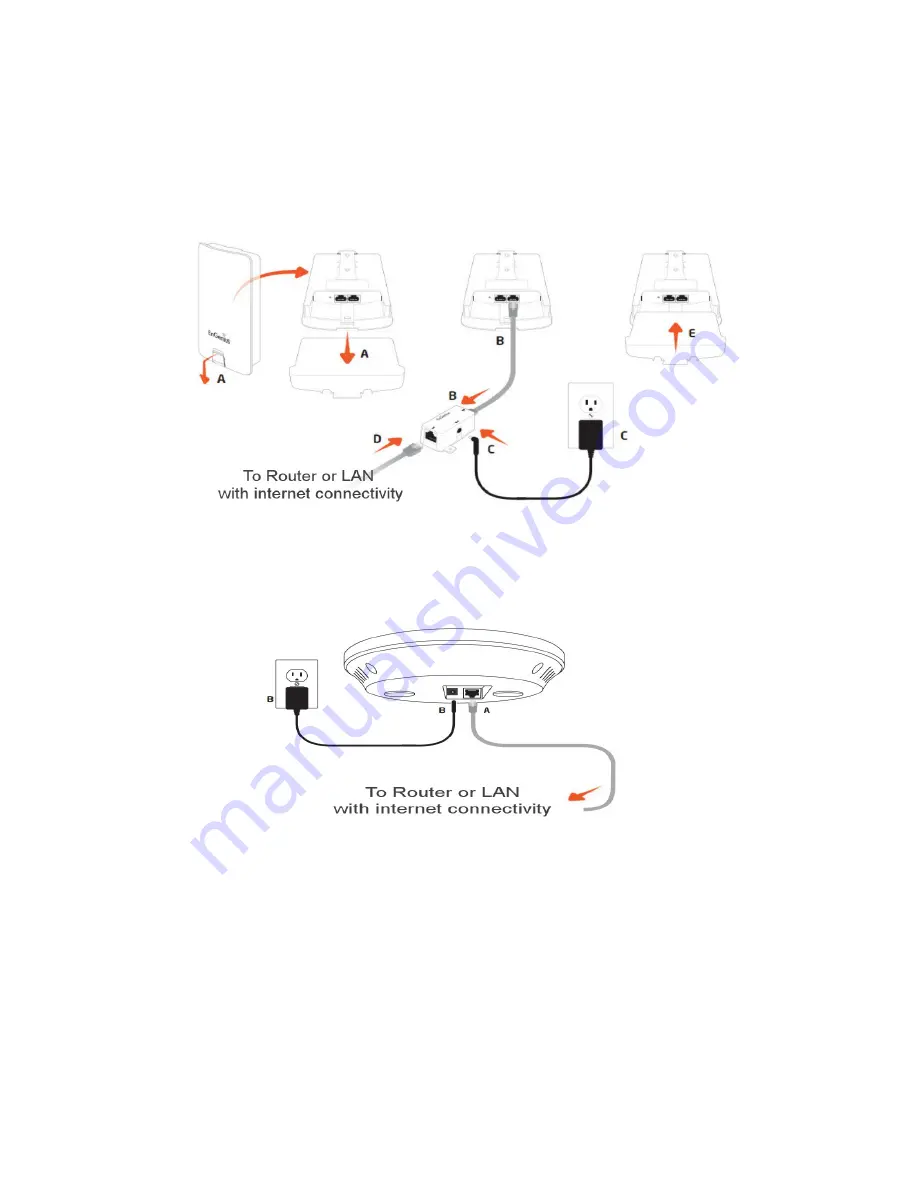
After the registration, connect a LAN cable from the LAN port of your existing Internet modem
router to the ethernet port of the EnGenius Captive Portal Ready device and power up. The device
will perform an initial setup which the status LED will constantly blink for 2 minutes. After
approximately two minutes, the product is ready. This can be verified by the 3 LEDs on the device.
(The WLAN LED of the ENS202EXT-CP is not in use in the Captive Portal Mode).
For ENS202EXT-CP devices,
Note: The ENS202EXT-CP must only be powered with the supplied 24V power adapter via the PoE
(Power over Ethernet) injector.
For EAP300-CP devices,
Note: The EAP300-CP supports both IEEE802.3af PoE (Power over Ethernet) or the included
power adapter. You may use either one as the power source.
Do not use both at the same time.
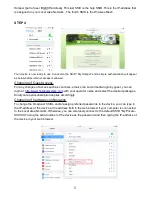
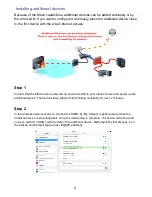
In the wireless SSID scan, you can find the SSIDs by ‘My Hotspot is getting ready’. Once the initial
setup is completed, you find 3 SSIDs: MyHotspot, My Private (key is on the sticker) and Hotspot
[part of user ID]@[IP-address]. This last SSID is the help SSID. This is the IP-address that is
assigned on your Local Area Network. The fourth SSID is the Wireless Mesh which is used to
repeat the wireless signal to another device if the other device has not Ethernet connection.
Note:
In the wireless SSID scan, you can find the SSIDs by ‘My Hotspot is getting ready’. Once the
initial setup is completed, you find 3 SSIDs: MyHotspot, My Private (key is on the sticker) and
4


