


39
IMPORTANT!
READ
AND
FOLLOW
ALL
INSTALLATION
AND
MAINTENANCE
INSTRUCTIONS,
INCLUDING
CLEANING
THE
UNIT
AS
SPECIFIED,
AND
REPLACING
GASKETS
ANNUALLY,
AND
PARTS
AS
NEEDED.
ENGLAND’S
STOVE
WORKS
IS
NOT
RESPONSIBLE
FOR
ANY
DAMAGE
OR
INJURY
INCURRED
DUE
TO
NEGLECT,
OR
DUE
TO
UNSAFE
INSTALLATION
OR
USAGE
OF
THIS
PRODUCT.
CALL
TECHNICAL
SUPPORT
WITH
ANY
QUESTIONS.
REPLACING
COMPONENTS
Control
Board
*
BEFORE
REPLACING
THE
CONTROL
BOARD
BE
SURE
THE
UNIT
IS
COOLED
COMPLETELY
AND
UNPLUGGED.*
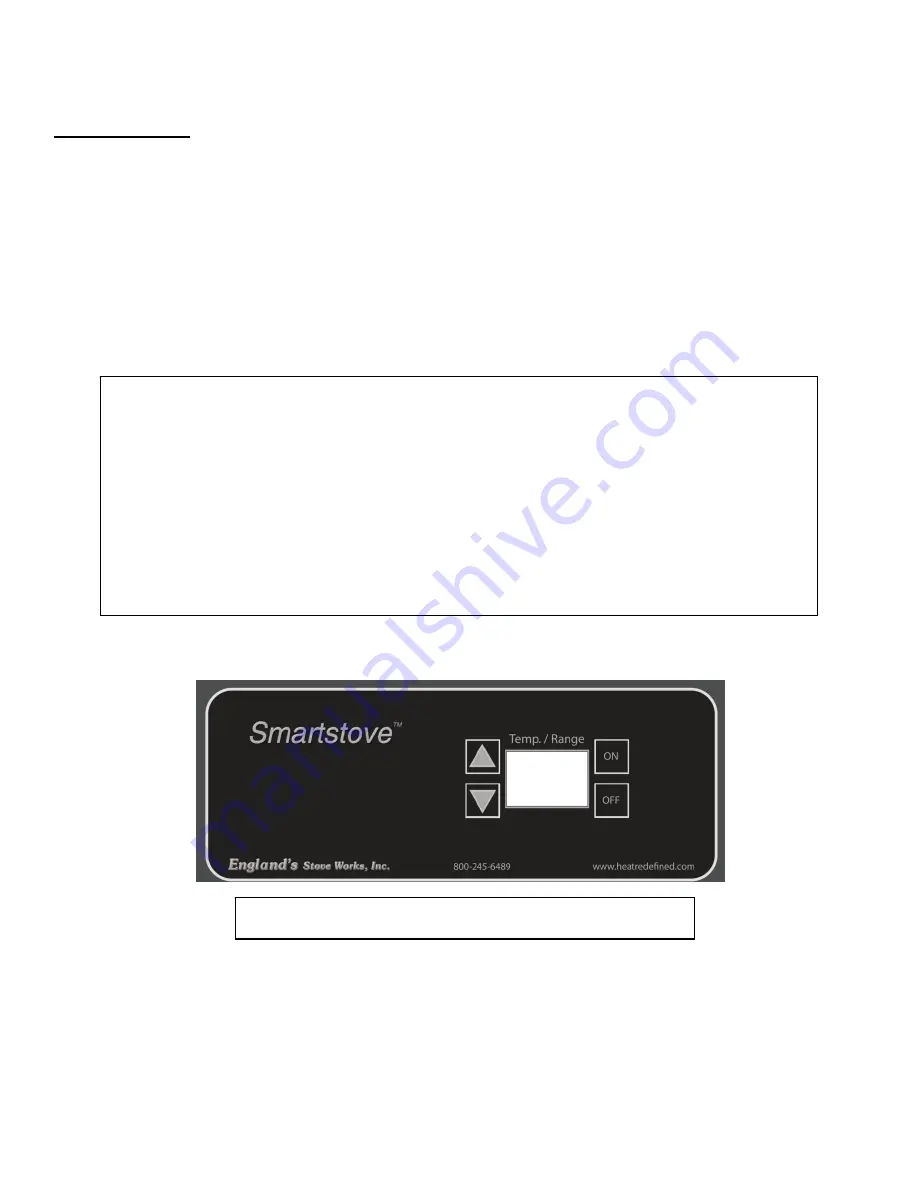
The
Control
Board
(Part
#
25
‐
SSCB)
is
a
digital
read
‐
out
board.
To
replace
the
control
board,
first
unplug
the
power
cord
from
the
wall
outlet.
Remove
the
front
face
of
the
control
board
by
pulling
it
forward.
Once
the
board
is
apart,
use
a
pair
of
needle
nose
pliers
to
disconnect
the
wiring
harness,
room
sensor,
heat
sensor,
hopper
lid
and
vacuum
switch
connectors.
When
connecting
the
new
board,
reconnect
the
components
mentioned
above
and
snap
the
front
face
of
the
control
panel
back
into
place.
Reconnect
power
when
ready
to
use
the
unit.
Recommended
Heat
Ranges
(For
Manual
Mode):
Low
Burn:
Heat
Range
setting:
1
Room
Air
Blower
setting:
1
Medium
Low:
Heat
Range
setting:
2
–
3
Room
Air
Blower
setting:
*
Medium
High:
Heat
Range
setting:
4
–
8
Room
Air
Blower
setting:
*
High
Burn:
Heat
Range
setting:
9
Room
Air
Blower
setting:
9
*
NOTE
:
Blower
Speed
will
automatically
be
adjusted
to
the
desired
Heat
Range
that
you
select.
Note:
The
overlay
on
your
unit
may
vary
in
appearance.


