34
Your first OCR Scan
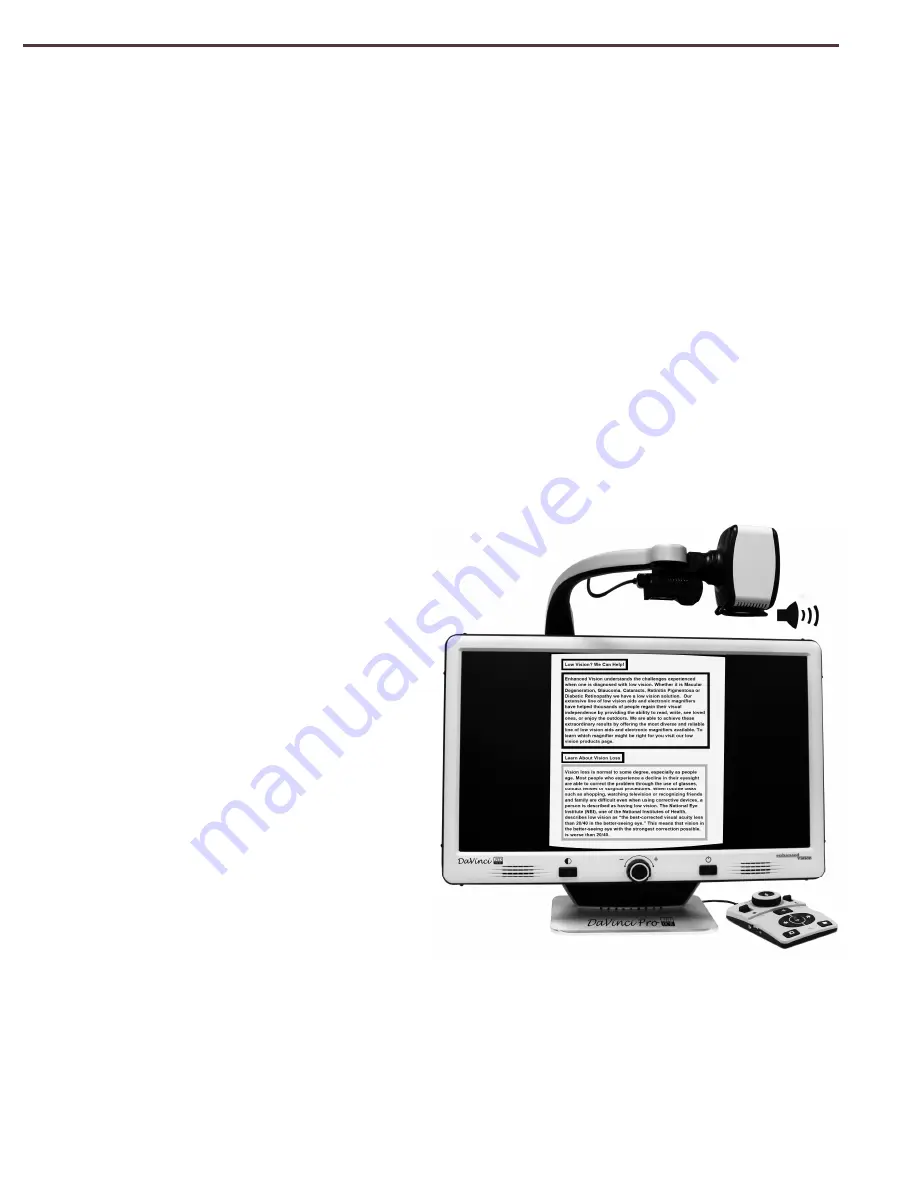
DaVinci Pro
provides you with the ability to scan a document placed underneath the camera
and read it aloud. OCR/Text-to-Speech is only available when the DaVinci Pro
Control Console
is plugged in. When you are ready to use your OCR for the first time follow the steps below:
1.
Ensure that the device is in OCR Mode by pressing the Front Panel Center Knob Button.
2.
Place the document under the DaVinci Pro
camera and position the text within the
indicated guide frame.
Please note- DaVinci Pro supports multiple orientations for documents when they
are scanned as long as it is viewable under the Camera Arm.
3.
Press the [Find/Enter] Button for Basic Mode or [Capture] button on the Advanced
Mode Control Console.
•
You will hear a camera shutter sound which indicates the system has taken a
snapshot of the document and will begin processing it for OCR.
4.
After DaVinci Pro
has completed the processing step it will begin to read the document
aloud. You will be able to make various adjustments to your OCR Read-back features
including Volume, Color Mode, Reading Speed and more.
Please Note-If you are in Basic
Mode the readback operation
begins automatically.
Advanced mode requires that
you choose your “Zone” with
our zone identifier feature and
then Press Play. Zones are
highlighted by using the Next
or Previous buttons.
5.
To exit OCR/Text-to-speech Mode,
Press the [Find/Enter] Button for
Basic Mode or [Capture] button on
the Advanced Mode Control
Console.
6.
This will return you to OCR camera
mode and you are now ready to
scan another document.
7.
Now that you have completed your
first scan you may want to change some of your settings. (See Next Page)
Summary of Contents for DaVinci Pro
Page 1: ...1 User Manual ...
Page 8: ...8 ...
Page 57: ...57 OTHER ENHANCED VISION PRODUCTS Pebble mini Pebble HD ...


