Page 15
PEDESTAL INSTALLATION GUIDE: TESLA® WALL CONNECTOR
TESLA® WALL CONNECTOR INSTALLATION
REQUIRES THESE STEPS
THESE STEPS ARE TO BE COMPLETED AFTER THE MAIN PEDESTAL
INSTALLATION FOR THE TESLA® WALL CONNECTOR CONFIGURATIONS
ONLY. REPEAT EACH STEP FOR DUAL-MOUNTED CONFIGURATIONS ON THE
OPPOSITE SIDE OF THE PEDESTAL:
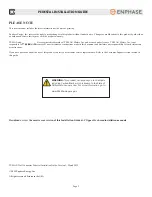
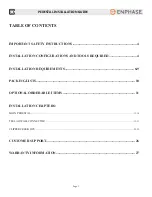
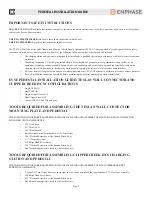
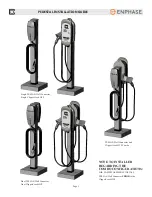
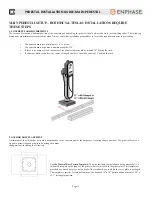
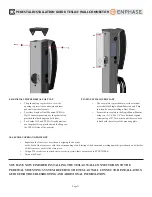
1. INSTALL THE TESLA® WALL CONNECTOR MOUNTING PLATE
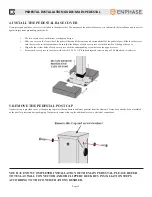
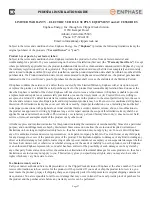
A mounting plate is affixed to the front of the pedestal post to provide a flat and rigid base on
which the wall connector can be mounted. In the case of a Dual-Mount installation, a second
mounting plate is affixed to the opposite side of the pedestal post.
•
Hold the wall connector mounting plate against the front side of the pedestal
post as shown.
•
Align the two screw holes of the mounting plate with the two corresponding
threaded inserts on the front of the pedestal post.
•
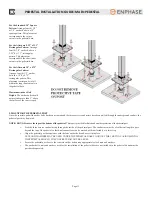
To properly position the Mounting Plate use a T27 Torx driver and two (2)
1/4-20 x 3/4” Torx flat-head tapered screws. Begin with the top position first
and tighten each of the 1/4-20 x 3/4” Torx flat-head tapered screws about
halfway in.
•
Firmly tighten both screws until the head of the screw is flush with the
surface of the mounting plate.
•
For Dual-Mount installations, repeat on the opposite side.
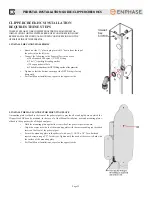
2. MOUNT THE TESLA® MOUNTING BRACKET TO THE MOUNTING
PLATE
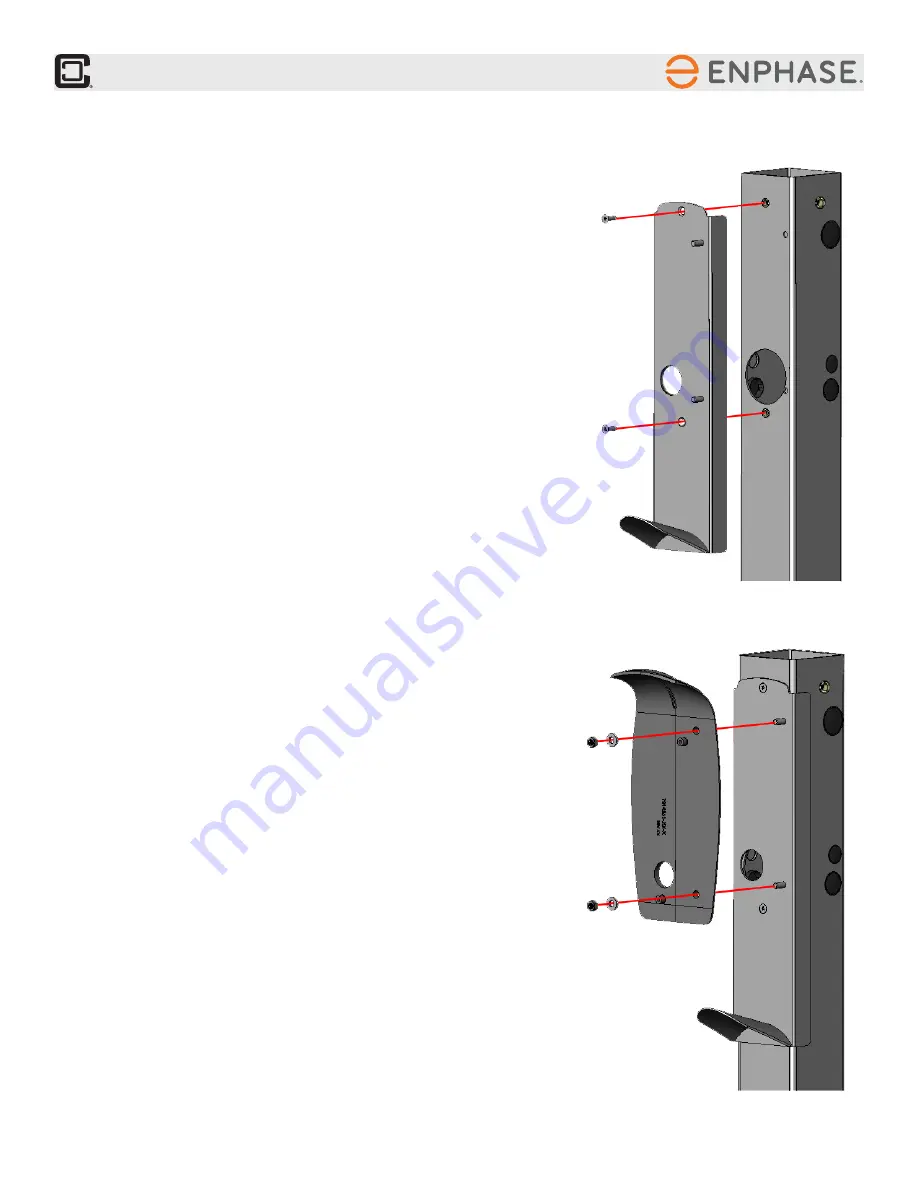
With the main mounting plate in place, the pedestal is now ready for the TESLA®
Mounting Bracket.
•
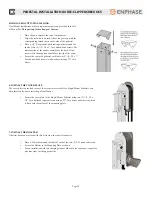
Align the TESLA® Mounting Bracket (which is included with the TESLA®
Wall Connector) with the two studs on the Mounting Plate.
•
Place one 11/16” OD stainless steel washer over each stud.
•
Secure the washers and Mounting Bracket to the Mounting Plate by
firmly tightening one 5/16-18” Hex Nut onto each stud.
•
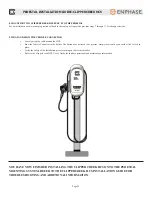
For an installation with two TESLA® EVSE’s affixed to the same post,
repeat the previous steps for the opposite side.


