Page 18
Copyright Enphase Energy Inc. 2011
141-00013 Rev 03b
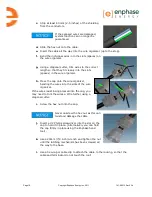
c.
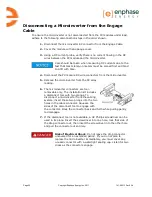
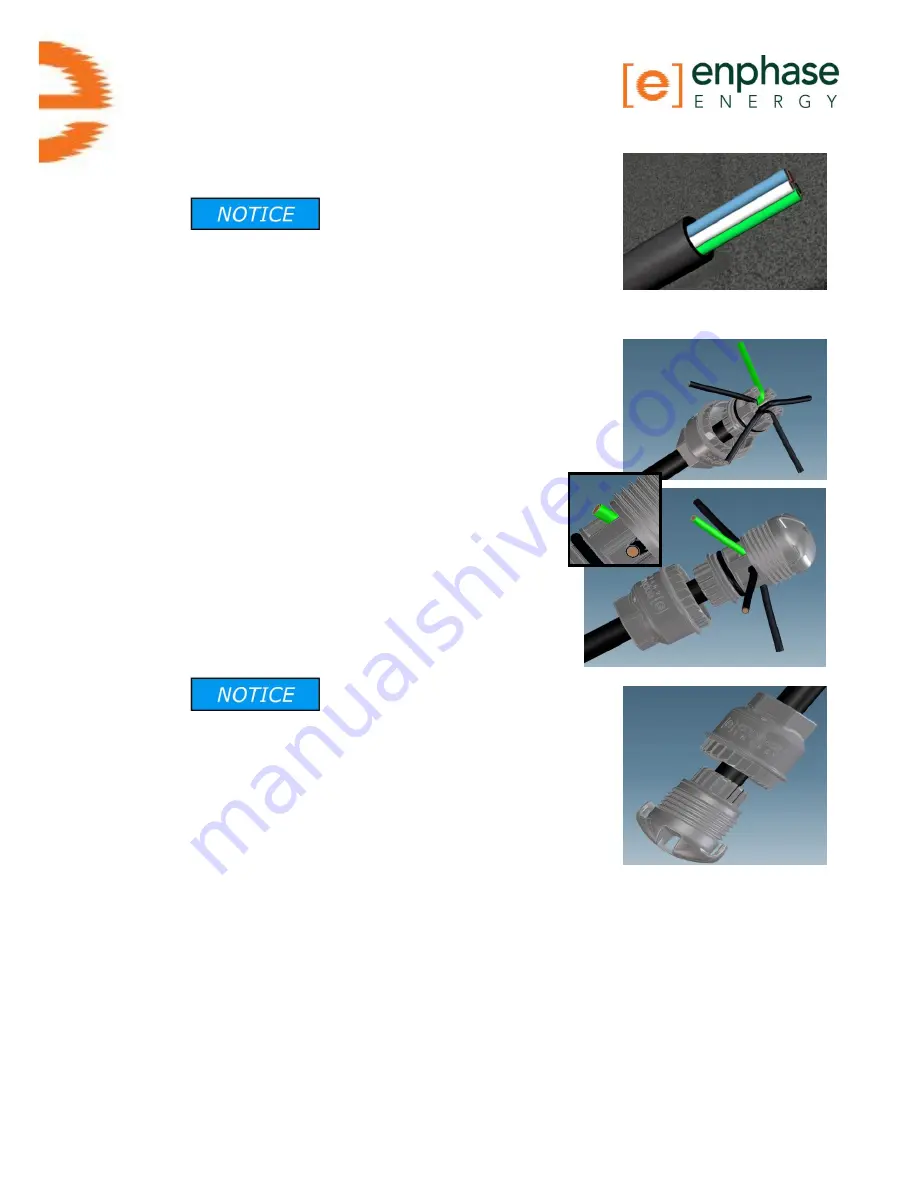
Strip at least 60 mm (2.5 inches) of the shielding
from the conductors.
If the exposed wires are damaged,
system function can no longer be
guaranteed.
d.
Slide the hex nut onto the cable.
e.
Insert the cable all the way into the wire organizer (up to the stop).
f.
Bend the individual wires into the slots (spaces) on
the wire organizer.
g.
Using a diagonal cutter, trim wires to the correct
length so that they fit cleanly into the slots
(spaces) in the wire organizer.
h.
Press the cap onto the wire organizer,
bending the wires into the slots of the wire
organizer.
If the wires resist being pressed into the cap, you
may need to trim the wires a little further using a
diagonal cutter.
i.
Screw the hex nut onto the cap.
Never unscrew the hex nut as this can
twist and damage the cable.
j.
Insert a #2 Philips screwdriver into the slot on the
cap to hold it in place. (Alternatively you can hold
the cap firmly in place using the Enphase hand
tool).
k.
Use a 24mm (7/8 inch) wrench and tighten the nut
until the latching mechanism has been screwed all
the way to the base.
l.
Use a tie wrap or cable clip to attach the cable to the racking, so that the
cable and terminator do not touch the roof.
Summary of Contents for ET10-208-30
Page 1: ...Installation Manual Enphase Engage Cable and Accessories ...
Page 4: ...Page 4 Copyright Enphase Energy Inc 2011 141 00013 Rev 03b ...
Page 6: ...Page 6 Copyright Enphase Energy Inc 2011 141 00013 Rev 03b ...
Page 24: ...Page 24 Copyright Enphase Energy Inc 2011 141 00013 Rev 03b ...
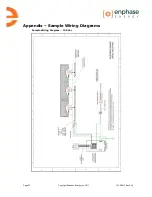
Page 26: ...Page 26 Copyright Enphase Energy Inc 2011 141 00013 Rev 03b Sample Wiring Diagram 208 Vac ...
Page 27: ......


