background image


User Manual 


DC020K-FE-00/01

Summary of Contents for DC020K-FE-00

Page 1: ...User Manual DC020K FE 00 01 ...

Page 2: ...icator 6 1 8 Product Dimension 7 1 8 1 External Structure 7 1 8 2 Wall mount Bracket 7 2 Installation Instruction 8 2 1 Product Installation 8 2 1 1 Package Verification 8 2 1 2 Installation Preparation 8 2 1 3 Installation Process 9 2 2 Power on Checking 11 2 2 1 Check before Power on 11 2 2 2 Power on Charger 11 3 Operation Instruction 12 3 1 Start Charging 12 3 2 Stop Charging 13 3 3 Button Set...

Page 3: ...arger in case the product has defects crack abrasion bare leakage and so on Please contact the working staff in case of above conditions 4 Do not attempt to dissemble repair and refit the charger If necessary please contact the working staff Improper operation will result in product damage electric leakage etc 5 In case any abnormal condition happens please press the emergency stop button immediat...

Page 4: ...dicator on the front panel helps you understand what is happening with the charger by indicating different colors Using self developed 20KW power module the charger design is highly integrated and compact with protection grade up to IP54 the excellent capacity of water and rust proof assuring the safe outdoor operation and maintenance The charger is mounted to the wall with a bracket that is deliv...

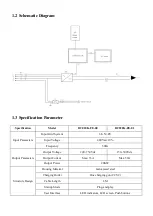
Page 5: ... N PE Input Voltage 400Vac 10 Frequency 50Hz Output Parameters Output Voltage 200 750Vdc 150 500Vdc Output Current Max 33A Max 50A Output Power 20KW Structure Design Housing Material Galvanized steel Charging Outlet One charging gun CCS 2 Cable Length 4M Startup Mode Plug and play User Interface LED indicators LCD screen Push buttons ...

Page 6: ...r LCD Screen Real time display the charger status and charging data Push Buttons Four push buttons to adjust the charger s configuration and settings Emergency Stop Button In case of emergent issues happen press the button to cut off charging output for safety Characteristics Dust Water Proof IP54 protection grade workable under severe conditions no need of extra shelter Self developed Power Modul...

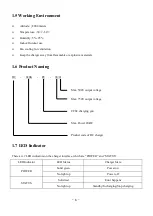
Page 7: ...uct Naming DC 020K FE 00 01 1 7 LED Indicator There are 2 LED indicators on the charger interface which are POWER and STATUS LED Indicator LED Status Charger State POWER Solid green Power on No light up Power off STATUS Solid red Error happens No light up Standby In charging Stop charging Product code of DC charger Max Power 20kW CCS2 charging gun Max 750V output voltage Max 500V output voltage ...

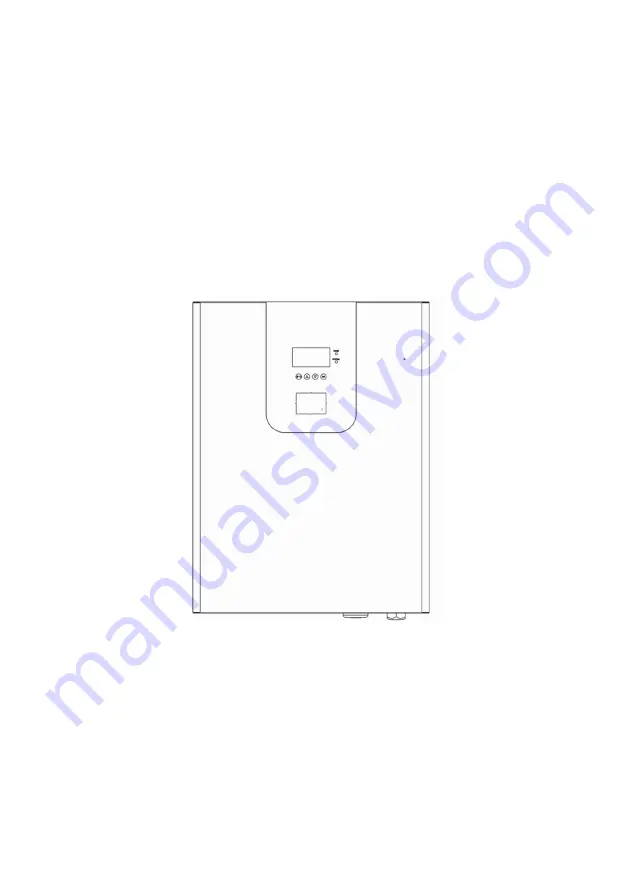
Page 8: ... 7 1 8 Product Dimension 1 8 1 External Structure 1 8 2 Wall mount Bracket ...

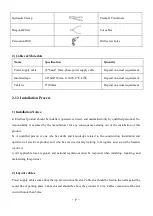
Page 9: ...ntity in short or type inconformity make the record in time and contact the seller at once Accessory List Quantity Bracket 1 pcs Gun holder 1 pcs Cable holder 1 pcs Expansion bolt M8x60 X 4 pcs Plastic expansion φ6 15pcs Expansion bolt M4 32 15 pcs Expansion bolt M5 10 2 pcs 2 1 2 Installation Preparation 1 Tools Tool Name Photo Function Cross Screwdriver PH2x150mm PH3x250mm Tight the screws Insul...

Page 10: ...bility is assumed by the manufacturer for any consequences arising out of the installation of this product b A qualified person is one who has skills and knowledge related to the construction installation and operation of electrical product and who has received safety training to recognize and avoid the hazards involved c All applicable local regional and national regulations must be respected whe...

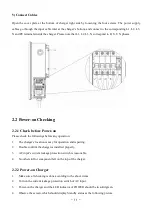
Page 11: ...bracket and fix the charger by tightening the expansion bolt M5 10 on the bottom of the bracket to lock the charger 4 Install Holders Drill four screw holes respectively on the wall for the fixation of the gun holder and cable holder with expansion bolt M4x32 and plastic expansionφ6 Then plug the gun into the gun holder and hang the cable on the cable holder ...

Page 12: ... check the followings before any operation 1 The charger s location is easy for operation and repairing 2 Double confirm the charger is installed properly 3 AC input s current leakage protection switch is reasonable 4 No other stuff or component left on the top of the charger 2 2 2 Power on Charger 1 Make sure all checking is done according to the above items 2 Turn on the current leakage protecti...

Page 13: ...into the EV After plug in please check the gun is correctly and tightly connected With appropriate connection the charger will start charging the EV as it is plug and play charger The charger screen will display Charging status and the running information such as charged time voltage current and power ...

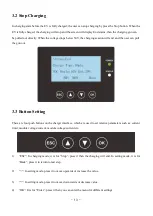
Page 14: ...ll the gun out 3 3 Button Setting There are four push buttons on the charger interface which are used to set relative parameters such as current limit module voltage current module voltage current etc 1 ESC In charging mode it is for Stop press it then the charging will end In setting mode it is for Back press it to return to last step 2 In setting mode press it to move upwards or increase the val...

Page 15: ...tion cables are connected correctly 4 Emergency stop Check whether the emergency stop has been pressed then correct the error and recover the emergency stop button Note if the above problems cannot be solved please contact the manufacturer 5 Disposal The packaging materials are environmentally friendly and can be recycled Put the packaging in applicable containers to recycle it Do not dispose this...

Page 16: ...shan Road Nanshan District Shenzhen City China http www en plus com cn Due to the EN policy of continual product development Specifications colors and details of our products and those mentioned in this manual are subject to change without notice V1 0_20190530 ...

Reviews: