⑤
、
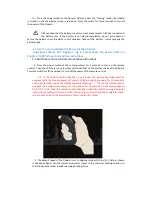
Press
the
power
switch
of
the
Fiboard.
After
you
hear
the
“clicking”
sound,
the
Fiboard
is
turned
on
and
the
display
screen
is
turned
on.
Press
the
switch
for
three
seconds
to
turn
off
the
power
of
the
Fiboard.
Please
notice
that
the
battery
connector
must
make
contact
with
the
connector
in
the
battery
case.
If
the
battery
is
not
placed
completely,
do
not
press
down
or
secure
the
battery
cover
forcefully.
In
this
situation,
take
out
the
battery
,
install
properly
the
battery
again.
5
‐
2
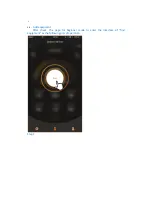
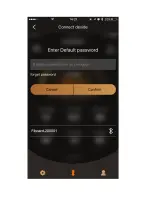
Use
the
app
to
activate
the
device
for
the
first
time
Download
enSkate
APP.
Register,
log
in
and
activate
the
device.
Refer
to
Chapter
VI
APP
Introduction
and
Use
Instructions.
5
‐
3
Switch
on
remote
control
and
operation
instructions
1.
Press
the
power
switch
of
the
remote
control
for
3
seconds
to
turn
on
the
remote
control.
Then
check
if
there
is
any
remote
control
identifier
on
the
display
screen
of
the
Fiboard.
Press
the
switch
for
three
seconds
to
turn
off
the
power
of
the
remote
control.
P.S.:
If
the
remote
control
identifier
is
not
found,
the
pairing
operation
must
be
executed:
With
the
Fiboard
power
off,
press
the
Fiboard
switch
key
down
for
10
seconds
to
enter
pairing
mode,
and
on
the
display
appears
a
flickering
“
‐ ‐
”
Turn
on
the
remote
control,
and
push
the
accelerator
rocker
to
the
top
position
for
10
seconds.
On
the
display
appears
P1,
P2,
P3....P10.
Then
the
remote
control
identifier
(identifier)
and
the
orange
indicator
light
on
the
remote
control
turn
on.After
the
pairing
is
successful
and
the
accelerator
rocker
is
reset,
push
and
pull
the
accelerator
rocker
to
control
the
motor.
2.
The
default
speed
of
the
Fiboard
is
set
to
beginner
mode
(0
‐
15km/h).
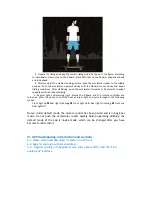
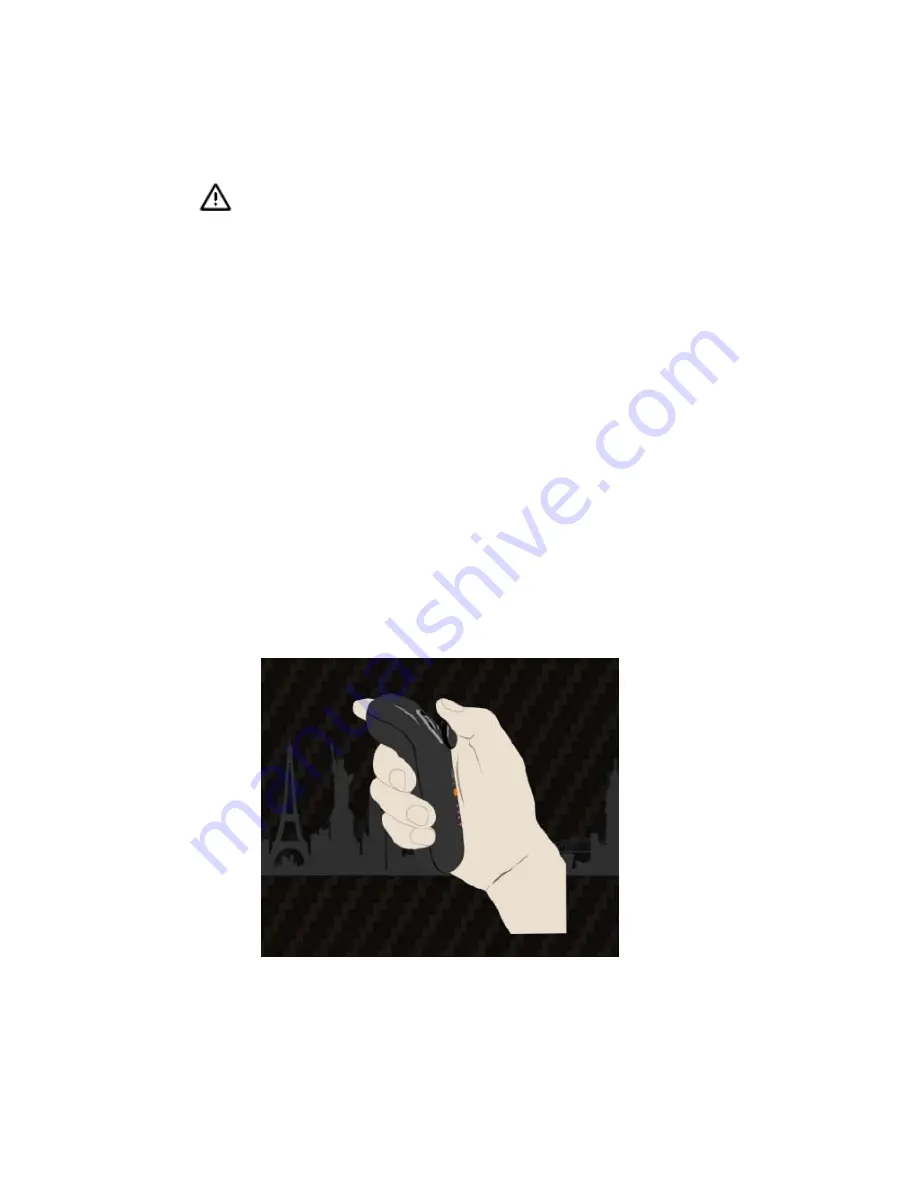
Firstly,
as
shown
in
the
above
figure,
pull
the
remote
accelerator
rocker
to
the
minimum
braking
position,
so
that
the
dynamic
wheel
is
under
damping
braking
status.
Summary of Contents for Fiboard
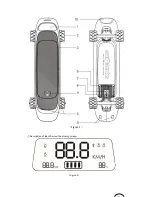
Page 2: ...Figure 1 Description of identifiers on the display screen Figure 2...
Page 8: ...Ensure battery installed correctly Close the battery cover...
Page 11: ......
Page 12: ...Step 1 Step 2...
Page 13: ...Step 3...
Page 14: ...Step 4...
Page 15: ...Step 5...
Page 16: ...Step 6...
Page 18: ...Step 2...
Page 19: ...Step 3...
Page 20: ......
Page 21: ...Step 4...
Page 24: ......
Page 26: ...Step 1...
Page 27: ......
Page 29: ...Step 1...
Page 30: ......


