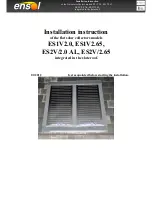
Installation instruction
of the flat solar collectors models ES1V2.0, ES1V2.65,
ES2V/2.0 AL, ES2V/2.65
integrated in the slate roof.
4.2.2. Hydraulic connection of the meander collectors ES2V/2.0 AL. ES2V/2,65
Directions!
The power supply and return must be connected to the diagonal of the
collector or the battery. The power supply should be connected to the lower
connection and the return to the top connector. The Connection for power
supply/return is arbitrary – in can be from the left or right sight. In the two
other connections should be clamps. The instruction presents the connection
at the right side, as an example.
One-sided connection of maximum 10 collectors.
When forming a battery you can connect maximum 10 collectors.
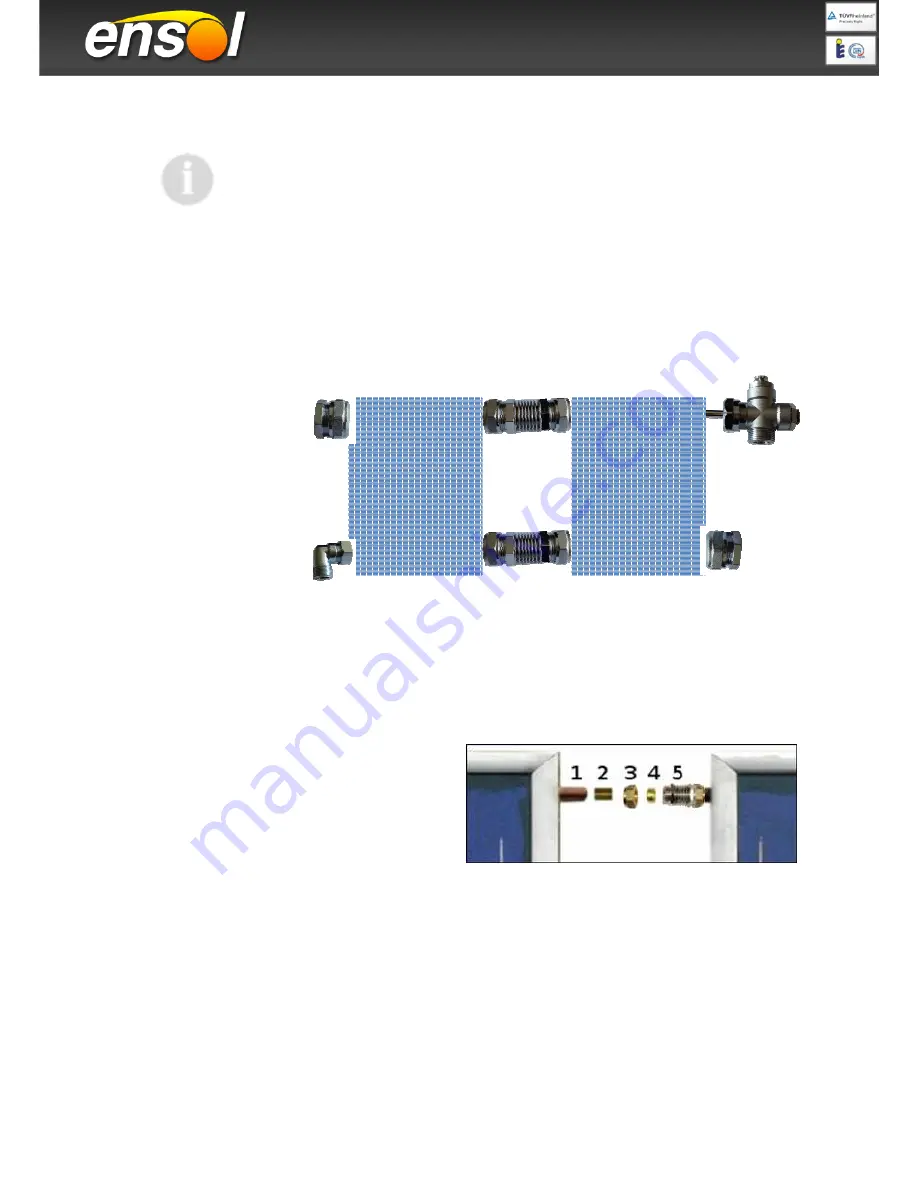
clamp expansion joint cross-fitting
elbow expansion joint clamp
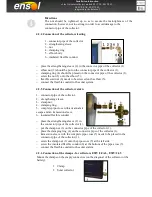
4.2.3 Connecting the collectors with a clamping pipe union.
Collectors ES1V/2.0 and ES1V/2.65 – connecting upper connectors pipe
Collectors ES2V/2.0 AL, ES2V/2.65 – connecting upper and bottom
connector pipe
1 – connector pipe of
the collector
2 – strengthening sleeve
3 – pipe union nut
4 – clamping ring
5 – pipe union nipple
Mount the pipe union on the first collector, then move
the second collector closer and fasten the pipe union on both collectors.
−
place the strengthening sleeve (2) in the connector pipe of the collector (1),
−
pipe union nut (3) should be put on the connector pipe of the collector (1),
−
clamping ring (4) should be placed on the connector pipe of the collector,
−
screw the nut (3) onto the pipe union body,
−
place the strengthening sleeve in the connector pipe of the second collector,
−
put the nut on the connector pipe of the second collector,
−
place the clamping ring on the connector pipe of the second collector,
−
move the second collector closer to the pipe union,
−
screw the nut onto the pipe union nipple.

