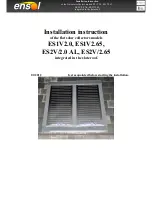
Installation instruction
of the flat solar collectors models ES1V2.0, ES1V2.65,
ES2V/2.0 AL, ES2V/2.65
integrated in the slate roof.
4.
Installation and commissioning of the solar system:
4.1 Installation of the collectors on the roof
4.2 Installation of the connection system - hydraulic connection of the collector
4.3 Leak test and commissioning of the installation
4.4
Enclosure of the solar system
THE MONTER / INSTALLER MUST BE SURE OF A CORRECT
INSTALLATION AND LEAKPROOF OF THE COLLECTORS BEFORE
ENCLOSING THE SOLAR SYSTEM!
Attention: This flashing only can be used in the combination of “double-lap slating”!
The minimum roof pitch for the installation of this flashing is 30°!
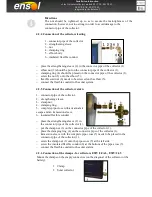
Into consideration of mandatory safety measures uncover the roof for the assembly of the
roof integrated solar collectors (500mm broader as requested for the collectors).
4.1.1 Installation and positioning an additional batten
Attach an additional batten at the lower end
(with the same dimensions as the existing
one) in a distance of 160mm along the total
width of the installation. This is needed to
counteract the snow load!
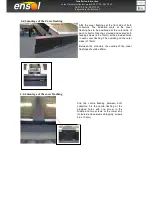
Hook in the left lower edge flashing at the
upper batten. Mount it together with a
collector bracket by the help of a wood
screw (4 x 30mm) at the provided holes in
the sheet.
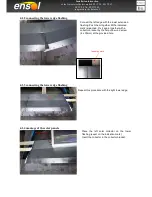
This connecting link must overlap the tile
10mm at least!
Please note: The lower frame
must have a roof pitch!

