COMMUNICATIONS SETUP
Ethernet Communications
67 |
P a g e
Copyright © 2021 BF ENTRON and/or its affiliates. All rights reserved
Product Model:
iPAK2v2
Firmware Version:
V2.10
May 22 | Doc No 700253-2
3.3.2
Configure for EtherNet/IP (EIP)
The iPAK2 Control supports the Common Industrial Protocol (CIPTM) through Ethernet/IP (EIP). With Ethernet/IP
communication, the iPAK2 control provides full data exchange with any standard EIP devices. Both Implicit messaging
and Explicit messaging are offered by the iPAK2 control.
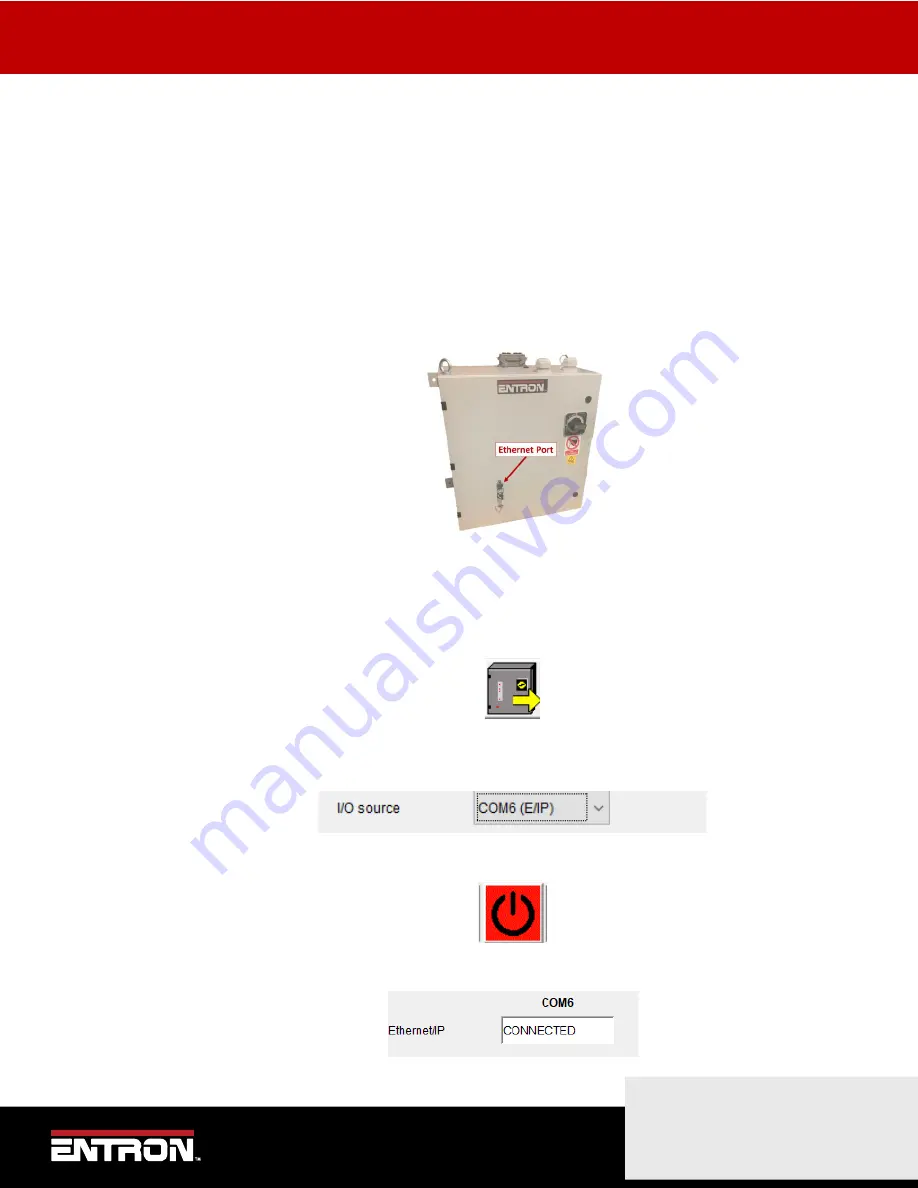
To have the welding use the EIP’s Implicit data and activate the inputs, the I/O source of the control’s input must be
mapped to COM6(E/IP).
The steps to configure the I/O source to COM6(E/IP)
using the NetFlash™ software are below. The c
onfiguration
parameters can also be set via WSP3 handheld pendant.
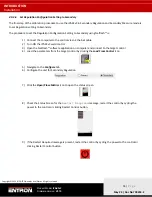
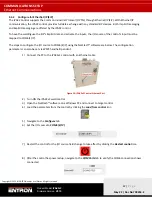
1)
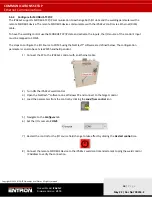
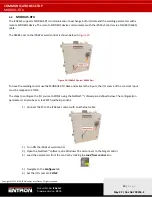
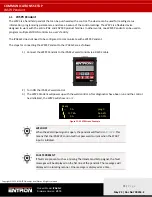
Connect the PC to the iPAK2v2 control with an Ethernet cable
Figure 19: iPAK2v2 Control Ethernet Port
2)
Turn ON the iPAK2v2 weld control
3)
Open the NetFlash™ software
on a Windows PC and connect to target control
4)
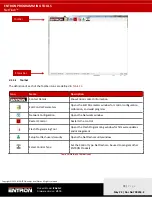
Load the parameters from the control by clicking the
Load from control
icon
5)
Navigate to the
Configure
tab
6)
Set the I/O source to
COM6 (E/IP)
7)
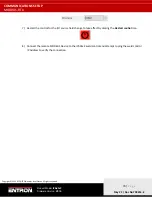
Restart the control for the I/O source field change to take effect by clicking the
Restart control
icon
8)
After the control has powered up, navigate to the
COM Ports
tab to verify the COM6 connection shows
connected


