5
Alle teksten en afbeeldingen in deze handleiding zijn auteursrechtelijk beschermd en intellectueel eigendom van ENTRYA BVBA.
Tous les textes et images dans ce manuel sont protégés par le droit d’auteur et la propriété intellectuelle d’ENTRYA BVBA.
All texts and images in this manual are protected by copyright laws and intellectual property of ENTRYA BVBA.
Installation Warnings
Installatie
Installation
Installation
•
Only use the device in dry, closed spaces and not in locations that have explosion hazards.
•
Never install the device next to or above a heater.
•
The device may never be flush mounted without sufficient ventilation, do not cover the openings
on the back of the device.
•
Do not install the device in direct sunlight.
•
Protect the device against vibrations and dropping.
•
Video and audio may be influenced if the wiring is to close to an electromagnetic field.
For example: microwave, TV, computer, ...
•
Device must be protected against moist, high temperatures, dust and acids.
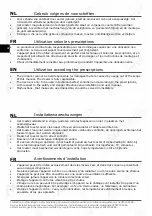
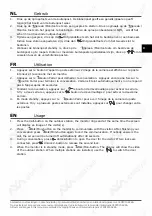
1. Bevestig de bodemplaat met geschikte schroeven tegen de muur. Breng de kabel door de
kabeldoorvoer en sluit aan op de connector.
2. Haak het frontpaneel in de linkerzijde van de bodemplaat.
3. Draai het ingehaakt frontpaneel tot het klikt in de bodemplaat.
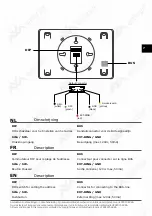
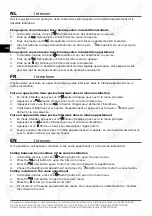
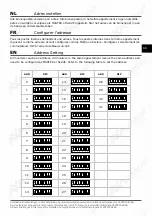
Ga verder met het instellen van het adres (p.11), instellen van de eindweerstand (p.12) en de
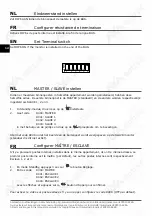
MASTER/SLAVE configuratie (p.12-13).
1.
Fixez la plaque de fond avec les vis. Connectez le câble pour le BUS à le connecteur.
2.
Accrochez le panneau avant dans le coté gauche de la plaque de fond.
3.
Cliquez le panneau avant avec un mouvement de rotation dans la plaque de fond.
Continuez avec l’adressage (p.11), la résistance de terminaison (p.12) et la configuration MAÎTRE/
ESCLAVE (p.12-13).
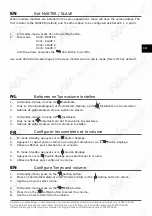
1. Fix the bottom cover on the wall with screws. Connect the cable to the connector in the bottom
cover.
2. Hook the front cover in the left side of the bottom cover.
3. Turn the hooked front panel until it clicks into the bottom cover.
Continue with setting the address (p.11), the terminal switch (p.12) and the MASTER/SLAVE
configuration (p.12-13).
EN
NL
FR
EN
1
2
3


