18
F
Ront
b
uRneR
R
emoVaL
:
1. Remove the surround panel (see
m
aIntenance
anD
s
erVIce
- s
urrounD
P
anel
r
emoVal
).
2. Remove the door cover (see
m
aIntenance
anD
s
erVIce
- D
oor
c
oVer
r
emoVal
).
3. Remove the glass door (see
m
aIntenance
anD
s
erVIce
- g
lass
D
oor
r
emoVal
)
4. Remove log set (if installed).
5. Remove the Log Grate by lifting up and out.
Maintenance And Service
Firebox Wing
Firebox Wing
A
DETAIL
A
SCALE
1 : 5
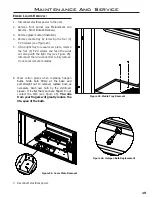
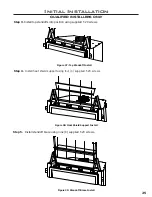
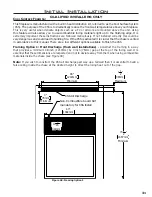
6. Remove the two T-20 screws securing
the front burner pan (see Figure 22). If
needed, there are four T20 screws that
fasten the Burner Wings to the burner
that can be removed for easier access
to the two lower T20 screws. Once the
specified screws are removed lift up to
remove.
A
DETAIL
A
SCALE
1 : 5
To re-install the burners, follow steps above in
reverse. When placing the burners back in the
unit be sure not to move the air shutter. Do not
over tighten the burner screws or they
might strip; just get them snug.
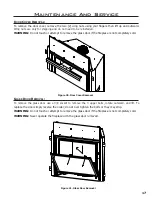
Figure 22. Front Burner Removal
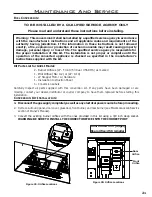
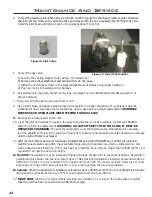
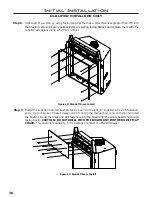
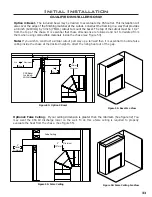
Figure 23. Rear Burner Removal
R
eaR
b
uRneR
R
emoVaL
:
1. Remove the front burner (see
m
aIntenance
anD
s
erVIce
- F
ront
B
urner
r
emoVal
).
2. Remove the rear log support by removing the two T-20 screws (see Figure 23).
3. Remove the rear burner by removing the two T-20 screws (see Figure 23).
The burners will need to be removed for maintenance and fuel conversion. Follow the procedure carefully.
Proceed only when the unit has completely cooled down.


