- 8 -
4.2.2
Calibration mode
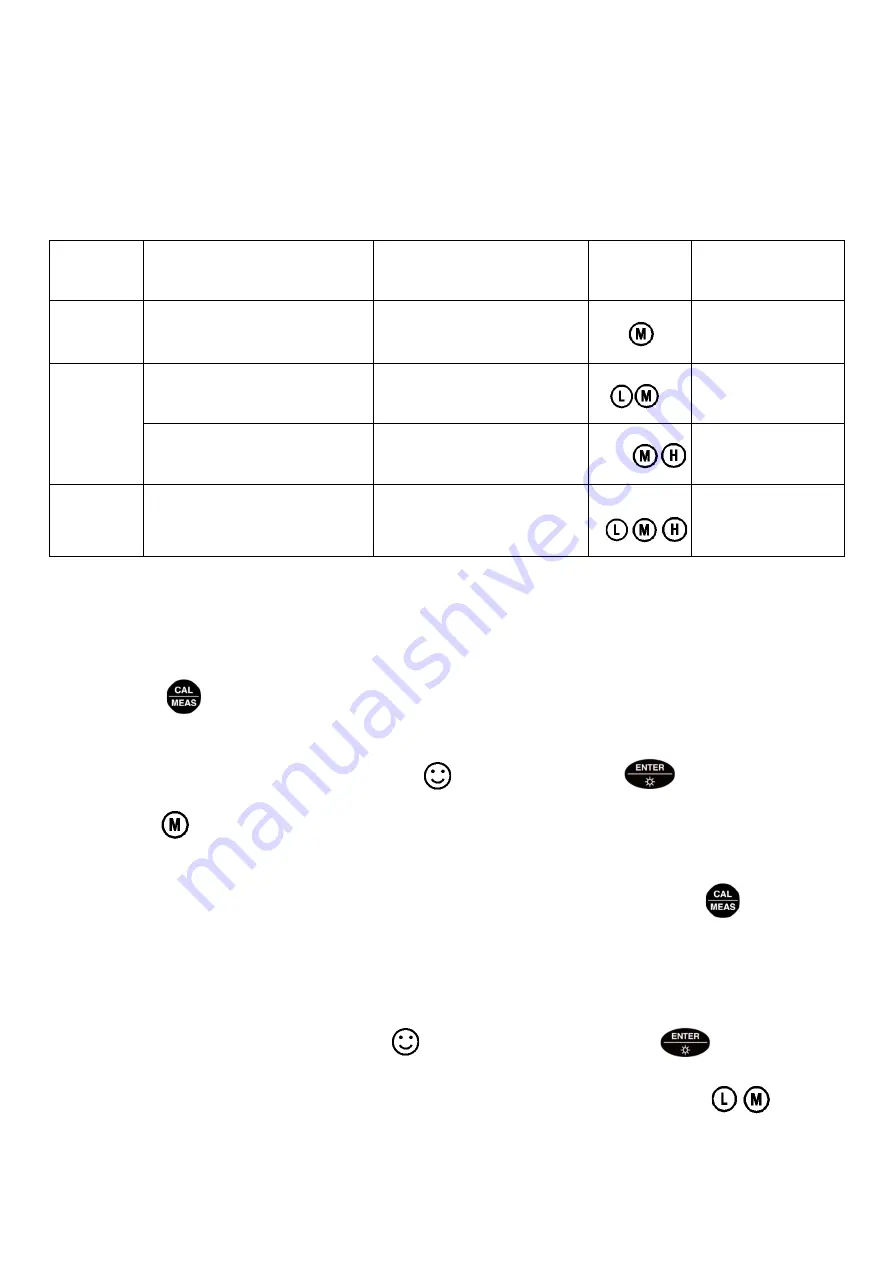
The meter can adopt 1 to 3 points of calibration. The 1
st
point must be using 7.00 pH (or 6.86 pH)
buffer solution, and then choose other buffers to do 2
nd
point and 3
rd
point. Please refer to Table-3
for details.
Table - 3 Calibration mode
USA
NIST
Calibration
icon
When to adopt
1-Point
Calibration
7.00 pH
6.86 pH
Accuracy: ±0.1pH
2-Point
Calibration
7.00 pH→4.00 or 1.68pH
6.86 pH→4.01 or 1.68pH
Measuring range: 0
to 7.00 pH
7.00 pH→10.01 or 12.45pH
6.86 pH→9.18 or 12.45pH
Measuring
range: >7.00 pH
3-Point
Calibration
7.00pH→4.00 or
1.68pH→10.01 or 12.45pH
6.86pH→4.01 or 1.68pH→
9.18 or 12.45pH
Wide measuring
range
4.3
pH Measurement
4.3.1
The 1
st
point calibration
Rinse the pH electrode and the temperature probe in distilled or deionized water and allow it to dry,
long press to the enter calibration mode. CAL1 icon will flash in the bottom right corner of the
LCD, reminding you to use pH7.00 buffer to conduct the 1
st
point of calibration. Dip the pH electrode
and the temperature probe into pH7.00 buffer solution, stir gently and let it stand still and wait for
the reading to be stable. When the stable icon displays on LCD, press to finish 1
st
point
calibration, meter goes to measurement mode, the bottom left of LCD indicating .
4.3.2
The 2
nd
point calibration
Rinse the electrodes in distilled or deionized water, allow it to dry. Long press to enter
calibration mode. CAL2 icon flashes at the bottom right corner of the LCD, reminding you to make
the 2
nd
point of calibration. Submerge the electrodes into pH4.00 buffer solution, stir the solution
gently and allow it to stay in the buffer solution until a stable reading is reached. The meter’s display
will show scanning and locking process of calibration buffer solution at the bottom right of LCD.
When the meter locks 4.00pH, stable icon displays and stays on LCD. Press to calibrate
the meter. Electrode slope displays after calibration is done, the 2
nd
point calibration finished, the
meter goes to measurement mode, and the bottom left of LCD indicates .


