background image

CL 200 Instruction Manual

2

Important Information

Important Information for consumers in the EU:

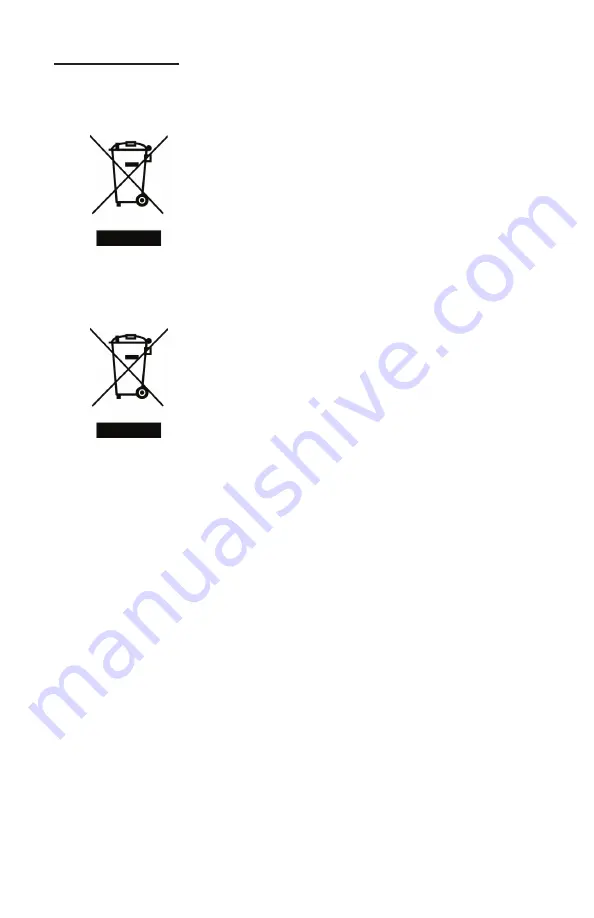
Disposal instructions for batteries and accumulator:

EC Guideline 2006/66/EC requires users to return all used 

and worn-out batteries and accumulators. They must not be 

disposed of in normal domestic waste. Because our products 

include batteries and accumulators in the delivery package our 

advice is as follows : Used batteries and accumulators are not 

items of domestic waste. They must be disposed of in a proper 

manner. Your local authority may have a disposal facility;

alternatively you can hand them in at any shop selling batteries 

and accumulators. You can also return them to the company 

which supplied them to you; the company is obliged to accept 

them.

Disposal instructions for electrical equipment

Because of the European Directive 2012/19/EU your electrical 

instrument must not be disposed of with normal household 

waste! We will dispose of your electrical instrument in a profes-

sional and environmentally responsible manner. This service, 

excluding the cost of transportation is free of charge. This 

service only applies to electrical instruments purchased after 

13th August 2005. Send your electrical Environmental Express 

instrument for disposal freight prepaid to your supplier.

Safety - General Instructions

The manufacturer’s liability and warranty for damage and consequential damates lapses

with improper use, failure to follow this operating manual, use of insufficiently qualified

specialized personnel or unauthorized changes to the instrument. The manufacturer is not

liable for costs or damages that arise for the user or third parties due to the use of this

instrument, especially in case of improper use of the instrument or misuse or faults in the

connection or of the instrument. The manufacturer assumes no liability for print errors.

Safety information in the operating manual

This operating manual provides important information on the safe operation of the product. 

Read this operating manual thoroughly and make yourself familiar with the product

before putting it into operation or working with it. The operating manual must be kept in

the vicinity of the product so you can always find the information you need.

Summary of Contents for 99561-78

Page 1: ...CL 200 Portable Chlorine Colorimeter Instruction Manual 99561 78 Environmental Express www environmentalexpress com...

Page 2: ...onsible manner This service excluding the cost of transportation is free of charge This service only applies to electrical instruments purchased after 13th August 2005 Send your electrical Environment...

Page 3: ...this can lead to incorrect test results 8 Contamination of the transparent cell chamber can result in wrong readings Check at regular intervals and if necessary clean the transparent cell chamber usi...

Page 4: ...n 0 01 A Auto OFF automatic switch off 25 minutes after last keypress different reaction times depend ing on available method Display backlit LCD on keypress Time real time clock and date Calibration...

Page 5: ...V1_04 2022 5 Guidelines for colorimetric measurements...

Page 6: ...ent is waterproof seal ring E must be in position battery compartment cover B must be fixed with the four screws If the batteries are removed for more than one minute the date and time menu starts aut...

Page 7: ...s whereby the zero adjustment is carried out in a 24 mm round vial with sample water It can be used if different tests are carried out with identical test conditions and the same water sample The zero...

Page 8: ...CL 200 Instruction Manual 8...

Page 9: ...le Cells 24 mm Glass 12 Pack with lids light shielding rings 99561 99 Required Materials Description Part Number Chlorine Reference Standard Kit 0 0 02 1 0 mg l Verification Standards 99561 98 Primary...

Page 10: ...ld be free of chlorine consumption To achieve this all glassware should be placed in a sodium hypochlorite solution 0 1 g L for one hour and then rinsed thoroughly with deionized water 2 For individua...

Page 11: ...24 mm vial with 10 ml sample Close vial Place sample vial in the sample chamber Pay attention to the positioning Press the ZERO button Remove the vial from the sample chamber Add Chlorine FREE DPD F10...

Page 12: ...00 Instruction Manual 12 Place sample vial in the sample chamber Pay attention to the positioning Press the TEST button The result in mg l free chlorine appears on the display Chlorine PP 0 02 2 mg l...

Page 13: ...24 mm vial with 10 ml sample Close vial Place sample vial in the sample chamber Pay attention to the positioning Press the ZERO button Remove the vial from the sample chamber Add Chlorine TOTAL DPD F1...

Page 14: ...chamber Pay attention to the positioning Press the TEST button Once the reaction period is finished the measurement takes place automatically The result in mg l total Chlorine appears on the display...

Page 15: ...ults within the measuring range of up to 0 mg L In this case the sample must be diluted with chlorine free water 10 ml of the diluted sample should be mixed with the reagent and the measurement taken...

Page 16: ...CL 200 Instruction Manual 16...

Page 17: ...mm Plastic 12 Pack with lids 99562 01 Required Materials Description Part Number Chlorine Reference Standard Kit 0 0 02 1 0 mg l Verification Standards 99561 97 Primary Chlorine Standard Kit EA makes...

Page 18: ...d be free of chlorine consumption To achieve this all glassware should be placed in a sodium hypochlorite solution 0 1 g L for one hour and then rinsed thoroughly with deionized water 2 For individual...

Page 19: ...lace sample vial in the sample chamber Pay attention to the positioning Press the ZERO button Remove the vial from the sample chamber Close vial Invert several times to mix the contents 20 sec Place s...

Page 20: ...CL 200 Instruction Manual 20 Press the TEST button The result in mg l free chlorine appears on the display Chlorine PP HR 0 1 8 mg l CL8...

Page 21: ...lace sample vial in the sample chamber Pay attention to the positioning Press the ZERO button Remove the vial from the sample chamber Close vial Invert several times to mix the contents 20 sec Place s...

Page 22: ...l in the sample chamber Pay attention to the positioning Press the TEST button Once the reaction period is finished the measurement takes place automatically The result in mg l total Chlorine appears...

Page 23: ...are eliminated by the addition of EDTA Concentrations above 8 mg L Chlorine in the event of using Powder Packs can lead to results within the measuring range of up to 0 mg L In this case the sample mu...

Page 24: ...CL 200 Instruction Manual 24 Other Instrument Settings...

Page 25: ...V1_04 2022 25...

Page 26: ...CL 200 Instruction Manual 26...

Page 27: ...V1_04 2022 27...

Page 28: ...CL 200 Instruction Manual 28...

Page 29: ...V1_04 2022 29...

Page 30: ......

Page 31: ......

Page 32: ......

Page 33: ......

Page 34: ......

Page 35: ......

Page 36: ...Environmental Express www environmentalexpress com...

Reviews: