Copyright EnvironmentalLights.com
All Rights Reserved 10/20/15
6
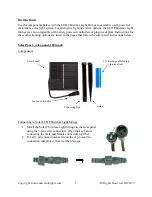
Mounting Solar Panel Assembly
3.
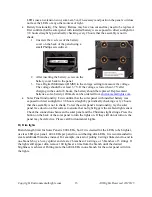
Insert the connecting rod into the slot just below the battery
cover.
4.
Connect the spike to the connecting rod.
5.
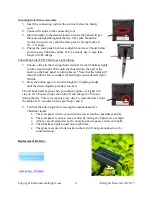
Insert the spike in the desired location where the panel will get
the most sunlight throughout the day. The spike should be
mounted in such a way that the solar panel is facing south at a
20˚ - 30˚ angle.
6.
Charge the solar panel in direct sunlight for at least 8 hours before
powering any Christmas lights. If it is a cloudy day, it may take
longer to fully charge.
Controlling Solar LED Christmas Light Strings
7.
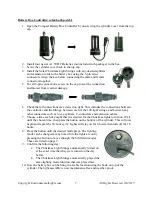
Choose a time in the evening that is desired for the Christmas lights
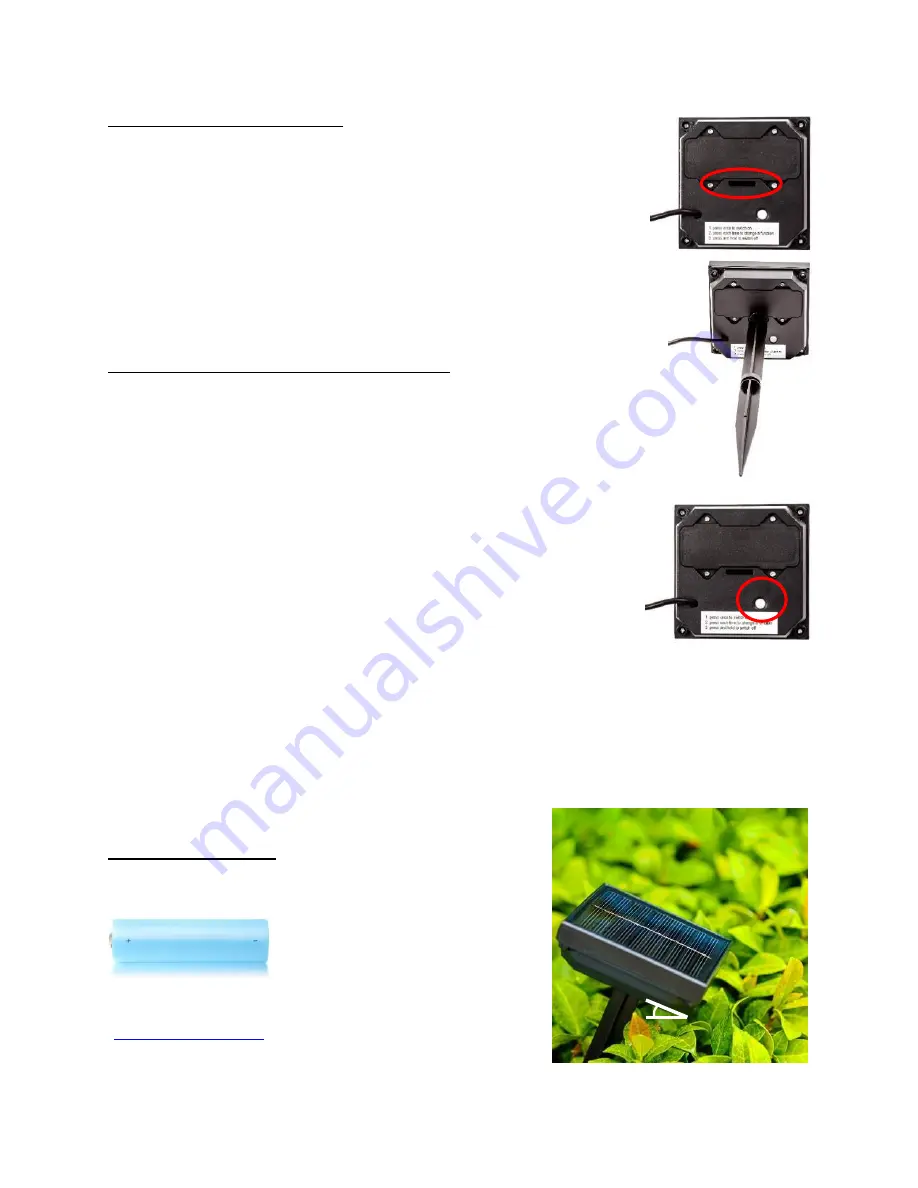
to turn on each night. Wait until the chosen time, then press the
button on the back panel to turn lights on. *Note that the lights will
turn off within a few seconds if ambient light sensor detects light >
500 lux.
8.
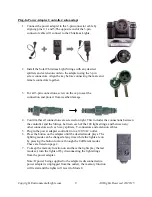
Press the button again to scroll through the 8 lighting modes
until the desired lighting mode is reached.
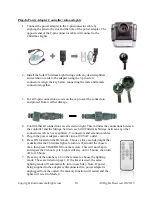
The 24-hour timer begins when you turn the lights on: Lights will
stay on for 6 hours at night, then turn off and charge for 18 hours
during the day. This cycle repeats every day. To reset the timer, hold
the button for 5 seconds. Then repeat Step 7 and 8.
9.
Confirm the following before leaving the maintenance free
Christmas lights:
a.
The solar panel will be exposed to the sun as much as possible each day.
b.
The solar panel is not too close or directly facing any light source at night.
c.
All keys are all aligned at each connection and caps are screwed on tight.
d.
The Christmas lights turned on at night time.
e.
The spike is secured in its position where it will not get knocked over by
wind/rain/snow.
Replacement Battery:
20˚ - 30˚

