background image

Copyright EnvironmentalLights.com 


All Rights Reserved 10/20/15 

Battery Box Controller: solar-battop-ctrl-2 

1.


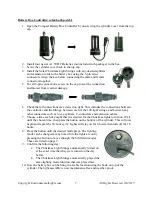
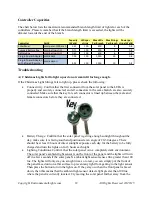
Open the Battery Box Controller by unscrewing the 4 
screws on the box with a Phillips screwdriver.


2.


Install three new D 1.5V Batteries (not included with 
package) in the box. 


3.


Screw the box back together using the same 4 screws.


4.


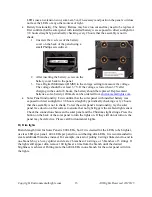
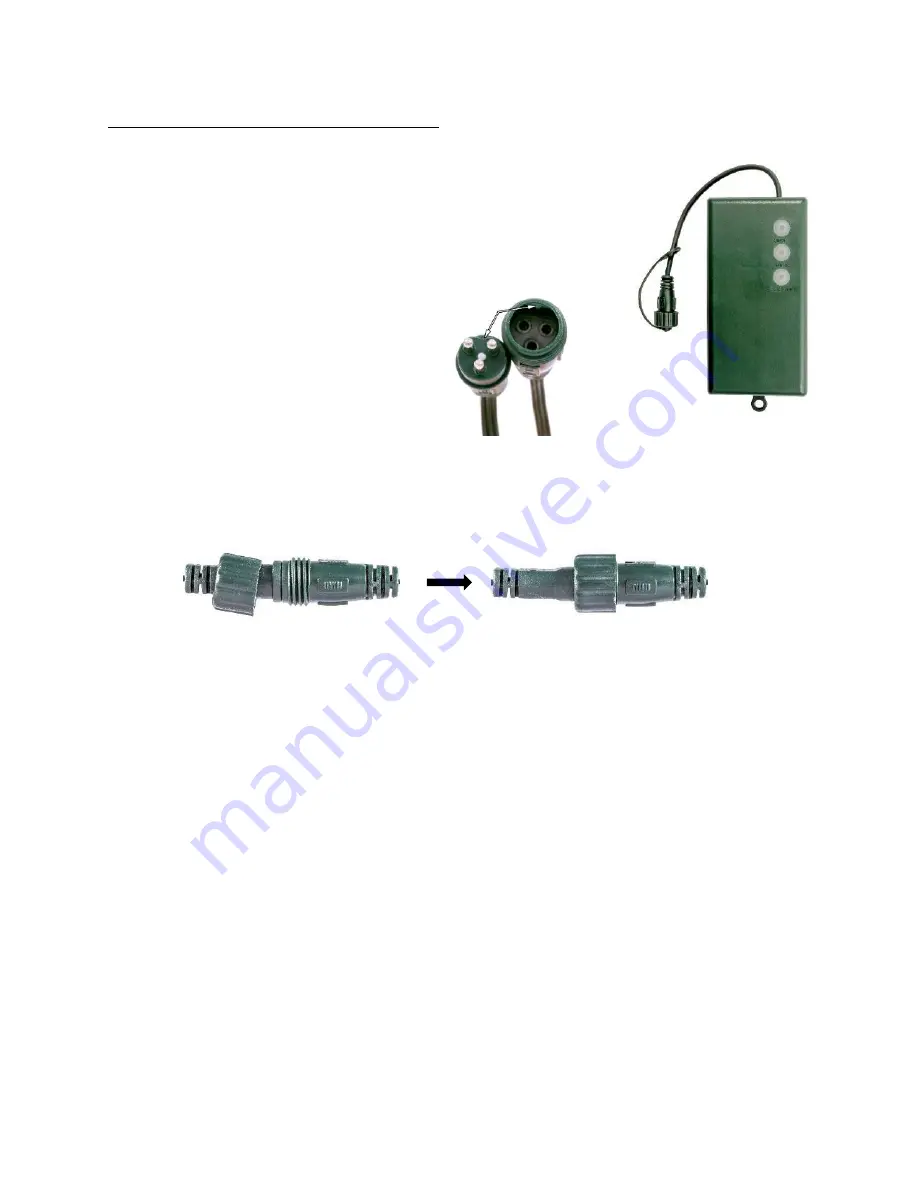
Install the Solar Christmas Light Strings with any desired 
splitters and extension cords to the 
battery box using the 3-pin screw 
connectors. Align the key before 
connecting the male and female 
connectors together.


5.


For all 3-pin connections, screw on the cap to seal the connection and protect from 
weather damage. 


6.


Check that all connections are screwed on tight. This includes the connections between 
the controller and the Strings, between each of the 100 light strings, and between any 
other connectors such as 3-way splitters, T-connectors and extension cables. 

7.


Press the ON/OFF button on the front of the battery box. Confirm that the Christmas 
lights turn on.


8.


Press the FUNCTION button until the desired lighting mode plays. The lighting mode 
can be changed at any time while the lights are on by pressing the button to move through 
the 8 different modes. These are listed on page 2. 

9.


If you wish to utilize the timer function, choose a time each day/night that is desired for 
the Christmas lights to turn on. Wait until the chosen time, then press the TIMER button. 
This will now begin and repeat the 24-hour cycle: Lights will stay on for 6 hours, then 
turn off for 18 hours.  

10.


Confirm the following day (if timer function is used): 

a.


The Christmas Light Strings automatically turned on at the same time that they 
were turned on the day before. 

b.


The Christmas Light Strings automatically played the same lighting mode 
function that was played last. 

11.


Now the light assembly can be left alone, maintenance free and weather-proof. 


Summary of Contents for solar-panel-1200-mah

Page 1: ...l uses an ambient light sensor and a 24 hour timer to automatically turn on the Solar LED Christmas lights at night and turn them off during the day For both indoor and outdoor applications the Solar...

Page 2: ...t in automatic timer keeps lights on for 6 hours then turns lights off for 18 hours This timed cycle repeats as long as the lighting conditions are met Button Functionality Press the button once to tu...

Page 3: ...or Safe Certifications CE Certified Lead was not used to make these products Warranty 1 year seasonal use limited Part Number solar battop ctrl 2 Dimensions 142mm x 71 5mm x 38mm Weight 8 5 oz 0 53 lb...

Page 4: ...ited Part Number solar adapt ir Dimensions 83 5mm x 38 6mm x 35 5mm adapter 86 3mm x 40mm x 7mm remote Weight 7 10 oz 0 44 lb remote and remote battery included On Off Conditions On Press ON Remote Of...

Page 5: ...for these other lighting options are listed in the pages that follow the solar panel instructions below Solar Panel solar panel 1200 mah Components Connecting to Solar LED Christmas Light Strings 1 I...

Page 6: ...l to turn lights on Note that the lights will turn off within a few seconds if ambient light sensor detects light 500 lux 8 Press the button again to scroll through the 8 lighting modes until the desi...

Page 7: ...light strings and between any other connectors such as 3 way splitters T connectors and extension cables 7 Choose a time each day night that it is desired for the Christmas lights to turn on Wait unti...

Page 8: ...connectors such as 3 way splitters T connectors and extension cables 7 Press the ON OFF button on the front of the battery box Confirm that the Christmas lights turn on 8 Press the FUNCTION button un...

Page 9: ...crewed on tight This includes the connections between the controller and the Strings between each of the 100 light strings and between any other connectors such as 3 way splitters T connectors and ext...

Page 10: ...ncludes the connections between the controller and the Strings between each 100 Christmas Strings between any other connectors such as 3 way splitters T connectors and extension cables 5 Plug in the p...

Page 11: ...s can be linked to each controller Splitters Extension Cord solar 3way split solar tconn solar ext 5m Solar Christmas Light Strings solar 5mm red g solar 5mm blue g solar 5mm green g solar 5mm multi g...

Page 12: ...or the battery to be fully charged and turn the lights on for 6 hours each night Lighting Conditions Confirm that the solar panel is in a completely dark environment The solar panel s ambient light se...

Page 13: ...functionality First confirm that the solar panel with installed battery was exposed to direct sunlight for 7 8 hours straight by periodically checking every 2 hours that the assembly is not in shade...

Reviews: