SHOULD YOU ENCOUNTER ANY PROBLEMS INSTALLING THIS UNIT CALL
0345 27 27 810
17
05
Installation Instructions
SECOND FIX CONT.
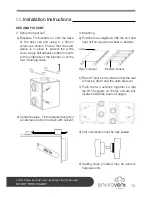
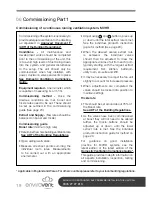
6. Fitting grilles
a) Position a dust sheet beneath the site you
have chosen for cutting the hole for the
diffuser. Protect your lungs with a mask.
b) Check there are no obstructions to your
chosen position for the diffuser.
c) Cut hole diameter dependant on diffuser size
in the ceiling in the position chosen where air
is required to be delivered/extracted.
d) Connect the ducting onto the neck of the
diffuser. Ensure that the connection is airtight
and that there is a mechanical fixing for
strength.
e) Adjust if necessary.
f) Fix the diffuser in position using plasterboard
plugs and screws.
g) Remember to adjust the vent opening.
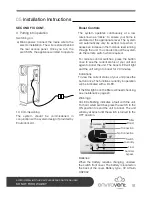
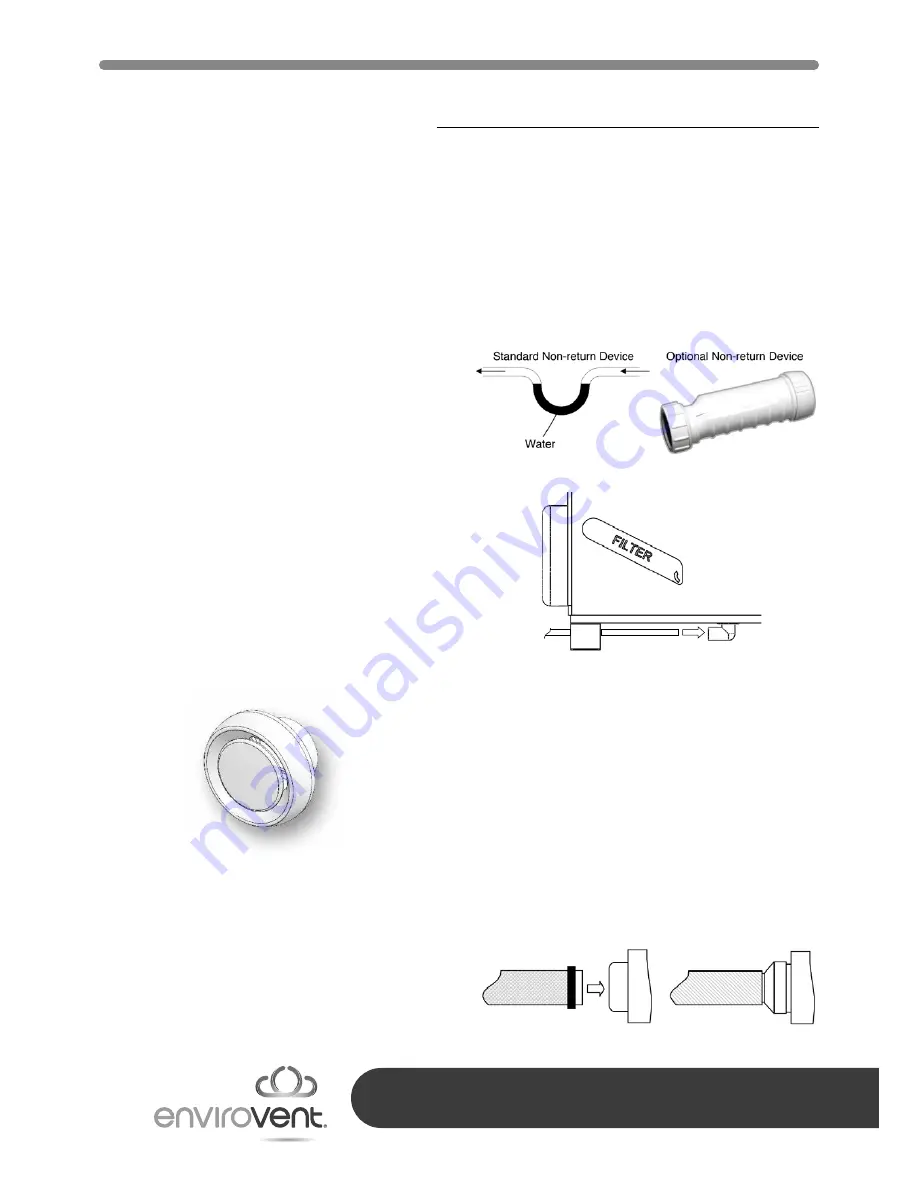
7. Drain connection
The drainage from the unit may be connected to
a foul drain. Alternatively it may be connected to
an internal waste water system via a non-return
device and insulated if it’s in an unheated loft
space.
8. Duct connection
(See page 9 for duct types)
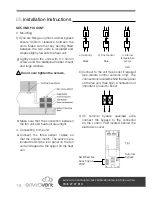
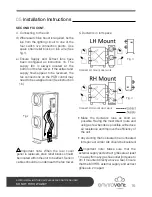
a) Ducts must be securely attached to the unit.
b) Ducts must be fully sealed.
c) Sealing strips provided may be used to seal
ridged sections to the heat cell.
d) Ø200 to Ø150 reducers may be used to
connect to the heat cell.
Adjustable ceiling diffuser
(Ø100mm-125-150mm)

