


D4K Pro® User Manual
D4K_UserManual_v1.3_EN.docx, 2021-02-12
Page 35 of 52
9
Calibration
The printer is completely calibrated and tested during fabrication. However, the calibration needs to be carried out by the printer
owner to guarantee the uniformly accurate build results, if:
a) the printed parts are not adhering to the build platform, especially in one corner or half of the build platform;
b) the current material tray is replaced with a new material tray.
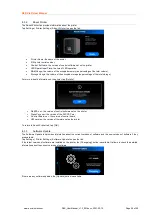
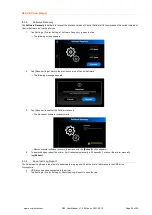
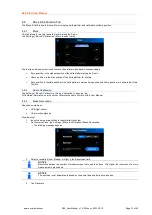
9.1
Home Position Calibration
IMPORTANT
Always remove the platform before taking the material tray out of the printer!
Failure to do so can result in material dripping down into or onto the printer causing failed builds and damaged
equipment!
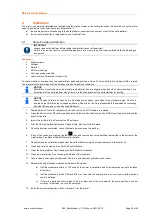
Equipment:
•
Digital calipers
•
Scraper
•
Material
•
RFID material tag
•
Post-processing materials
•
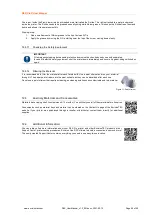
Home Position Calibration Cubes.stl
file
To check, modify, or fine-tune the printer’s parallelism and home position, a
Home Position Calibration Cubes.stl
file is printed.
The printer must be powered on for the duration of the home position calibration.
NOTICE
Parallelism is achieved when the platform and material tray are aligned with each other. Home position is the
lowest point of the build platform along Z-axis, it is the start position of the build platform for printing.
NOTICE
Home Position Calibration Cubes.stl
is a file made of nine blocks, each block is five millimeters high. This file is
located on the USB-drive that is shipped with every D4K printer. The file is also available to download by contacting
EnvisionTEC support, or an authorized distributor.
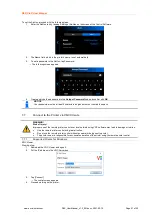
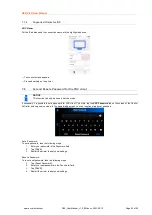
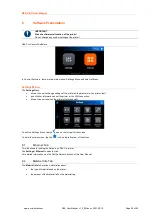
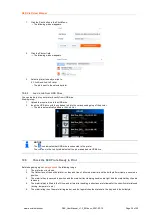
1. Download the .stl file to the computer where the Envision One RP software is installed.
2. Open the Envision One RP software and select a buildstyle. See the
Envision One RP
®
User Guide
provided with the
printer for details.
3. Import the .stl file into the Envision One RP software.
4. Print the
Home Position Calibration Cubes.stl
file. See
for details.
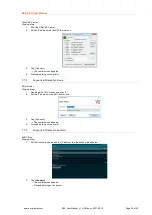
5. Once the print has completed, check if there are nine cubes on the platform.
6. If any of the cubes are missing, tap the
icon and remove any cured particles that settled to the bottom of the
material tray. See
7. Gently remove the calibration models from the build platform using the scraper that came in the starter kit.
8. Clean and cure the models. See
for details.
9. Clean the build platform. See
for details.
10. Clean the material tray. See
11. Take a close look at each printed model. There is a small number printed on each model.
12. Measure the height of each model and write down the values.
a) If all the models are /- 100 microns, the printer is paralleled, and no further actions need to be taken
at this time.
b) If all the models are within 4.90 and 5.10 mm, the printer’s home position is correct, and no further actions
need to be taken.
c)
If there is a deviation of more than 100μ in at least one of the nine models, the home position is not set
correctly. In that case, move to the next step.
13. Install the empty material tray with no material in it on the printer.


