Doc:
Issue
Date
Page
VLT-MAN-ESO-14650-4942
P96
24.06.2015
65 of 161
ESO, Karl-Schwarzschild-Str. 2, 85748 Garching bei München, Germany
3.2 Target acquisition
3.2.1 Acquisition loop
Target acquisition for SLIT and IFU modes is almost identical. The main steps of a typical
acquisition sequence are the following:
1. Warmup of the lamp for the flexure correction measurement.
2. Preset the telescope to the target coordinates and set the adaptor-rotator to the
chosen position angle.
3. UVB and VIS ADCs start tracking to compensate for atmospheric dispersion in SLIT
mode or set to their OFF position (i.e. at minimum deviation) in IFU mode.
4. Cross-correlating two frames of arc lamp spectra measures backbone flexure. The
first frame corresponds to an arc lamp spectrum taken with the Acquisition and
Guiding slide 0.5” pinhole with the 5” slit in each arm. The second frame is an arc
spectrum taken with the 0.5” pinhole present in each slit slide/arm and the slot
position in the Acquisition and Guiding camera. Commands are sent to the three tip-
tilt mirrors based on computed flexures. If necessary this process is re-iterated.
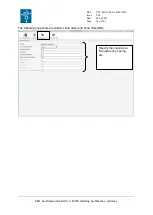
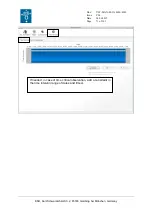
5. The Acquisition and Guiding slide is set to MIR position: the field is now visible in the
acquisition camera and an acquisition image can be acquired.
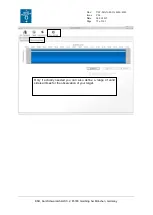
6. The spectroscopic target is identified (or the reference object in case of blind offset)
and its coordinates on the detector are determined by a centring algorithm.
7. The telescope is offset to the reference pixel on the detector corresponding to the
position of the image the Acquisition and Guiding slide reference pinhole corrected in
real time from effects of atmospheric refraction between the wavelength of the
selected acquisition filter and the telescope tracking wavelength (470 nm for SLIT
mode, user selected for IFU observations). In the coming period (P93), a snapshot
will only be taken at the end of the acquisition process for a direct acquisition and in
case of blind offset a snapshot will be taken before and after the blind offset.
8. Loop over steps 5 and 6.
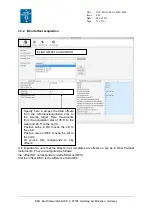
9. When the observer is satisfied with the object centring, an acquisition image is saved
and the Acquisition and Guiding slide is either set to the spectroscopic observations
position (10” x 15” slot) in SLIT mode or to the IFU position along with other mode
specific instrument setup.
10. In alternative to step 8, in case of a blind offset, the offsets are applied before
acquiring the final image and moving to spectroscopic observation position. Note that
the blind offsets are mandatory in case the target is too faint to be acquired directly.
11. At this point, the instrument is ready for science observations.
This acquisition sequence is performed by one of the two acquisition templates:
XSHOOTER_slt_acq
or
XSHOOTER_ifu_acq
(also the RRM possibility), depending on the
selected observing mode. A full description of these templates is given in section 7.1.3. Note
that the instrument setup is done within the acquisition template so that for instance an IFU
observation can
never
follow a SLIT acquisition sequence and vice versa.
At the end of the acquisition sequence, an acquisition image of the field is saved after blind
offsets have been applied (if any).
Till P92, every time an offset was performed, the acquisition image was saved
(disabled in P93). This was useful for quickly varying objects such as GRBs but this is now
obsolete with the offered imaging mode.

