Removing the Drive Wheel
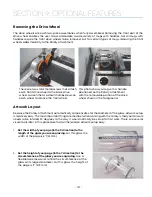
The drive wheels are each two-piece assemblies when fully assembled. Removing the front part of the
drive wheel enables the user to accommodate a wide variety of mugs with handles. Not all mugs with
handles require the front drive wheels to be removed, but for certain types of mugs removing the front
wheels adds flexibility to the Rotary Attachment.
Artwork Layout
Because the Rotary Attachment automatically compensates for the diameter of the glass, artwork setup
is relatively easy. The most important thing to remember when working with the rotary is that your artwork
needs to be rotated 90 degrees to the way it would normally be setup for flat work. There are several
visual tools later in this procedure that will help make artwork setup easy.
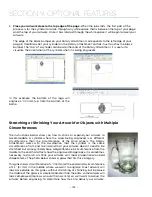
1.
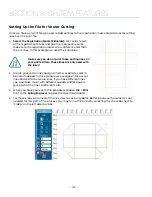
Set the width of your page (in the X direction) to the
length of the glass you are engraving.
For this glass the
width of the page is 6” (152 mm).
2.
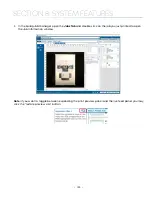
Set the height of your page (in the Y direction) to the
circumference of the glass you are engraving.
Use a
flexible tape measurer to find the circumference of the
glass at its largest diameter. For this glass, the height of
the page is 11” (279 mm).
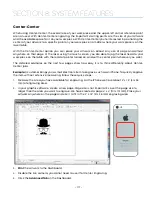
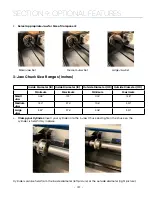
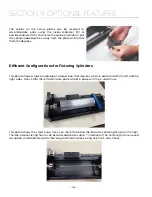
This photo shows a mug with a handle
positioned on the Rotary Attachment
with the removable portion of the drive
wheel shown in the foreground.
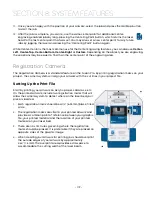
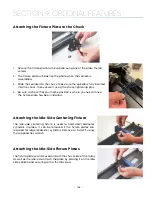
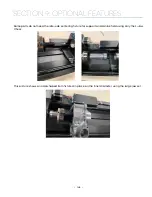
There are two small thumbscrews that attach
each front drive wheel to the back drive
wheel. Loosen the two small thumbscrews on
each wheel to remove the front wheel.
- 131 -
SECTION 9: OPTIONAL FEATURES
Summary of Contents for Fusion Pro 32
Page 2: ......
Page 6: ......
Page 14: ...Fusion Pro 48 8 SECTION 1 SAFETY ...
Page 15: ... 9 SECTION 1 SAFETY ...
Page 18: ......
Page 28: ......
Page 60: ......
Page 98: ......
Page 108: ......
Page 132: ......
Page 162: ......
Page 184: ......
Page 202: ......
Page 214: ......
Page 216: ......
Page 242: ......

