Firmware and Software Suite Preparation
Before use, both your machine’s Firmware and the Epilog Software Suite must be updated to use the
3-Jaw rotary attachment.
Your Fusion Pro firmware version must be 1.0.2.5 or higher to operate the Rotary Attachment. The firmware
version is one of the menu items under
Settings (gear icon) > Version
on the Fusion Pro Control Panel. To
upgrade your firmware, see
“How to Upgrade Your Firmware” on page 173.
Note: If your current firmware is 1.0.0.9 or lower, you will need to perform an intermediate
firmware installation step to load version 1.0.1.0, prior to installing version 1.0.2.5. Contact
Epilog Technical support for assistance: 303-215-9171.
Once your firmware has been updated to version 1.0.2.5, verify that the Rotary Encoder value is
153630
. To
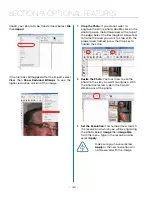
check this value, go to the display panel and select
Settings > Rotary > Rotary Encoder.
Your Software Suite (Epilog Dashboard) version must be at least 2.1.12. Uninstall the old version of the
software suite and then load the new version onto your computer.
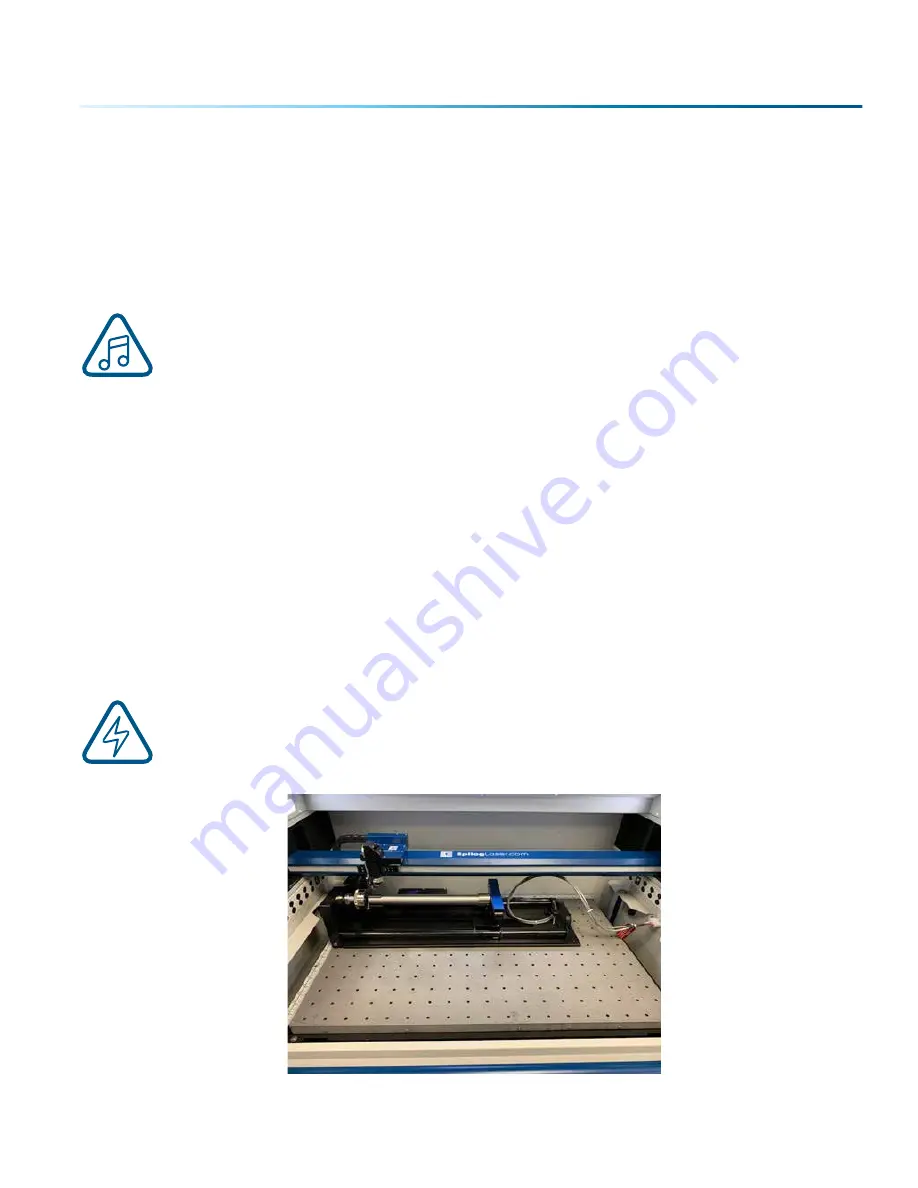
3-Jaw Chuck Rotary Attachment Installation
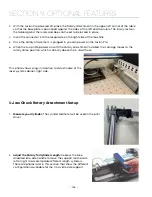
Lower Table and Turn Off Power
1. Lower the engraving table to its lowest point.
2. Turn off the power to the Fusion Pro.
An Important Note:
Turn off the power to the engraver. It’s important that the laser system is
turned off before installing (or removing) the rotary connector at the table. The Fusion Pro
laser system will not recognize the Rotary Attachment until the system is rebooted, and you
could damage the electronics if the rotary is installed while the laser system is powered on.
- 135 -
SECTION 9: OPTIONAL FEATURES
Summary of Contents for Fusion Pro 32
Page 2: ......
Page 6: ......
Page 14: ...Fusion Pro 48 8 SECTION 1 SAFETY ...
Page 15: ... 9 SECTION 1 SAFETY ...
Page 18: ......
Page 28: ......
Page 60: ......
Page 98: ......
Page 108: ......
Page 132: ......
Page 162: ......
Page 184: ......
Page 202: ......
Page 214: ......
Page 216: ......
Page 242: ......


