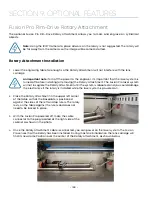
Rim-Drive Rotary Setup
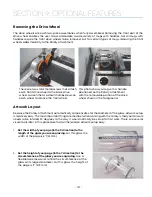
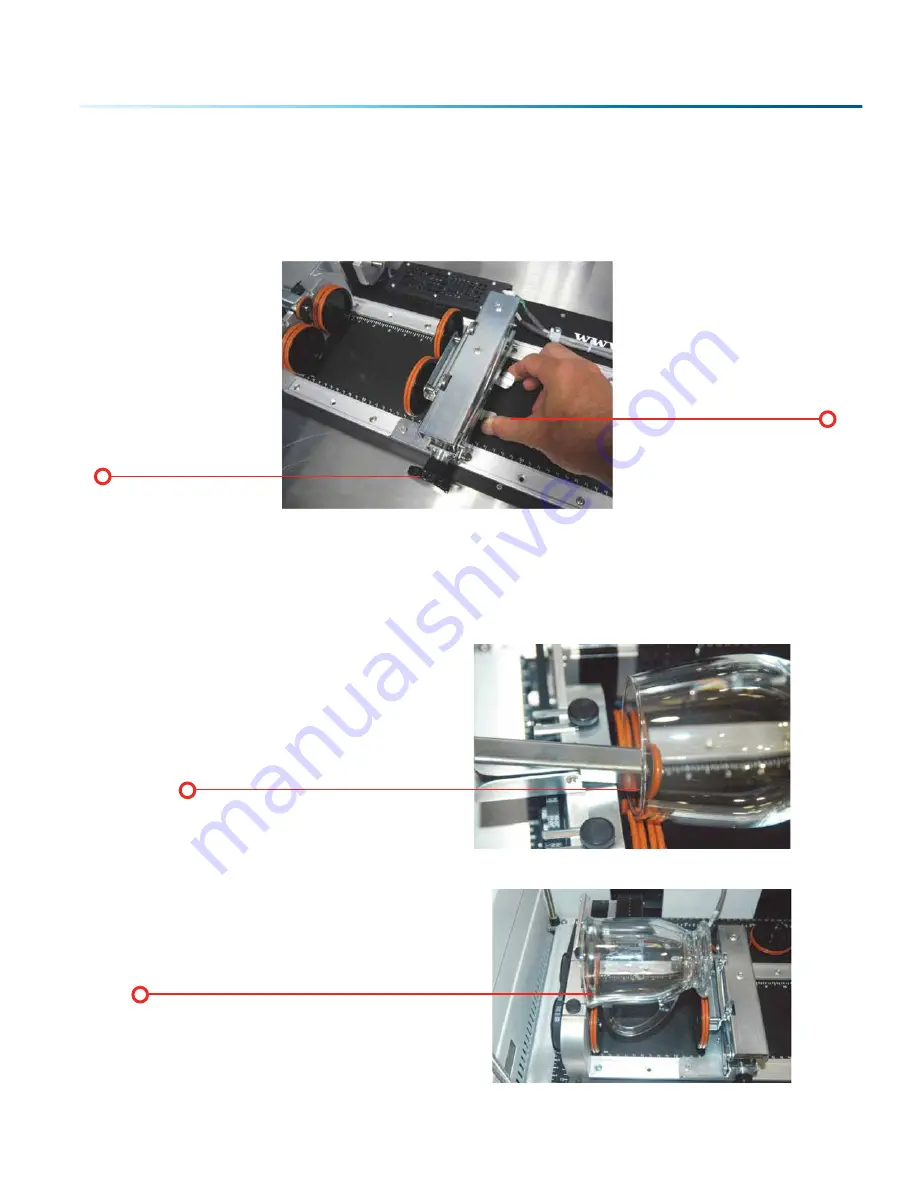
The wheels on the left are the drive wheels which spin the cylinder. The wheels on the right are for support.
The right-side wheels are mounted on a scissor jack so they can be raised or lowered to level the top
surface of your cylinder with the X-beam. The scissor jack can be moved left and right to accommodate
cylinders of different lengths.
In most cases you will want to load your cylinder with the larger diameter on the left (drive wheel side).
The scissor jack is used to elevate the right side of your cylinder so that the top surface is horizontal. Load
your cylinder onto the Rotary Attachment so that it is just touching the black bumper. Using the clamp to
hold the glass in place is optional. Some odd shaped glasses rotate better if they are clamped to the
drive wheels, but most glasses and other cylindrical objects do not require clamping.
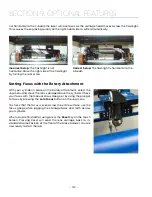
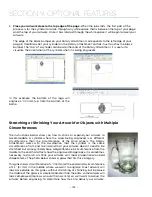
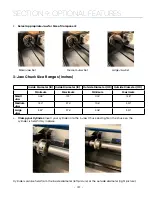
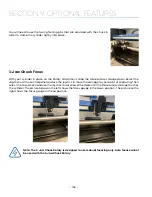
Use the scissor jack to raise the right side of the cylinder so that the engraving/cutting surface is
horizontal. The photos below show the same flashlight at a severe angle to horizontal. If your cylinder is
Rotate the knob to lift
or lower the scissor
jack.
Squeeze the tabs to move
the scissor jack left and
right.
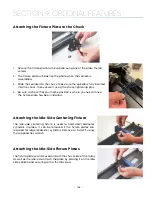
This photo shows the clamp holding
a glass against the drive wheels.
Use the thumbscrews to adjust the
clamp in and out.
Many glasses, like this one, do not require
the use of the clamp. The clamp is used
mostly for hard to rotate cylinders or very
lightweight objects that need more than just
gravity to hold them in place.
- 129 -
SECTION 9: OPTIONAL FEATURES
Summary of Contents for Fusion Pro 32
Page 2: ......
Page 6: ......
Page 14: ...Fusion Pro 48 8 SECTION 1 SAFETY ...
Page 15: ... 9 SECTION 1 SAFETY ...
Page 18: ......
Page 28: ......
Page 60: ......
Page 98: ......
Page 108: ......
Page 132: ......
Page 162: ......
Page 184: ......
Page 202: ......
Page 214: ......
Page 216: ......
Page 242: ......


