For the complete user manual for your LUMiO 12x,
please visit
epiphan.com/support
UG111-01
Setting up your LUMiO 12x
1. Plug in the power cable for your camera.
2. Connect your camera to a capture appliance such as
Epiphan Pearl, via HDMI™, DVI or SDI cable (cables not
provided).
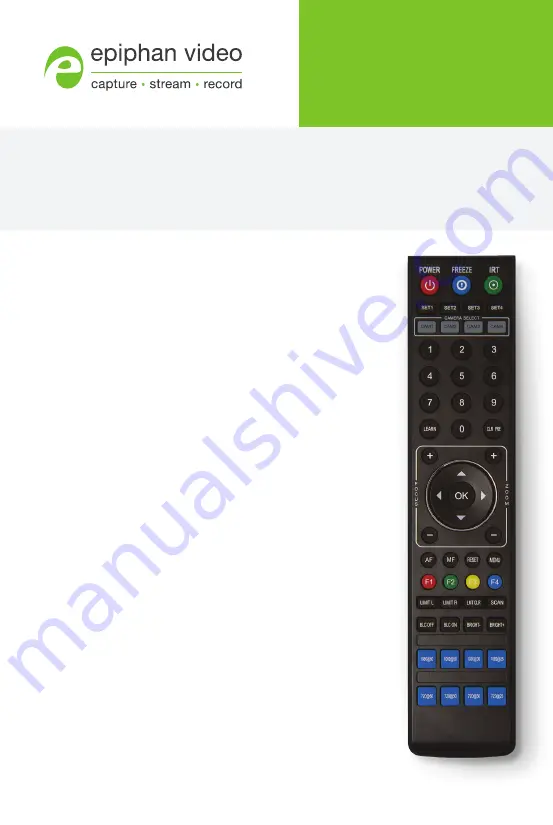
3. Pair your remote control to your LUMiO 12x:
Using “CAM1” as an example:
Point the remote control at your LUMiO
12x, press and hold the
SET1
button on the remote control until the
indicator light on the LUMiO 12x flashes red, then press the
CAM1
button; the LUMiO 12x is now mapped to the
CAM1
button.
QUICK REFERENCE
LUMiO 12x™
Controlling your LUMiO 12x
FOCUS (+ and – buttons on the left):
Press and hold to
increase or decrease the focus distance. Manual focus must
be enabled (see
“Switching between auto and manual focus”
section of this guide).
ZOOM (+ and – buttons on the right):
Press and hold to
increase or decrease the zoom.
Pan (left/right arrows):
Press and hold to move your
LUMiO 12x’s lens left or right.
Tilt (up/down arrows):
Press and hold to move your
LUMiO 12x’s lens up or down.
Return to default (OK button):
Press to return your
LUMiO 12x’s lens to its default position (pan, tilt and
zoom settings are reset).


