Pearl-2 User Guide
Connect an NDI source
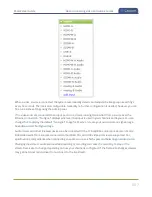
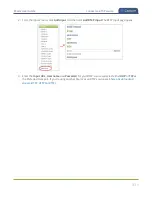
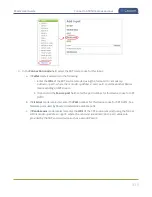
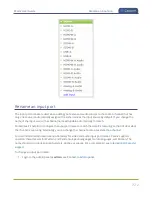
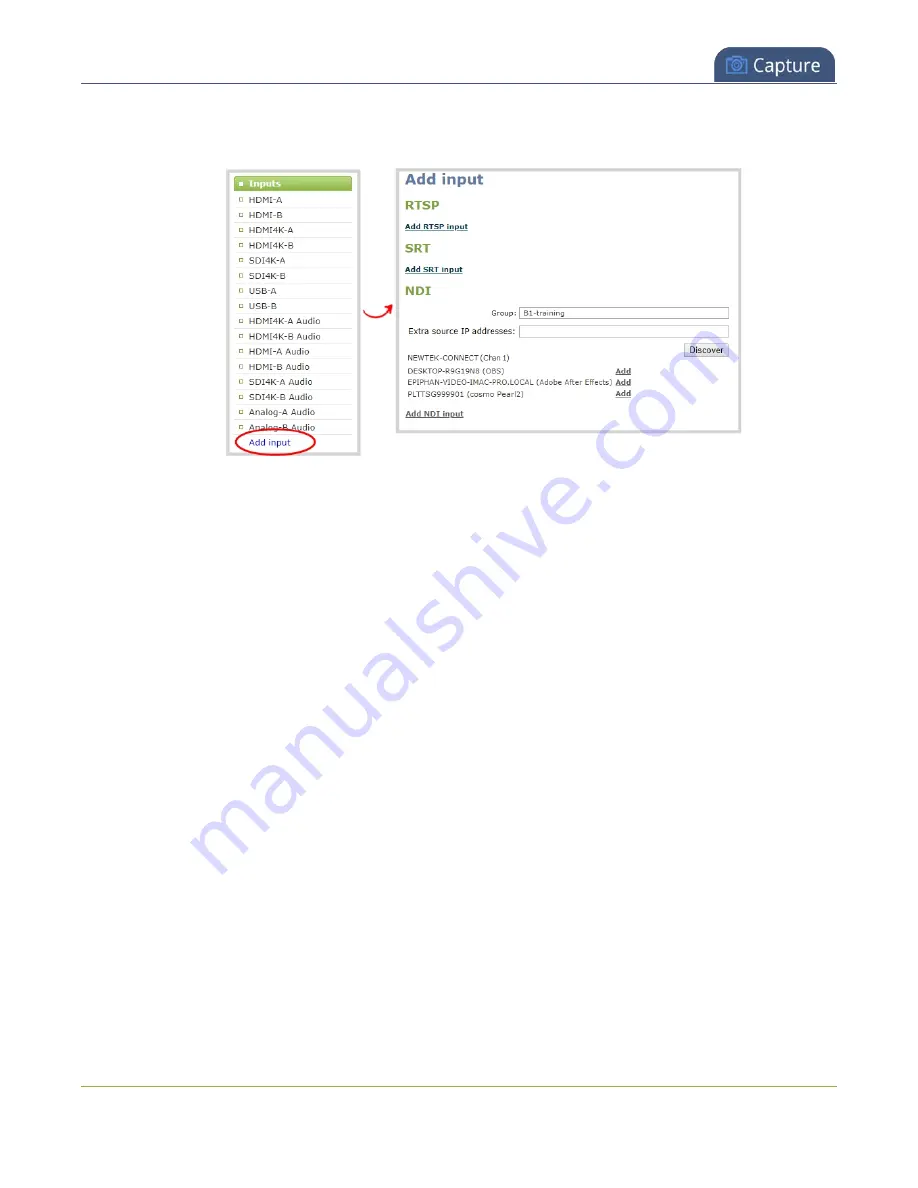
2. From the Inputs menu, click
Add input
. The Add input page opens with all available NDI resources
listed.
3. Do one of the following:
a. If the NDI resource is listed, select
Add
beside an NDI resource to select it. The new NDI input
details page opens.
b. If the NDI resource is assigned to an NDI group, enter the group name and then click
Discover
to see a list of available NDI resources in that group. Select
Add
beside an NDI resource to select
it.
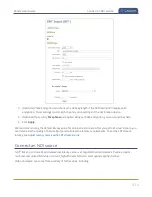
c. If a remote NDI resource is on a different network or subnet than Pearl-2, or the network has
mDNS disabled, enter the IP address of the remote NDI resource in the
Extra source IP
addresses
field, then click
Discover
. Use a comma to separate multiple IP addresses. Select
Add
beside an NDI resource to select it.
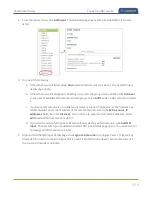
d. If you want to add an NDI input to Pearl-2 without selecting an NDI resource, click
Add NDI
input
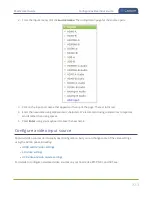
. The new NDI input is added and a blank NDI input details page opens. You can search for
and assign an NDI resource to it later.
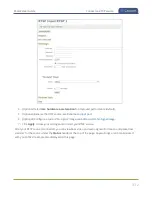
4. (Optional) On the NDI input details page, check
Ignore timecode
to configure Pearl-2 to ignore any
timecode information in the NDI signal. This is useful if the NDI source doesn't send a timecode or if
the source's timecode is unstable.
318

