Pearl-2 User Guide
Configure Dynamic DNS
1. Login to the Admin panel as
admin
.
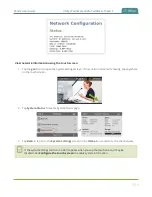
2. From the Configuration menu, select
Network
. The Network configuration page opens.
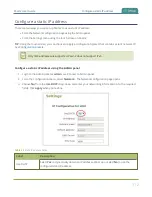
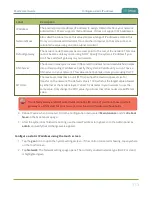
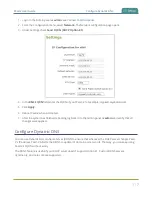
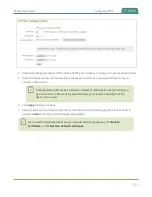
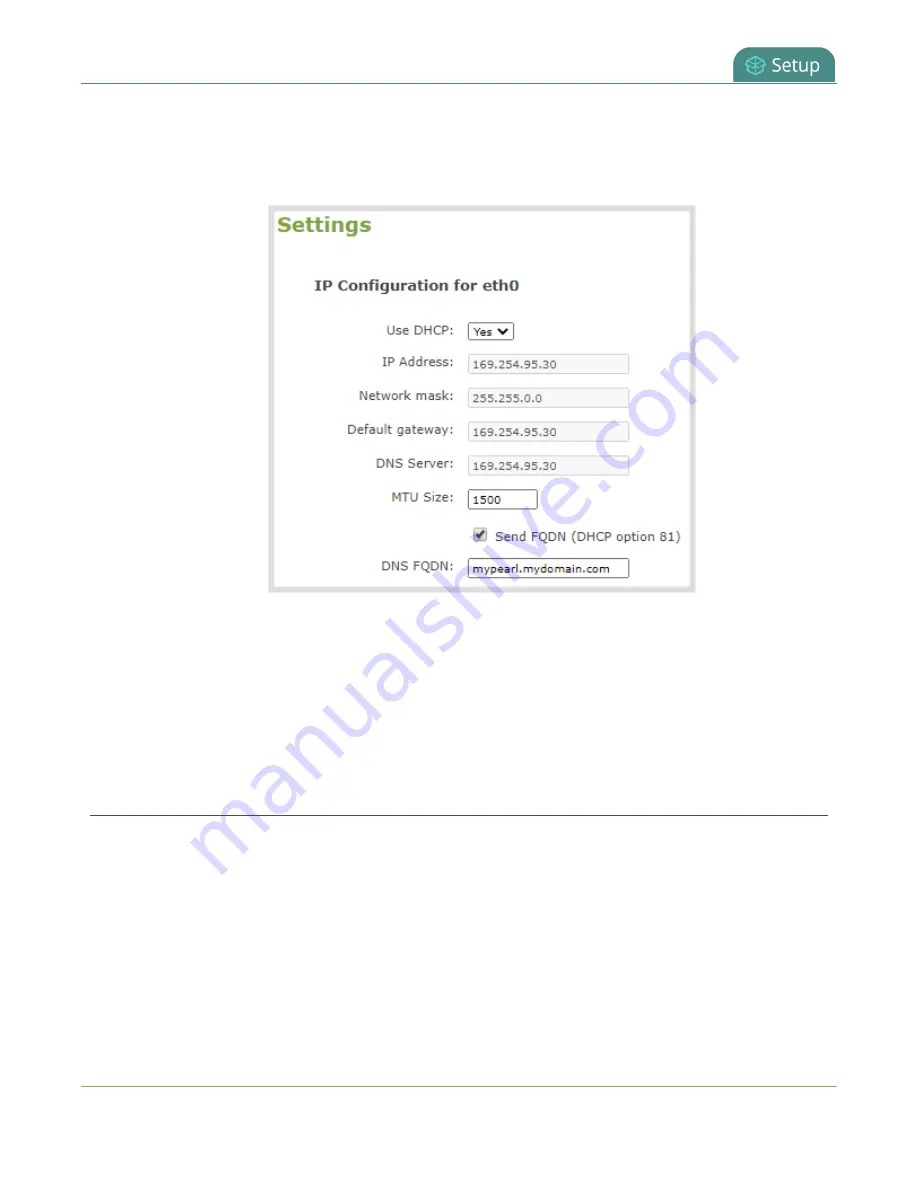
3. Under Settings, check
Send FQDN (DHCP Option 81)
.
4. In the
DNS FQDN
field, enter the FQDN of your Pearl-2, for example:
mypearl.mydomain.com
5. Click
Apply
.
6. Reboot Pearl-2 when prompted.
7. After the system has finished rebooting, log back in to the Admin panel as
admin
and verify that all
changes were applied.
Configure Dynamic DNS
You can use Dynamic Domain Name Server (DDNS) to ensure that whenever the DHCP server changes Pearl-
2's IP address, Pearl-2 informs the DDNS to update it's domain name records. That way, you can keep using
Pearl-2's FQDN without worry.
The DDNS feature is useful if your DHCP server doesn't support Option 81. Custom DDNS servers,
dyndns.org, and noip.com are supported.
117

