Pearl-2 User Guide
Select the video output source using the touch screen
automatically inserted at the top and bottom or left and right sides of the video.
b. Uncheck
Keep aspect ratio check
to have the system stretch the source to fit the aspect ratio
of the display.
5. For a channel, do the following:
a. Check
Enable audio
to include audio in the output. Leave this unchecked for no audio with the
video.
b. (Optional) For a channel with audio enabled, adjust the volume. Enter a value from 0 to 100
percent in the
Audio volume
field.
c. (Optional) For a channel with audio enabled, choose whether or not to display the audio meter
from the
Audio meter
drop down.
d. If displaying the audio meter, select horizontal or vertical from the
Audio meter orientation
drop-down menu to change the orientation of the displayed audio meter.
6. For an input source, do the following:
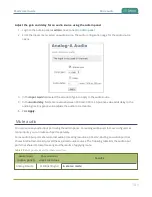
a. Select an
Audio source
from the drop down list.
b. (Optional) Adjust the volume. Enter a value from 0 to 100 percent in the
Audio volume
field.
c. (Optional) Choose whether or not to display the audio meter from the
Audio meter
drop
down.
d. If displaying the audio meter, select horizontal or vertical from the
Audio meter orientation
drop-down menu to change the orientation of the displayed audio meter.
7. Click
Apply
.
The audio meter can be displayed even if you are not playing audio over the video output
port (i.e. even when the
Enable audio
check box is not checked).
Select the video output source using the touch screen
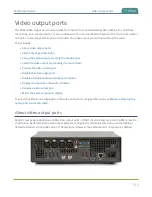
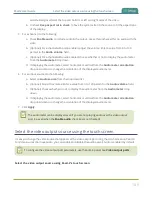
It's easy to change the video source that appears at the video output port using the touch screen on Pearl-2.
For video sources that have audio, you can enable and disable the audio as well. Audio is enabled by default.
To configure the video output port parameters, use the Admin panel. See
.
Select the video output source using Pearl-2's touch screen
149

