Pearl-2 User Guide
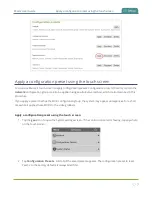
Apply a configuration preset using the Admin panel
What's next?
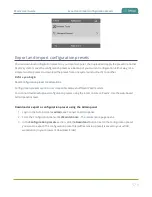
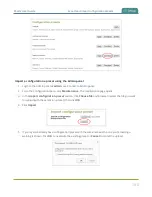
You can export the configuration preset to your admin computer and then import it to another Pearl-2, see
Export and import configuration presets
Apply a configuration preset using the Admin panel
Apply a configuration preset using the Admin panel
When you apply a configuration preset, the system settings for all included configuration groups are updated.
Other settings on the system are not affected. For example if you apply a preset that includes the
configuration groups
channels
and
automatic file upload
, your network settings, passwords, time server,
source configurations, etc are not modified. Similarly, if you apply a configuration preset that has only
network
settings included, only the network settings change.
If you apply a preset that has the
network
or
system
configuration group, a reboot is required. If you apply
a preset that has the EDID configuration group, the system may appear unresponsive for a short time while it
applies these EDIDs to the video grabbers.
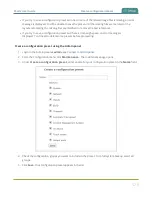
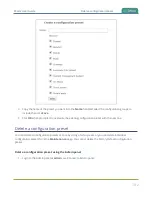
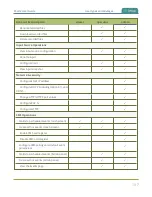
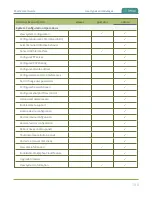
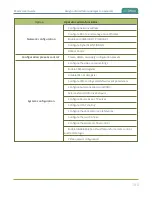
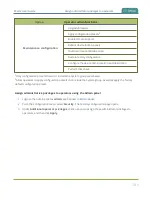
You can verify which configuration groups are included in a preset by looking at the list to the right of the
configuration preset name. The term 'all' means all groups are included. Otherwise groups are listed
individually.
You may apply multiple presets one after another. If you apply two (or more) configuration
presets that include a particular configuration group, the settings (for that group) from the last
applied preset are the active settings. In short, last in wins.
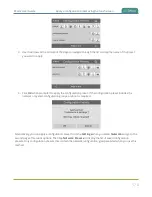
Apply a configuration preset using the Admin panel
1. Login to the Admin panel as
admin
.
2. From the Configuration menu, click
Maintenance
. The maintenance page opens.
3. In the
Configuration presets
section, click the
Apply
button next to the configuration preset you
want to apply. Click
OK
when prompted. Pearl-2 reboots automatically if the configuration preset
includes the
network
or
system
configuration groups.
176

