Pearl-2 User Guide
Add video sources or a channel as a source
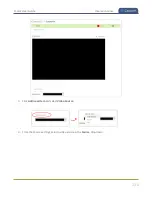
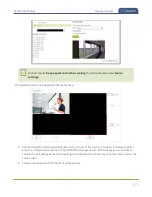
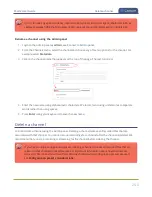
If a channel is selected as a video source, the corresponding audio for that channel is
selected by default.
7. Click
Save
. Your channel is ready for basic streaming and recording.
Because this is a single-source channel with only one layout, the channel's name is updated
to display the source’s name next time you view the channel. Click the channel name to
refresh. Rename the channel and choose a custom name if you don't want the channel
name to change, see
.
What's next?
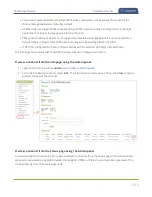
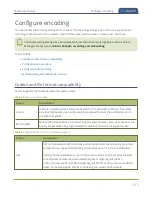
The default channel encoding setting should work fine in most cases. To check the encoding settings for the
channel, see
. There are a lot of creative things you can do next with your channel,
including creating more layouts, adding multiple video and audio sources, and customizing layouts to add
images and backgrounds, see
Add video sources or a channel as a source
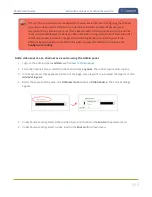
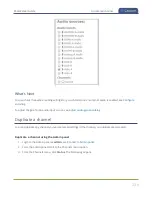
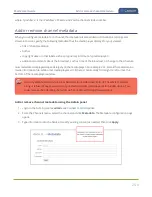
You can add one or multiple video sources to any of the layouts for your channel using the custom layout
editor. You can even add the output from another channel as a video input source.
When you add a channel as a video source in another channel, whatever is displaying live in that channel also
displays in the other channel. This is useful when you need to stream the same switched program to multiple
destinations that have different encoding settings. That's because the encoding settings are set at the channel
level.
For example, to stream your switched program to YouTube at 1920×1080 and to Facebook at 1280×720, you
could:
1. Set up
Channel 1
as your switched program channel. Add all your custom layouts to Channel 1 and
stream this channel to YouTube at 1920×1080.
2. Set up
Channel 2
as your Facebook streaming channel. Configure Channel 2 with a single layout that
uses Channel 1 as the video source, and then stream Channel 2 to Facebook at 1280×720.
For instructions to set up multi-encoded channels using the channel as a source feature, see
232

