Pearl-2 User Guide
Manage recorded files
Manage recorded files
Your recordings are stored on the system's internal hard drive. Although there's a lot of space on the hard
drive, it's good practice to remove old recordings to free up space before the drive if full. If there's no more
free space for new recordings, new recordings will overwrite the oldest recordings on the hard drive.
There are a variety of ways to automatically transfer files from the system to local network storage. You can
also manually select individual recordings to transfer or delete using the Admin panel.
Topics include:
l
l
Download recorded files manually
l
l
Extract tracks from a recording
l
l
For information about automatic file transfers or setting up Pearl-2 as a local FTP server so you can manually
or automatically connect to the system and download recordings, see
FTP and automatic file transfers
View list of recorded files
Recordings for Pearl-2 are stored for each channel and each recorder separately. You can view all the
recordings for a channel or recorder using the Admin panel. You can also view the list of recordings using
View the recordings for a channel or recorder using the Admin panel
1. Login to the Admin panel as
admin
or
operator
2. Open the Recorder page. Do one of the following:
a. To view files recorded for a channel, select a channel from the Channels menu and click
Recording
.
b. To view files recoded for a recorder, select a recorder from the Recorders menu.
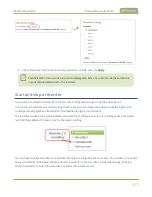
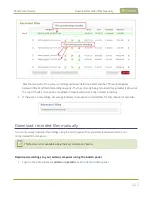
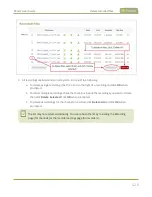
3. All recordings are listed and sorted by date.
421


