Pearl Nano User Guide
About automatic channels
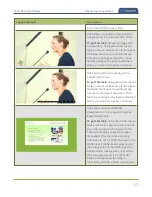
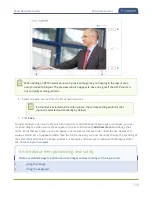
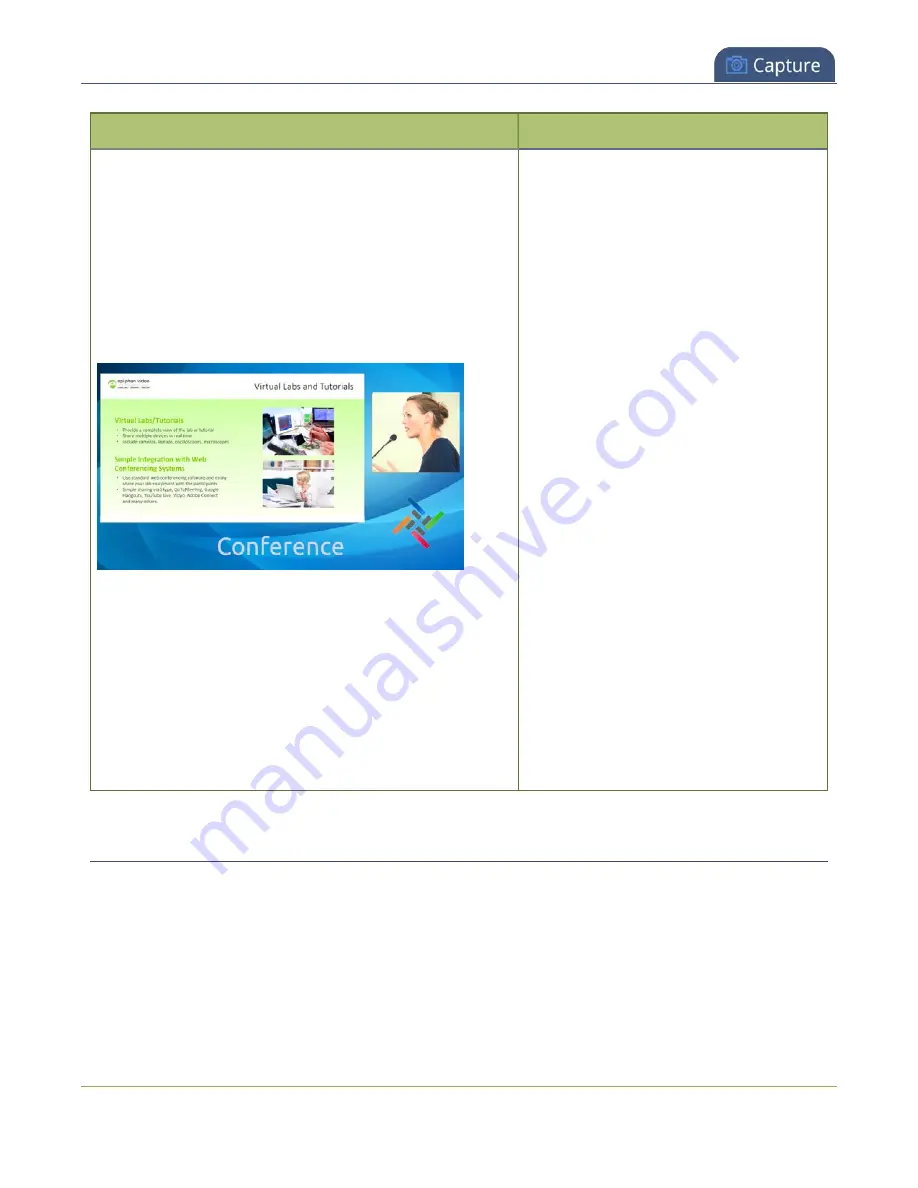
Layout example
Description
Two video sources (a slideshow and a
presenter cropped to a new aspect
ratio
), a background
image, and a logo. Make sure the
background image has the correct aspect
ratio and fills the channel (i.e. 1920
×
1080).
To get this look:
Upload your
background and logo images (you can do
this from the Media page or the Layouts
page for the channel). Using the custom
layout editor, add the background image
to the layout and stretch it to fill the entire
layout area. Then add your two video
sources to the layout. On the Channel
Encoding configuration page, manually
set the channel's encoding frame size to
1920
×
1080.
Then, go to configuration page for the
HDMI video input with the slideshow and
set the Scaling value, making sure you
maintain the same aspect ratio (i.e.
1360
×
738). Back on the layout editor, add
the logo to the layout and move it into
position. For the second video source, use
the
Crop tool
to crop the second source
to a square aspect ratio and drag it into
position.
About automatic channels
To get you started as quickly as possible, Pearl Nano comes pre-configured with an automatic channel
called Auto. Simply plug a source into one of the video inputs and Pearl Nano automatically configures the
channel's frame size to match the source resolution and configures a frame rate and bitrate. The detected
video source's audio is also automatically added to the channel.
182
Summary of Contents for Pearl Nano
Page 100: ...Pearl Nano User Guide Disable the network discovery port 87 ...
Page 315: ...Pearl Nano User Guide Start and stop streaming to a CDN 302 ...
Page 325: ...Pearl Nano User Guide Viewing with Session Announcement Protocol SAP 312 ...
Page 452: ...Pearl Nano User Guide Register your device 439 ...
Page 484: ... and 2021 Epiphan Systems Inc ...

