Standalone VGA Grid User Guide
Configure recording file size and type
1. Connect to the admin interface using your preferred connection mechanism. See
2. Login as admin.
3. For a channel recording:
a. Click the desired channel; the channel menu expands.
b. Click the
Recording
link for the channel; the Recording page opens.
4. For a recorder:
a. Click the desired recorder link from the Recorders section; the recorder configuration page
opens.
5. Click the
change
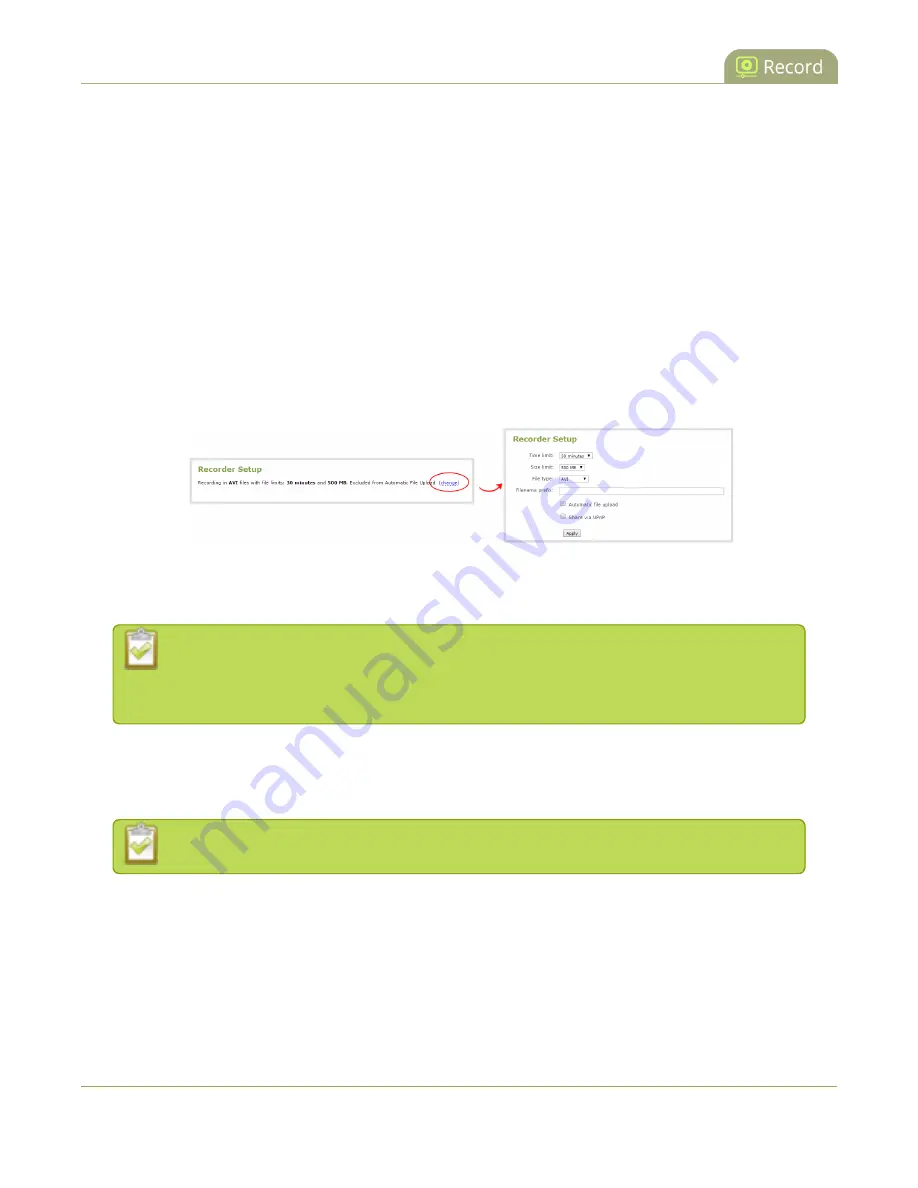
link under Recorder Setup; the recorder setup section expands. (The setup page looks
slightly different for Recorders, but the options are the same.)
6. Select a time limit for the recording from the
Time limit
drop down.
7. Select a file size limit from the
Size limit
drop down.
Tip: If you don’t know what size to select, do some test recordings to get an idea of the file
sizes you can expect. If you want to guarantee the recording lasts to a given time limit,
select a file size that is far larger than you saw in your tests.
8. Select a file type from the
File type
drop down.
9. If desired, enter a prefix for the recordings. All new recording files for this channel or recorder will be
prefixed with the text you enter.
Tip: It’s best to avoid spaces in file names. Use underscores or hyphens to separate words.
10. If desired, click the check box to exclude this channel or recorder from automatic file uploads. (See
for information on automatic uploads.)
11. Click
Apply
; the changes are saved and the recorder setup displays the new configuration.
205


