Pearl-2 User Guide
Configure a static IP address
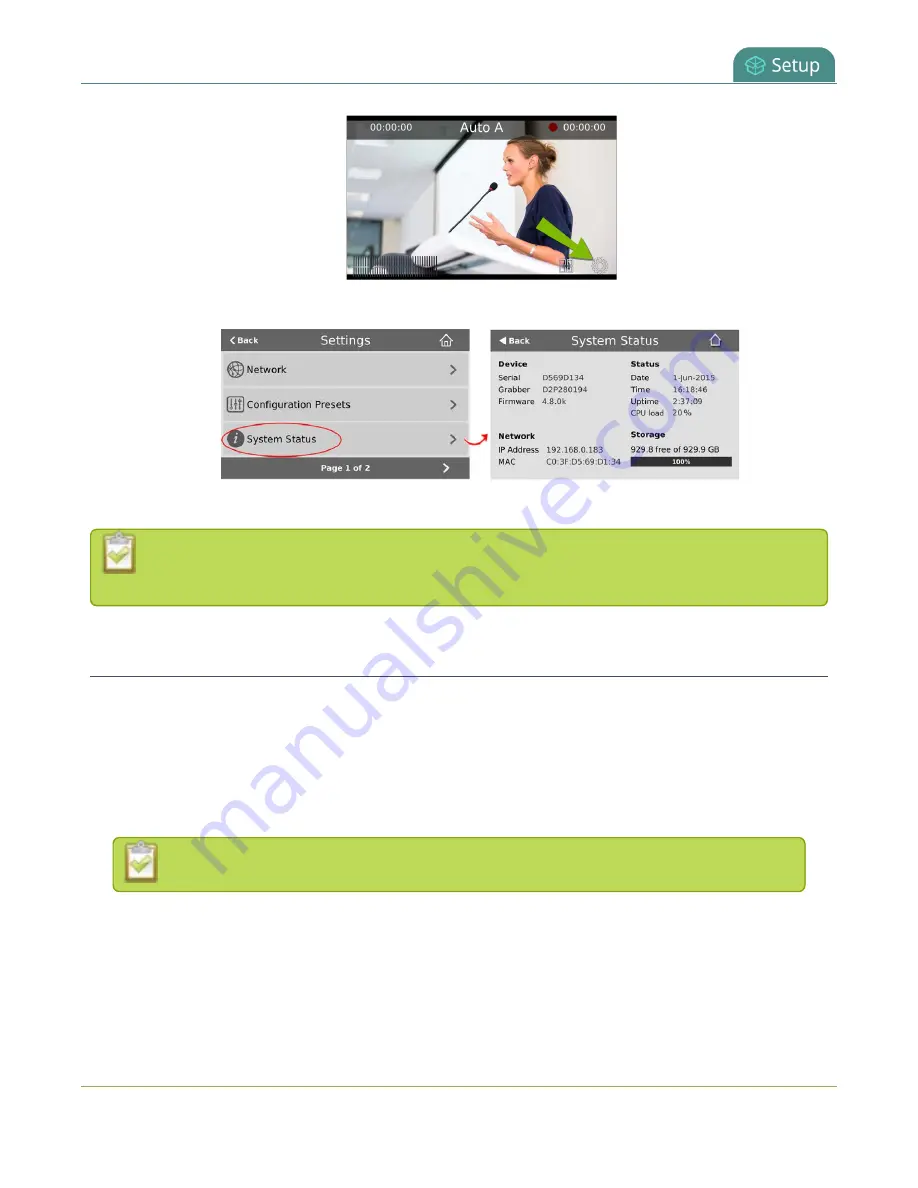
2. Tap
System Status
to see the System Status page.
3. Tap
Back
to return to the
System Settings
screen, or the
Home
icon to return to the channel view.
If the system settings control icon won't appear when you tap the touch screen, it may be
disabled. See
Configure a static IP address
There are two ways you can set up Pearl-2 to use a static IP address:
l
From the Network configuration page using the Admin panel.
l
From the Settings menu using the touch screen on Pearl-2
TIP
: Using the touch screen, you can choose to apply a configuration preset that contains a static network IP.
.
Only IPv4 addresses are supported. Pearl-2 does not support IPv6.
To configure a static IP address using the Admin panel:
1. Login to the Admin panel as
admin
101
Summary of Contents for Pearl-2 Rackmount
Page 139: ...Pearl 2 User Guide Mute audio 4 Click Apply 126 ...
Page 151: ...Pearl 2 User Guide Mirror the video output port display 138 ...
Page 156: ...Pearl 2 User Guide 4K feature add on 143 ...
Page 180: ...Pearl 2 User Guide Delete a configuration preset 167 ...
Page 440: ...Pearl 2 User Guide Register Pearl 2 427 ...
Page 488: ...l Pro audio inputs l 512 GB data storage SSD l Touchscreen ...
Page 497: ... and 2019 Epiphan Systems Inc ...


