Pearl User Guide
Create a custom channel
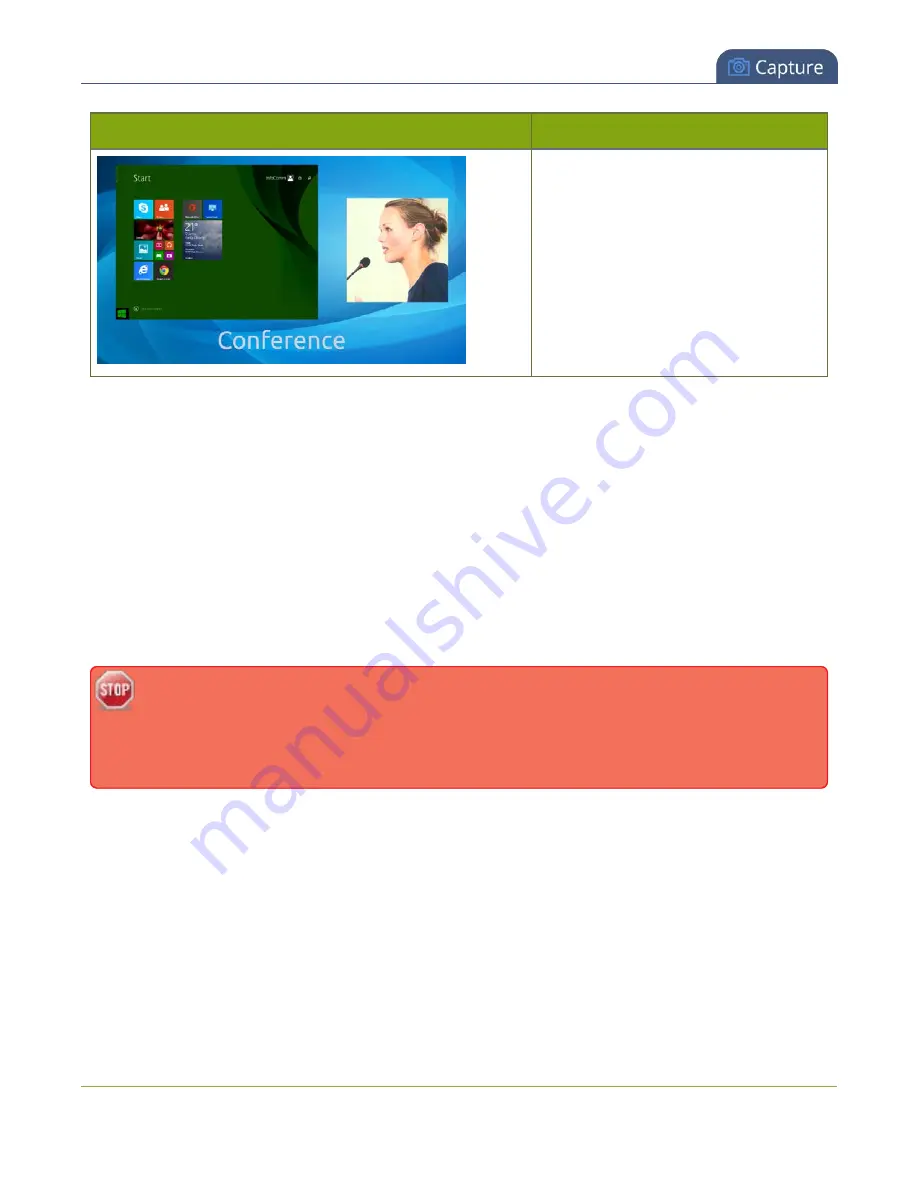
Layout example
Description
A 4x3 source and a cropped 16x9 source
together with a background image.
To get this look:
Upload an image with
transparency through the Branding
Content page. Follow the steps from the
first example to add the sources and use
the crop utility to crop the second source
to a square aspect ratio.
Time to get started on your own layouts! See:
l
Create a custom channel or layout
l
Create a custom channel or layout
We call a channel a custom channel (or custom layout channel) when is has multiple sources, image elements,
multiple layouts, or any combination of those items. Custom layouts give you full control on size and position
of the pictures, sources and text overlays you add to your channel.
Use this procedure to help you create a new channel or layout, then use the related procedures to add
elements to your layout.
If you're planning to use live switching, we strongly recommend you rename the channel rather
than using the default channel name (
). See the note at the bottom of this
topic to avoid streaming and recording issues resulting from adding or deleting layouts when live
switching.
To create a new custom channel (with default layout) or add a layout to an existing channel:
1. Connect to the admin interface using your preferred connection mechanism. See
2. Login as admin.
3. Do one of the following to make the Sources page appear:
a. select your channel from the channels menu and click
Sources
for the channel; or
b. select the
Add channel
link to create a new channel.
104


