BEP_6.1_241111
22
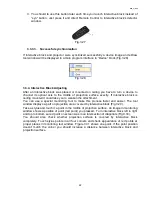
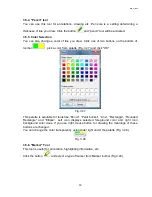
3. You should to use this button later each time you launch interactive block instead of
“syn” button. Just press it and direct Remote Control to interactive block’s detector
window.
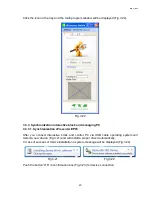
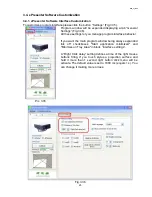
Fig.3.27
3.3.3.3. Successful synchronization
If interactive block and projector were syncrinized successfully a device image and eDraw
tool window will be displayed in a main program interface
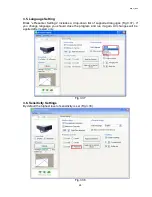
in “Device” block (Fig.3.28).
Fig.3.28
3.3.4. Interactive Block Adjusting
After an interactive block was placed or mounted on ceiling you have to turn a device to
channel its optical axis to the middle of projection surface exectly. If interactive block is
ceiling mounted it could take you to weaken the attachment.
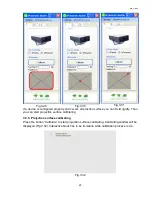
You can use a special monitoring tool to make this process faster and easier. The tool
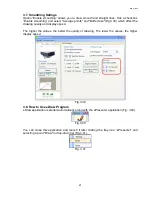
window displays a part on projection area covered by interactive block (Fig.3.29).
Take a stylus and touch it a point in the middle of projection surface. An image in monitoring
window shows a position of point (red point) you pressed. Turn interactive block left to right
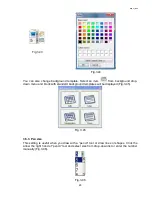
and top to bottom so red point on screen was in an intersection of diagonals (Fig.3.30).
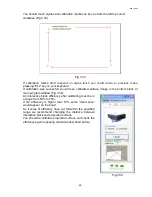
You should also check whether projection surface is covered by interactive block
completely. Touch stylus points in all four corners and check appearance of red points at
proper places in monitoring tool window. Figure 3.31 shows one point. If the point position
doesn’t match the corner you should increase a distance between interactive block and
projection surface.

