User Guide for Epson1000XL Scanner
Page
6
5
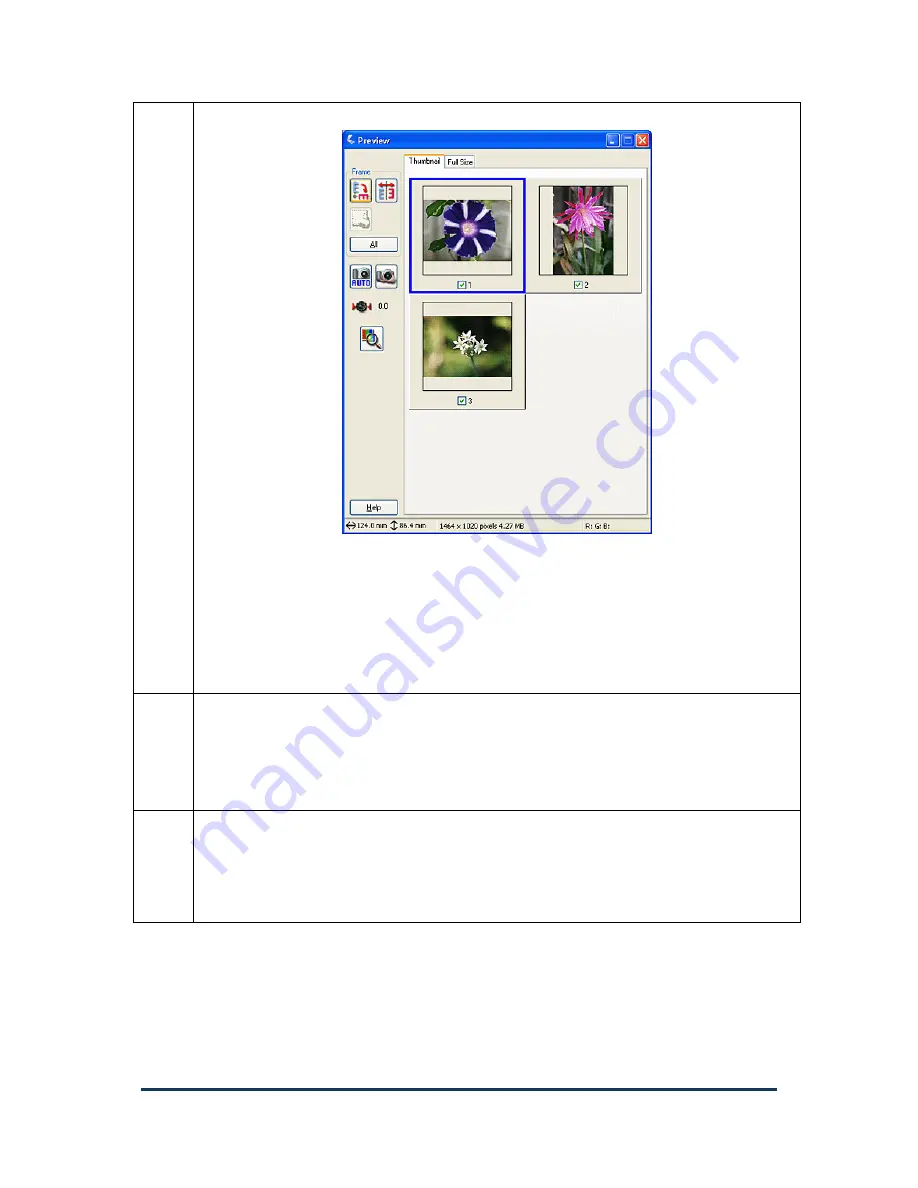
Check the orientation and cropping of the thumbnail images.
The two buttons in the
Frame
section of the dialogue box allow you to rotate
the image in 90°
increments if it’s orientation is incorrect, and mirror the image
horizontally if the film has been placeed upside down.
Thumbnails have the check box below them selected by default. If you don’t
want to scan an image, simply uncheck this box.
If some thumbnails are incorrectly cropped, these may have to be scanned
separately via a full preview.
6
Start the scan.
Only the selected image will be scanned. To scan all images, click on the
All
button
and then start the scan.
A warning will appear when scanning at higher resolutions regardless of the
resulting image size. Ignore this warning and continue.
7
What to do while waiting.
Scanning can take over a minute per slide, with a batch potentially taking up to an
hour. After the first image has been scanned you can begin doing additional colour
correction and editing (Photoshop) or adding metadata to the image via the File Info in
Adobe Bridge.


