34
How To Scan
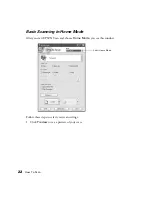
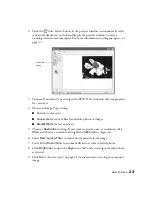
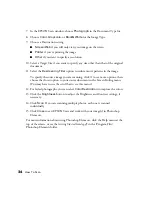
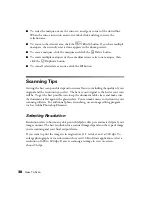
7. In the EPSON Scan window, choose
Photograph
in the Document Type list.
8. Choose
Color
,
Grayscale
, or
Black&White
for the Image Type.
9. Choose a Destination setting:
■
Screen/Web
if you will only view your image on the screen
■
Printer
if you’re printing the image
■
Other
if you want to specify a resolution
10. Select a Target Size if you want to specify any size other than that of the original
document.
11. Select the
Descreening Filter
option to reduce moiré patterns in the image.
To specify the source image you are scanning, click to see more options, then
choose the closest option to your source document in the Screen Ruling menu.
(You may have to use the scroll bar to see this menu.)
12. For faded photographs, you can select
Color Restoration
to improve the colors.
13. Click the
Brightness
button to adjust the Brightness and Contrast settings, if
necessary.
14. Click
Scan
. If you are scanning multiple photos, each one is scanned
individually.
15. Click
Close
to exit EPSON Scan and work with your image(s) in Photoshop
Elements.
For more information about using Photoshop Elements, click the Help menu at the
top of the screen, or see the
Getting Started Guide.pdf
in the \Program Files\
Photoshop Elements folder.
Summary of Contents for 15000 - GT - Flatbed Scanner
Page 1: ...Epson GT 15000 User s Guide ...
Page 6: ...6 Contents ...
Page 10: ...10 Welcome ...
Page 18: ...18 Getting Started ...
Page 40: ...40 How To Scan ...
Page 52: ...52 Using Optional Equipment ...
Page 66: ...66 Solving Problems ...
Page 76: ...76 Requirements and Notices ...
Page 80: ...80 Index ...

