EPSON Stylus PHOTO 2100/2200
Revision B
DISASSEMBLY AND ASSEMBLY
Disassembly
143
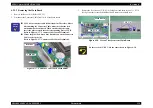
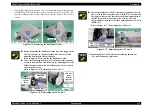
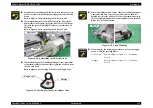
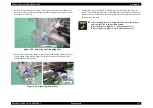
12. Slide the Paper Eject Unit to the right as seen from the printer front, and then also
move the Carriage Unit to the right end.
13. While pulling the Left Frame to the left as viewed from the printer front, pull out the left
end of the Paper Eject Unit to the front.
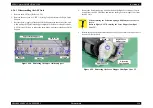
14. Move the Carriage Unit to the left end as viewed from the printer front, pull the
right end of the Paper Eject Unit out of the Right Frame, and remove it from the
Printer Mechanism.
"
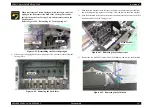
Make sure that the two Extension Springs 1.554 are fitted in the
correct positions.
Refer to Figure 4-48, "Removing the Extension Springs 1.554".
"
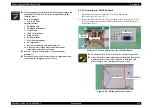
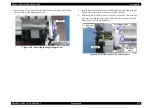
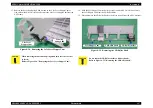
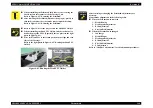
When reinstalling the Paper Eject Unit, make sure that the
engagement portions with the Left and Right Frames are fitted
properly.
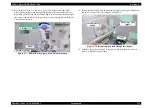
Refer to Figure 4-50, "Normal Positions of Paper Eject Unit
Engagement Portions".
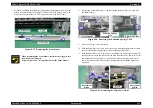
Figure 4-50. Normal Positions of Paper Eject Unit
Engagement Portions
"
Connect the Connector Cable of the CD-R Sensor correctly using
tweezers.
Refer to Figure 4-47, "Removing the Front Frame".
"
Fix the Connector Cable of the CD-R Sensor correctly with the
Tie Wraps in the Front Frame.
Refer to Figure 4-47, "Removing the Front Frame".
Printer front
Paper Eject Unit
Normal position of left
side engagement portion
Normal position of right
side engagement portion
C A U T I O N
"
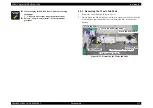
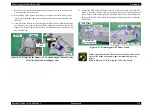
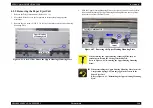
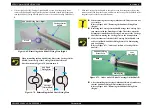
Make sure that the U-cut portion on the bottom of the Sub Shaft
Mounting Plate located on the inner left side of the Carriage
Guide Shaft B as seen from the printer front is installed properly
since it may come off the cutout of the Left Frame during
removal of the Paper Eject Unit.
Refer to Figure 4-51, "Normal Position of the Sub Shaft
Mounting Plate".
Figure 4-51. Normal Position of the Sub Shaft Mounting Plate
Sub Shaft
Mounting Plate
U-cut portion
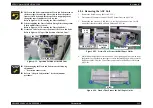
Summary of Contents for 2200 - Stylus Photo Color Inkjet Printer
Page 1: ...EPSONStylusPHOTO2100 2200 Color Inkjet Printer SEIJ01 016 SERVICE MANUAL ...
Page 8: ...C H A P T E R 1 PRODUCTIONDESCRIPTION ...
Page 39: ...C H A P T E R 2 OPERATINGPRINCIPLES ...
Page 69: ...C H A P T E R 3 TROUBLESHOOTING ...
Page 115: ...C H A P T E R 4 DISASSEMBLYANDASSEMBLY ...
Page 187: ...C H A P T E R 5 ADJUSTMENT ...
Page 214: ...C H A P T E R 6 MAINTENANCE ...
Page 226: ...C H A P T E R 7 APPENDIX ...
Page 254: ......
Page 255: ......
Page 256: ......
Page 257: ......
Page 258: ......

