Setting Up Your Scanner
17
Connecting the Scanner to Your Computer
You can connect the scanner to your computer in one of the following ways:
■
SCSI
If you have a compatible PCI SCSI/SCSI 2 adapter board, or your computer has
an ASPI-compliant SCSI 2 board (Adaptec
®
boards are recommended), you can
connect the scanner with a SCSI 2 cable (micro DB 50-pin connector) not more
than 9.8 feet (3 meters) long. If you want to use the 68-pin connector, you will
need a SCSI 3 cable and SCSI ultra-wide 68-pin host adapter board.
■
IEEE 1394
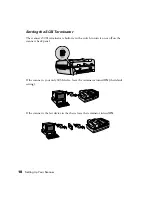
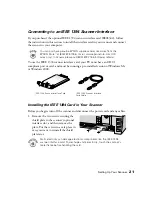
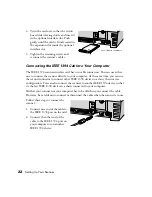
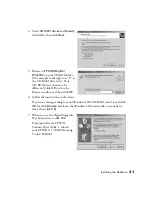
If you have purchased the optional IEEE 1394 scanner interface card, you can
connect the scanner to your PC with the IEEE 1394 cable. Your PC must have an
OHCI compliant port or card, and must be running a pre-installed version of
Windows Me or Windows 2000. For installation instructions, see page 21.
Connecting to a SCSI Interface
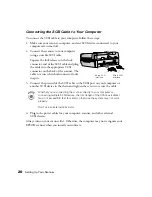
Before you connect the scanner, you must have an ASPI-compliant SCSI 2 interface
board installed in your computer. Some computers come with a SCSI 2 board
preinstalled; check your computer documentation.
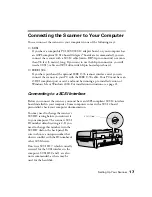
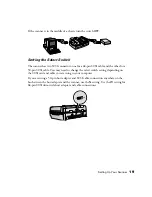
You may need to change the scanner’s
SCSI ID setting before you connect it
to your computer. The scanner’s SCSI
ID number default setting is 2. If you
need to change this number, turn the
SCSI ID dial on the back panel. Be
sure to choose a unique number that
doesn’t conflict with the ID number of
other SCSI devices.
Don’t use SCSI ID 7, which is usually
reserved for the SCSI interface in the
computer. SCSI ID 0 and 1 are also
not recommended, as these may be
used for the hard disk.
SCSI ID dial
Summary of Contents for 30000 - GT - Flatbed Scanner
Page 1: ...Color Scanner User s Guide ...
Page 68: ...62 How to Scan ...
Page 126: ...120 Solving Problems ...


