90
Network Scanning
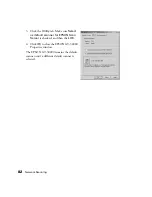
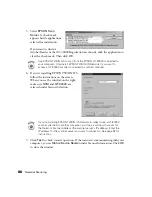
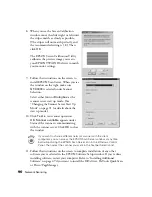
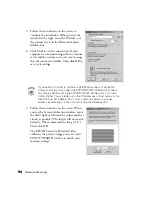
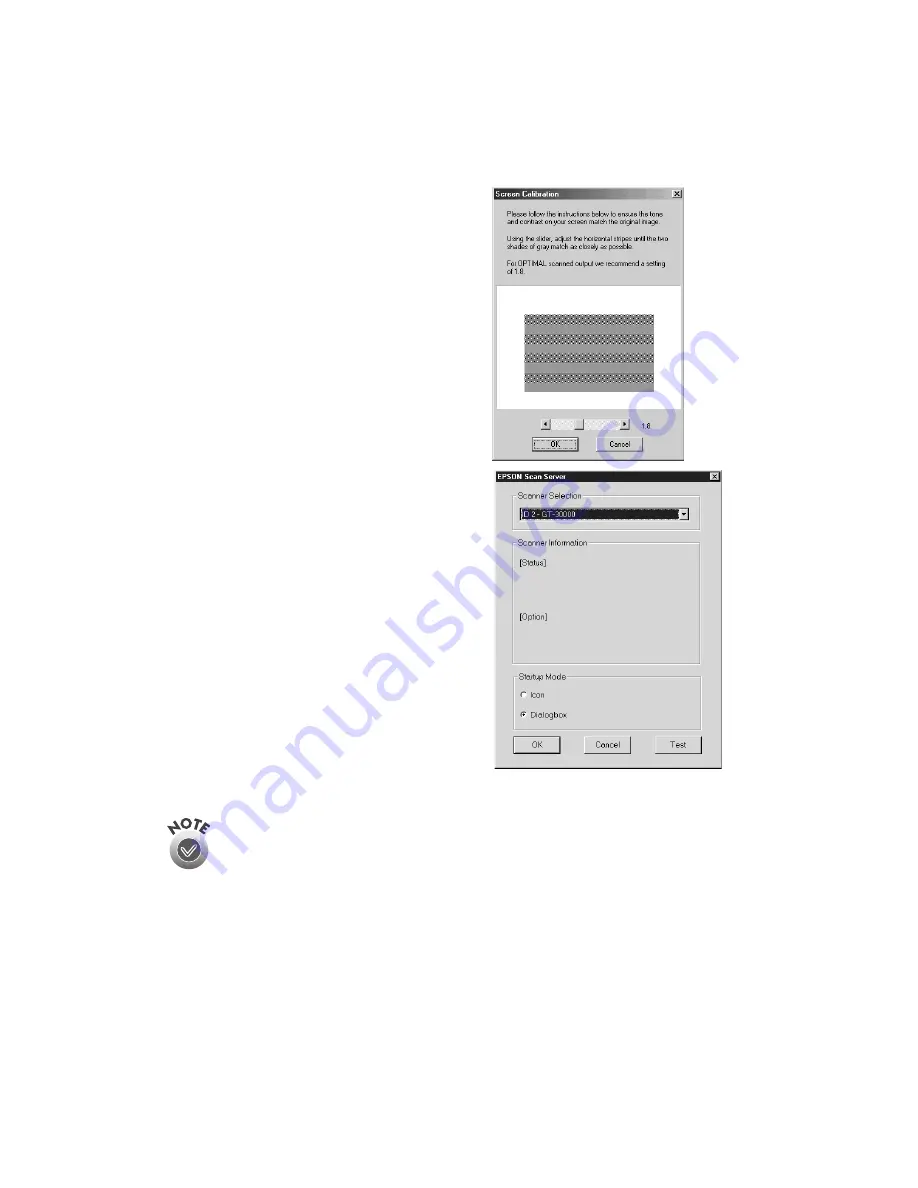
8. When you see the Screen Calibration
window, move the slider right or left until
the stripes match as closely as possible.
(The stripes will not match perfectly and
the recommended setting is 1.8.) Then
click
OK
.
The EPSON Screen Calibration Utility
calibrates the preview image you see in
your EPSON TWAIN HS driver to match
your monitor settings.
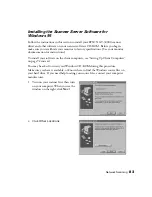
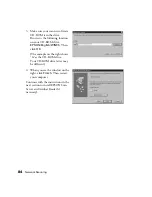
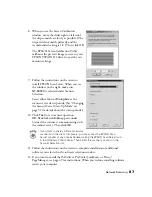
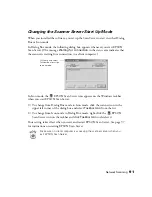
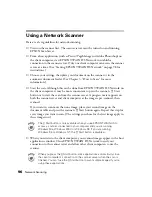
9. Follow the instructions on the screen to
install EPSON Scan Server. When you see
the window on the right, make sure
GT-30000
is selected under Scanner
Selection.
Select either
Icon
or
Dialogbox
as the
scanner server start up mode. (See
“Changing the Scanner Server Start Up
Mode” on page 91 for details about the
start up mode.)
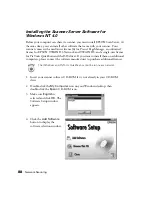
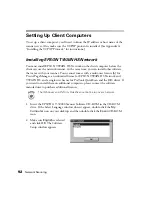
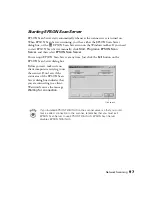
10. Click
Test
to test scanner operation.
OK. Scanner available
appears under
Status if the scanner is communicating
with the scanner server. Click
OK
to close
the window.
If you want to share a different network scanner with the client
computers, you can access the EPSON Scan Server window at any time
by double-clicking the EPSON Scan Server icon in the Windows Control
Panel. Then select the scanner you want in the Scanner Selection list.
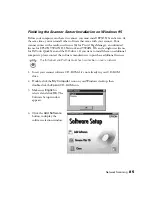
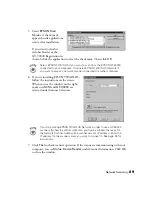
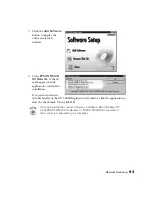
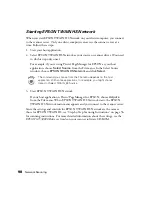
11. Follow the instructions on the screen to complete installation of any other
software you’ve selected in the EPSON Software Setup window. If you’re done
installing software, restart your computer. Refer to “Installing Additional
Software” on page 49 if you want to install the ISIS driver, PixTools QuickScan,
or Presto! PageManager.
Summary of Contents for 30000 - GT - Flatbed Scanner
Page 1: ...Color Scanner User s Guide ...
Page 68: ...62 How to Scan ...
Page 126: ...120 Solving Problems ...

