


Projecting
37
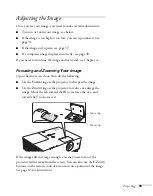
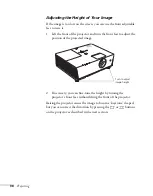
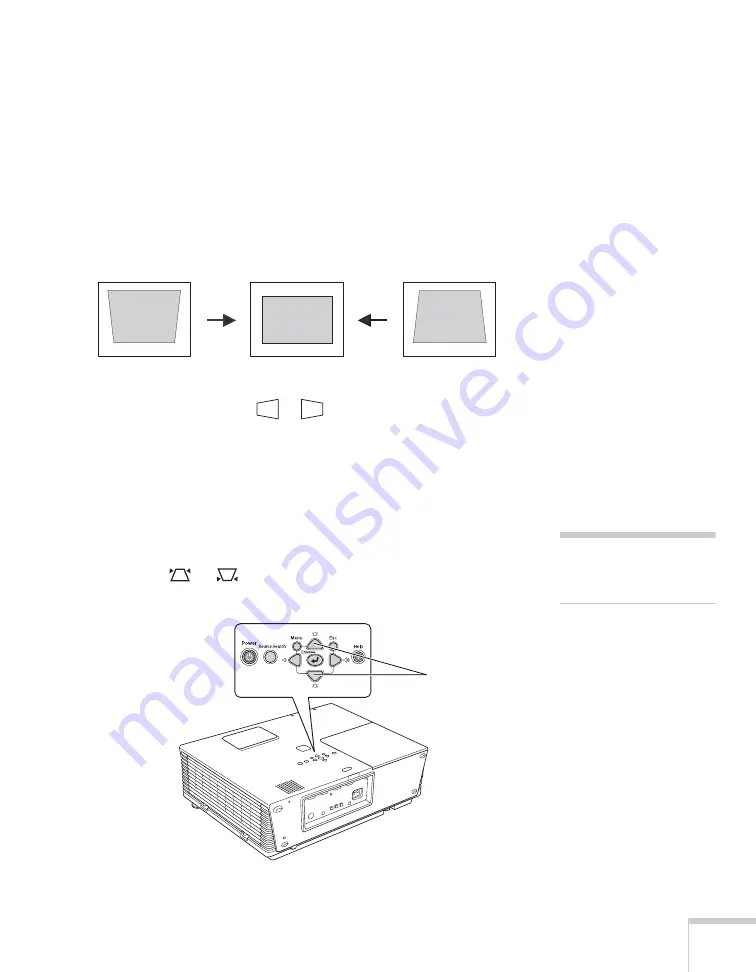
Adjusting the Image Shape
In most cases, you can maintain a square or rectangular image by
placing the projector directly in front of the center of the screen with
the base of the lens level with the bottom of the screen.
If the projector is slightly tilted (within a range of 30° up or down),
you can use the
Keystone
keys on the projector’s control panel or the
projector’s Keystone menu (see “Using Keystone Correction” on
page 37) to correct vertical keystone distortion.
If your image is shaped like
or
, you’ve placed the projector off
to one side of the screen at an angle. Place it directly in front of the
center of the screen, facing the screen squarely.
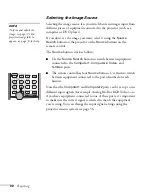
Using Keystone Correction
To adjust your image when it is wider on the top or bottom, do the
following:
■
Press the
or
buttons on the projector until you are
satisfied with the shape of the image.
Corrected image
Projector tilted up
Projector tilted down
note
The image will be slightly
shorter after adjusting.
Keystone
buttons
Summary of Contents for 6110i - PowerLite XGA LCD Projector
Page 1: ...PowerLite 6110i Multimedia Projector User sGuide ...
Page 7: ...7 C Notices 119 Important Safety Instructions 119 FCC Compliance Statement 121 Index 123 ...
Page 8: ...8 ...
Page 40: ...40 Projecting ...
Page 50: ...50 Using the Remote Control ...
Page 92: ...92 Maintaining the Projector ...
Page 108: ...108 Solving Problems ...
Page 112: ...112 Projector Installation ...
Page 118: ...118 Technical Specifications ...
Page 122: ...122 Notices ...
Page 130: ......


