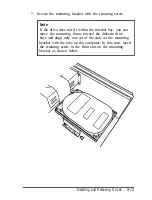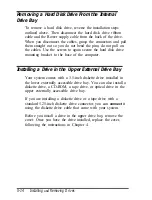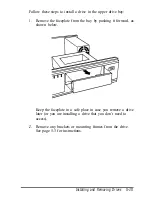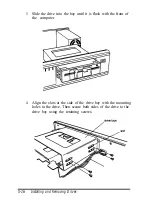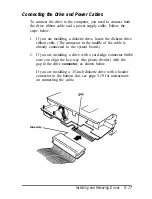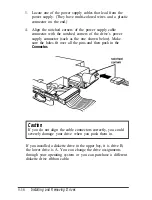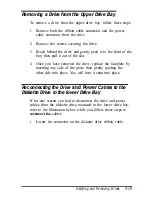
Follow these steps to install a drive in the upper drive bay:
1.
Remove the faceplate from the bay by pushing it forward, as
shown below.
Keep the faceplate in a safe place in case you remove a drive
later (or you are installing a drive that you don’t need to
access).
2.
Remove any brackets or mounting frames from the drive.
See page 5-3 for instructions.
Installing and Removing Drives
5-15
Summary of Contents for ActionDesk 4000
Page 1: ......
Page 128: ...Hard disk drive types continued Specifications A 9 ...
Page 130: ...DMA Assignments Specifications A 11 ...
Page 131: ...A 12 Specifications ...
Page 132: ...System I O Address Map Specifications A 13 ...
Page 133: ...A 14 Specification ...
Page 134: ...Specifications A 15 ...
Page 135: ...A 16 Specifications ...
Page 136: ...Speaker connector pin assignments J21 Specifications A 17 ...
Page 137: ...A 18 Specification ...
Page 138: ...Specifications A 19 ...


