5.
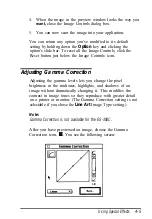
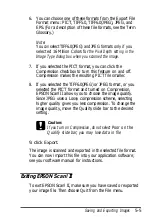
In the pull-down menu at the top, select the folder in which
you want to save the file.
6.
Type a filename for your image in the
Save image as
field.
7. Click Save.
The image is saved in the EPSON Scan! II file format. You can
now open this file in EPSON Scan! II and export it with a
different format, as described below.
Exporting
an Image
EPSON Scan! II allows you to export an image in a file format
your application software can use. For information on the file
formats your software can open, see your software manual.
Note:
Your application software cannot import images saved in the EPSON
Scan! II file format and EPSON Scan! II cannot open an exported
image file. Always save an image in EPSON Scan! II before exporting.
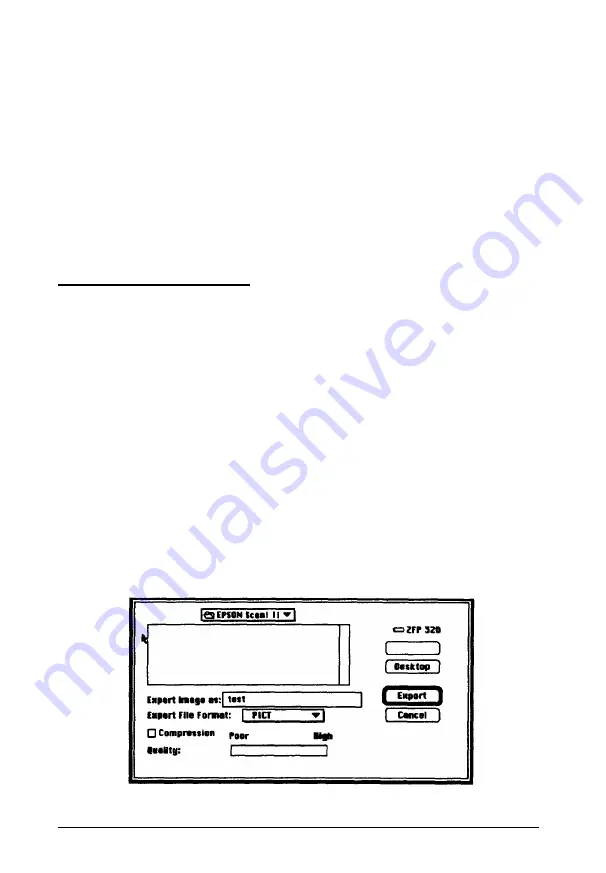
Follow these steps to export an image:
1.
Choose Export from the File menu. You see the following
dialog box:
5-2
Saving and Exporting Images
Summary of Contents for ActionScanner II Mac - ActionScanning System II
Page 1: ......


