Calibrating Your System 2-5
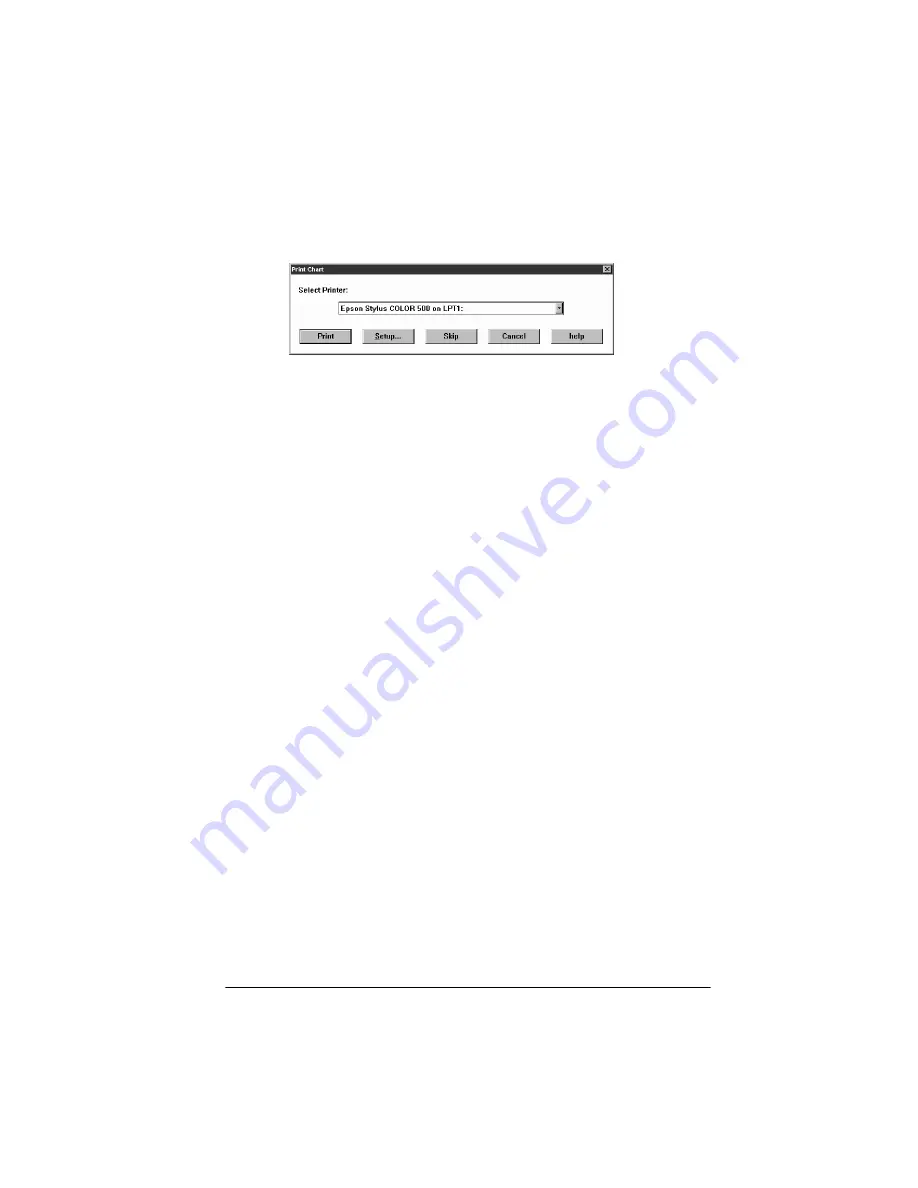
You see the Print Chart dialog box.
2. Select the printer you want to calibrate from the drop-down
menu.
Note:
You must generate a specific profile for each of your printer’s
settings. For example, the profile for your printer’s coated paper
setting and for its plain paper setting may not be the same. To change
the printer settings, click the
Setup
button before printing the
calibration chart.
3. Click the
button to print the calibration chart. (If you
have printed the calibration chart before with the same
printer, click the
Skip
button.)
Note
:
To print images on more than one color printer, print a calibration
chart on each printer you’ll use. If you plan to print the image on a
service bureau’s color printer, have them print the calibration chart
on their printer so you can create a calibration profile for it.
r
Tip:
When you label the printed charts to help you identify which
printer produced them, don’t write on the chart itself. Write on
the back of the page.
r
Tip
:
If you plan to print your image on a printing press that requires
a four-color separation, you’ll need to ask your service bureau or
printer to create a color sample using your calibration chart. You
can then use that color sample to create a calibration profile.
Summary of Contents for ActionScanner II
Page 1: ...i Printed on recycled paper with at least 10 post consumer content ...
Page 6: ...vi ...
Page 14: ...8 Introduction ...
Page 20: ...1 6 Installing Your Software ...
Page 50: ...3 22 Capturing Images From Within Applications ...
Page 62: ...4 12 Using Special Effects ...
Page 70: ...5 8 Using EPSON Scan II ...
Page 90: ...A 4 Default Settings ...
Page 124: ...10 Term Glossary ...


