EPSON AcuLaser C4000/C4100/C3000
Revision F
Disassembly and Assembly
Disassembly Assembly Procedures
4-410
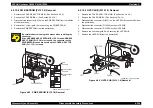
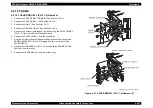
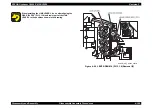
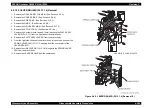
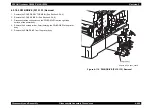
4.2.18.6 BOX ASSY ELEC (PL15.1.6) Removal
1. Remove the PWB Controller (PWB ESS). (See Section 4.2.19.1.)
2. Remove the CHUTE ASSY REGI. (See Section 4.2.13.1.)
3. Remove the COVER ASSY TOP MAIN. (See Section 4.2.4.4.)
4. Remove the COVER SIDE L. (See Section 4.2.4.14.)
5. Remove the HSG ASSY BIAS. (See Section 4.2.14.2.)
6. Remove the COVER SIDE R. (See Section 4.2.4.9.)
7. Remove the COVER REAR. (See Section 4.2.4.6.)
8. Remove the HOLDER TCRU ASSY UNIT. (See Section 4.2.15.1.)
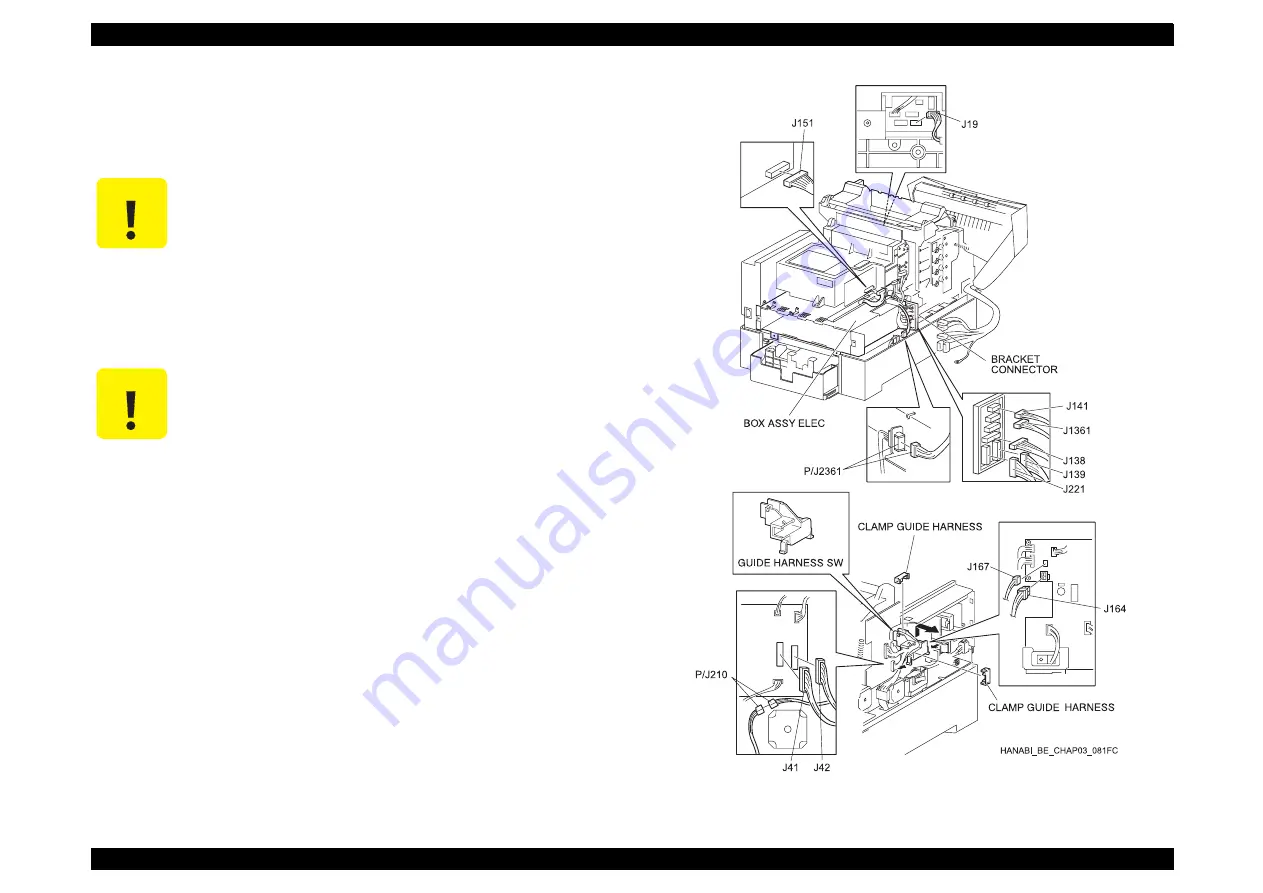
9. Disconnect the connector (P/J210) connecting the printer body and the
FEEDER from the right side surface of the printer body.
10. Disconnect the connector (P/J151) on the ROS ASSY (PL11.1.1) from the
right side surface of the printer body.
11. Disconnect the connector (P/J2361) connecting the printer body and the
FEEDER from the left side surface of the printer body.
12. Disconnect the connectors (P/J141, P/J1361, P/J138, P/J221, P/J139) on
the BRACKET CONNECTOR (PL15.1.16) from the left side surface of the
printer body.
13. Disconnect the connectors (P/J19) on the PWBA MCU & HVPS (PL15.1.2)
from the inside of the printer body.
14. Remove the 1 screw securing the earth cable from the left side surface of
the printer body.
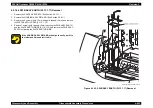
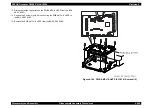
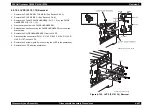
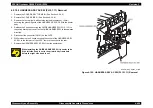
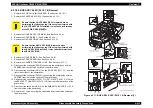
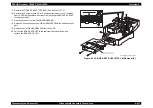
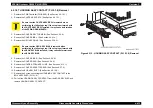
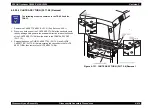
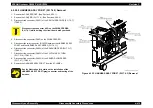
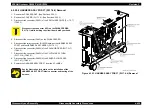
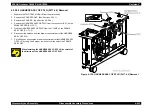
Figure 4-111. BOX ASSY ELEC (PL15.1.6) Removal (1)
C A U T I O N
Be sure that the CHUTE ASSY REGI is removed when
performing the following step. If the step is performed with
the CHUTE ASSY REGI installed, it may cause deformation
of the SPRING DRUM EARTH.
C A U T I O N
Be sure that the HSG ASSY BIAS is removed when
performing the following step. If the step is performed with
the HSG ASSY BIAS installed, it may cause deformation of
the HSG ASSY BIAS.
Summary of Contents for AcuLaser C3000 Series
Page 20: ...C H A P T E R 1 PRODUCTDESCRIPTIONS ...
Page 71: ...C H A P T E R 2 OPERATINGPRINCIPLES ...
Page 118: ...C H A P T E R 3 TROUBLESHOOTING ...
Page 318: ...C H A P T E R 4 DISASSEMBLYANDASSEMBLY ...
Page 472: ...C H A P T E R 5 ADJUSTMENT ...
Page 477: ...C H A P T E R 6 MAINTENANCE ...
Page 491: ...C H A P T E R 7 AcuLaserC4100 ...
Page 548: ......
Page 549: ......
Page 550: ......
Page 551: ......
Page 552: ......
Page 553: ......
Page 554: ......
Page 555: ...C H A P T E R 8 AcuLaserC3000 ...
Page 579: ...Model AcuLaser C3000 Board C569MAIN BOARD Sheet 1 of 5 Rev B ...
Page 580: ...Model AcuLaser C3000 Board C569MAIN BOARD Sheet 2 of 5 Rev B ...
Page 581: ...Model AcuLaser C3000 Board C569MAIN BOARD Sheet 3 of 5 Rev B ...
Page 582: ...Model AcuLaser C3000 Board C569MAIN BOARD Sheet 4 of 5 Rev B ...
Page 583: ...Model AcuLaser C3000 Board C569MAIN BOARD Sheet 5 of 5 Rev B ...
Page 584: ...C H A P T E R 9 APPENDIX ...
Page 674: ......
Page 675: ......
Page 676: ......
Page 677: ......
Page 678: ......
Page 679: ......
Page 680: ......

