131
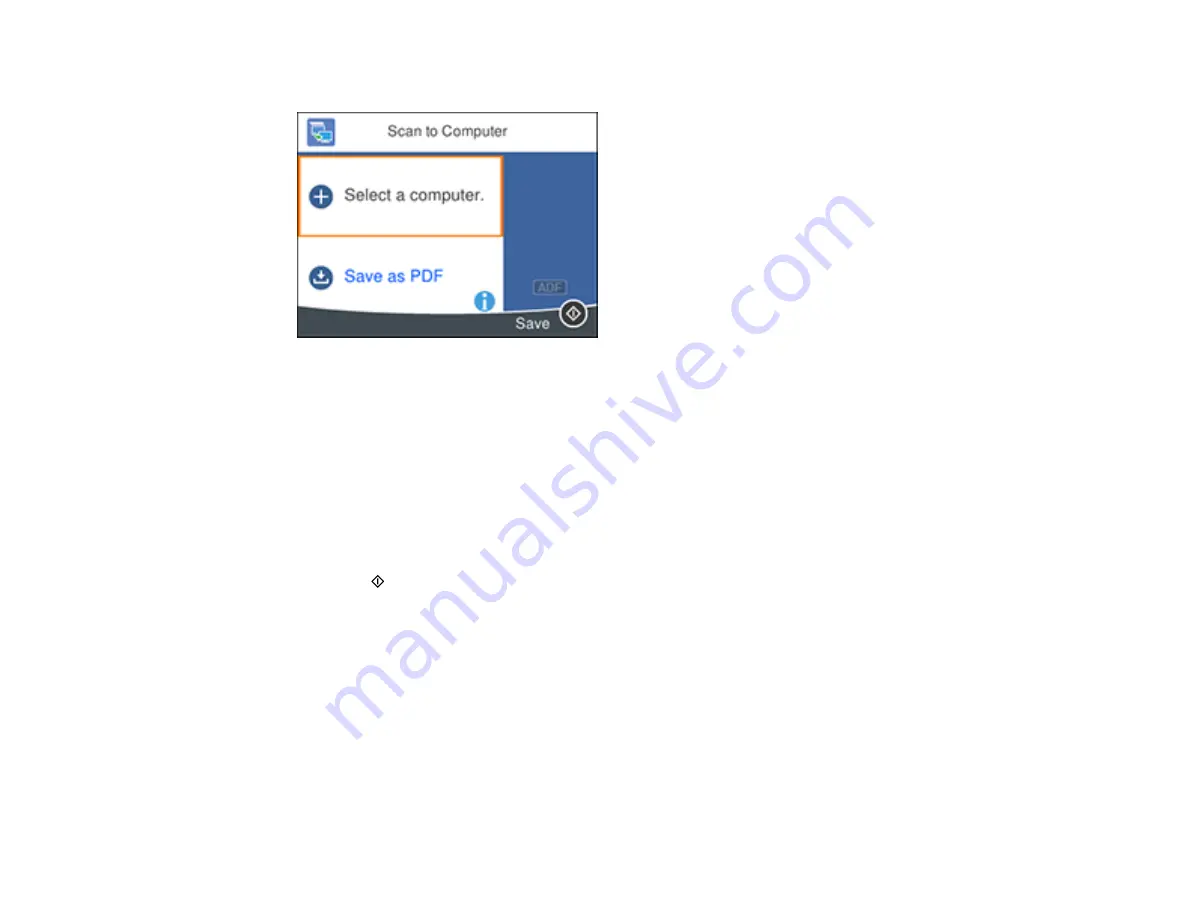
You see a screen like this:
5.
Choose one of the following options:
• Select
USB Connection
when your computer is connected to the product using a USB cable.
• Select
Save as JPEG
to save the scanned image as a JPEG file.
• Select
Save as PDF
to save the scanned image as a PDF file.
• Select
Attach to e-mail
to open the default email software on your computer and save the
scanned document or images as a JPEG email attachment.
• Select
Follow custom setting
to save the scanned document or image using custom settings you
have selected using the Event Manager custom scan settings option.
6.
Press the
start button to start scanning.
Parent topic:
Starting a Scan Using the Product Control Panel
Related tasks
Changing Default Scan Job Settings
Related topics
Placing Originals on the Product
Scanning to the Cloud
You can use the control panel to send your scanned files to a destination that you have registered with
Epson Connect.
Summary of Contents for C11CG31201
Page 1: ...WF 2850 User s Guide ...
Page 2: ......
Page 137: ...137 You see an Epson Scan 2 window like this ...
Page 139: ...139 You see an Epson Scan 2 window like this ...
Page 141: ...141 You see this window ...
Page 230: ...230 Print Head Cleaning ...
Page 249: ...249 3 Open the scanner unit 4 Carefully remove any paper jammed inside the product ...


