19
Warning:
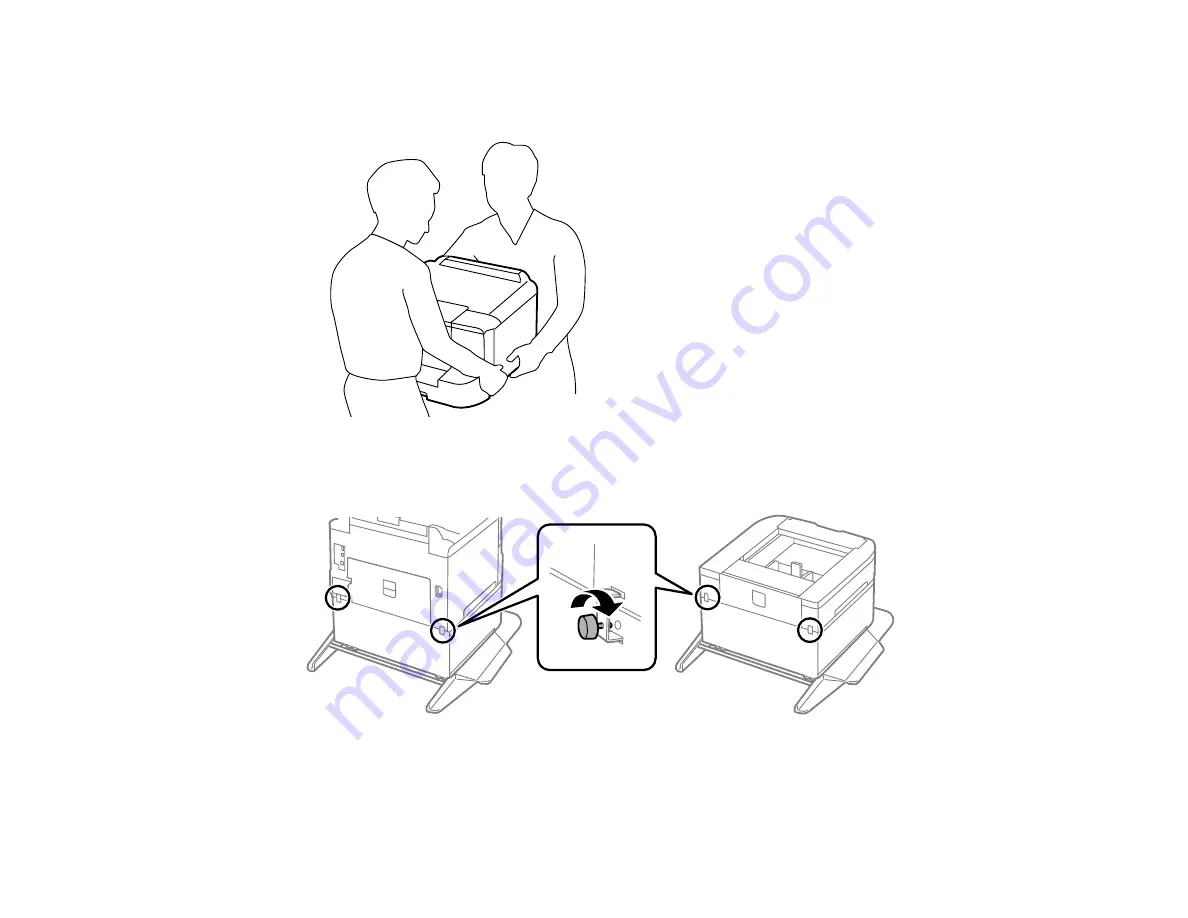
To lift the product, have two or more people hold it as shown here. Lifting from other areas
may cause the product to fall or cause you to pinch your fingers when placing the product down.
12. Secure the back of the product or paper cassette unit to the cabinet using the included brackets and
screws.
13. Insert the paper cassette you removed and attach the output tray.
14. Connect the power cord and other connection cables, then plug in the product.
Summary of Contents for C11CG70201
Page 1: ...WF C8190 User s Guide ...
Page 2: ......
Page 16: ...16 8 Attach the front cover to the stands 9 Remove the output tray from the product ...
Page 21: ...21 5 Remove the output tray 6 Remove the paper cassette from the product ...
Page 39: ...39 3 Optional cabinet 1 Rear paper feed edge guides 2 Paper support and extension ...
Page 116: ...116 You see the maintenance options 4 Click the Extended Settings button ...
Page 194: ...194 4 Pull out paper cassette 1 5 Open rear cover 1 D1 ...
Page 195: ...195 6 Pull out rear cover 2 D2 7 Remove the roller cover inside the product ...
Page 200: ...200 4 Pull out the paper cassette ...
Page 201: ...201 5 Open the rear cover E that matches with the paper cassette you removed ...


