198
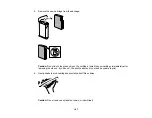
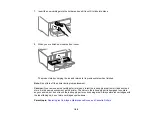
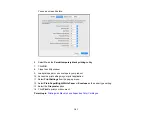
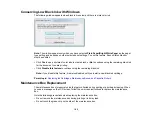
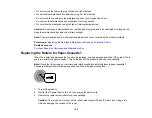
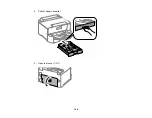
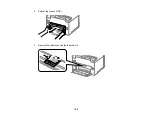
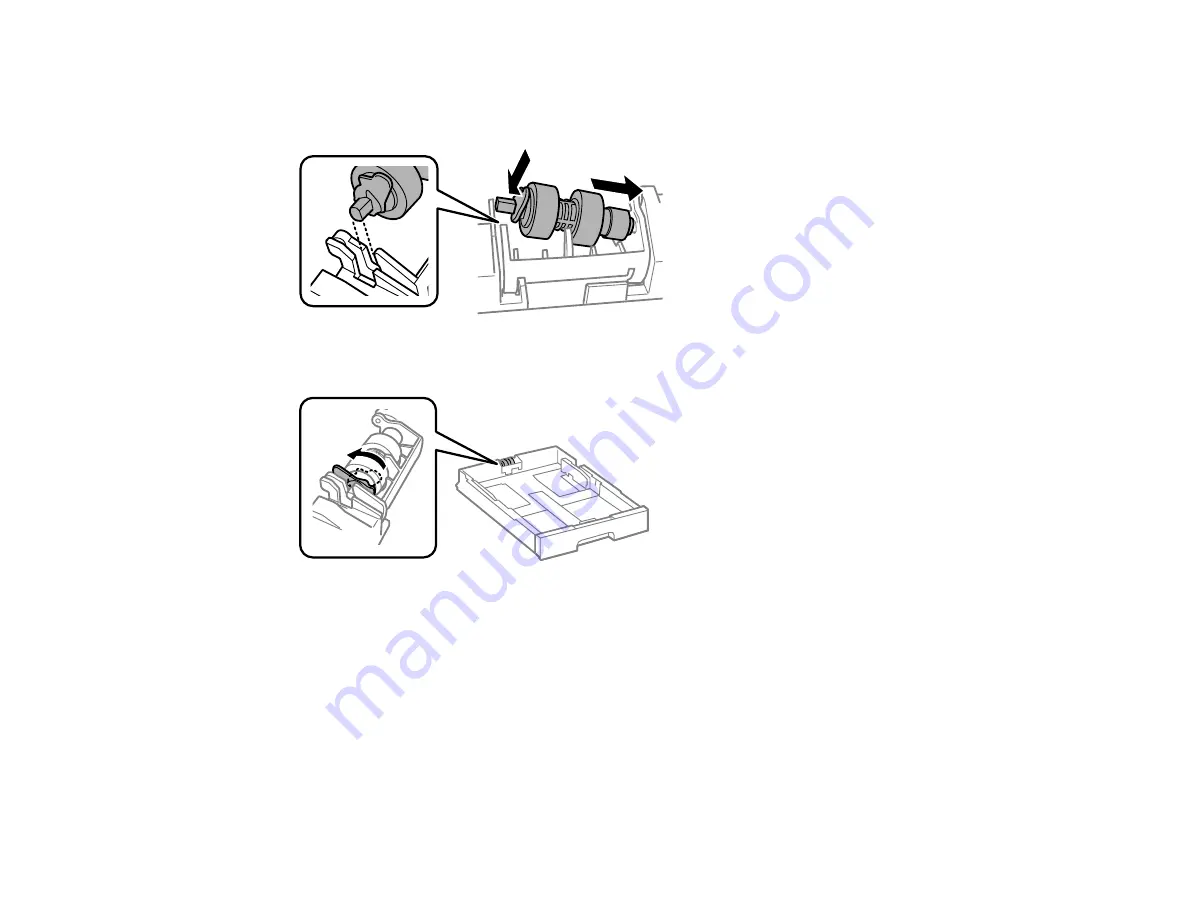
15. Insert the pointed end of the replacement roller's shaft into the hole in the cassette and gently slide
the roller into the slot with the flat side of the shaft facing toward the front of the cassette.
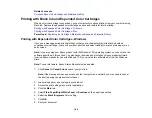
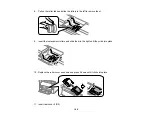
16. Press down on the lever as shown to lock the roller in place.
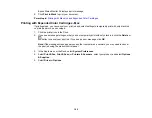
17. Insert the paper cassette all the way into the product.
Reset the maintenance roller counter for paper cassette 1 to keep track of roller usage.
Parent topic:
Replacing Ink Cartridges, Maintenance Boxes, and Cassette Rollers
Replacing the Rollers for Paper Cassettes 2 to 4
When the rollers in paper cassettes 2 to 4 need to be replaced, you see a message on the LCD screen.
There are three rollers for each paper cassette: two on the back of the product and one on the cassette.
Summary of Contents for C11CG70201
Page 1: ...WF C8190 User s Guide ...
Page 2: ......
Page 16: ...16 8 Attach the front cover to the stands 9 Remove the output tray from the product ...
Page 21: ...21 5 Remove the output tray 6 Remove the paper cassette from the product ...
Page 39: ...39 3 Optional cabinet 1 Rear paper feed edge guides 2 Paper support and extension ...
Page 116: ...116 You see the maintenance options 4 Click the Extended Settings button ...
Page 194: ...194 4 Pull out paper cassette 1 5 Open rear cover 1 D1 ...
Page 195: ...195 6 Pull out rear cover 2 D2 7 Remove the roller cover inside the product ...
Page 200: ...200 4 Pull out the paper cassette ...
Page 201: ...201 5 Open the rear cover E that matches with the paper cassette you removed ...


