184
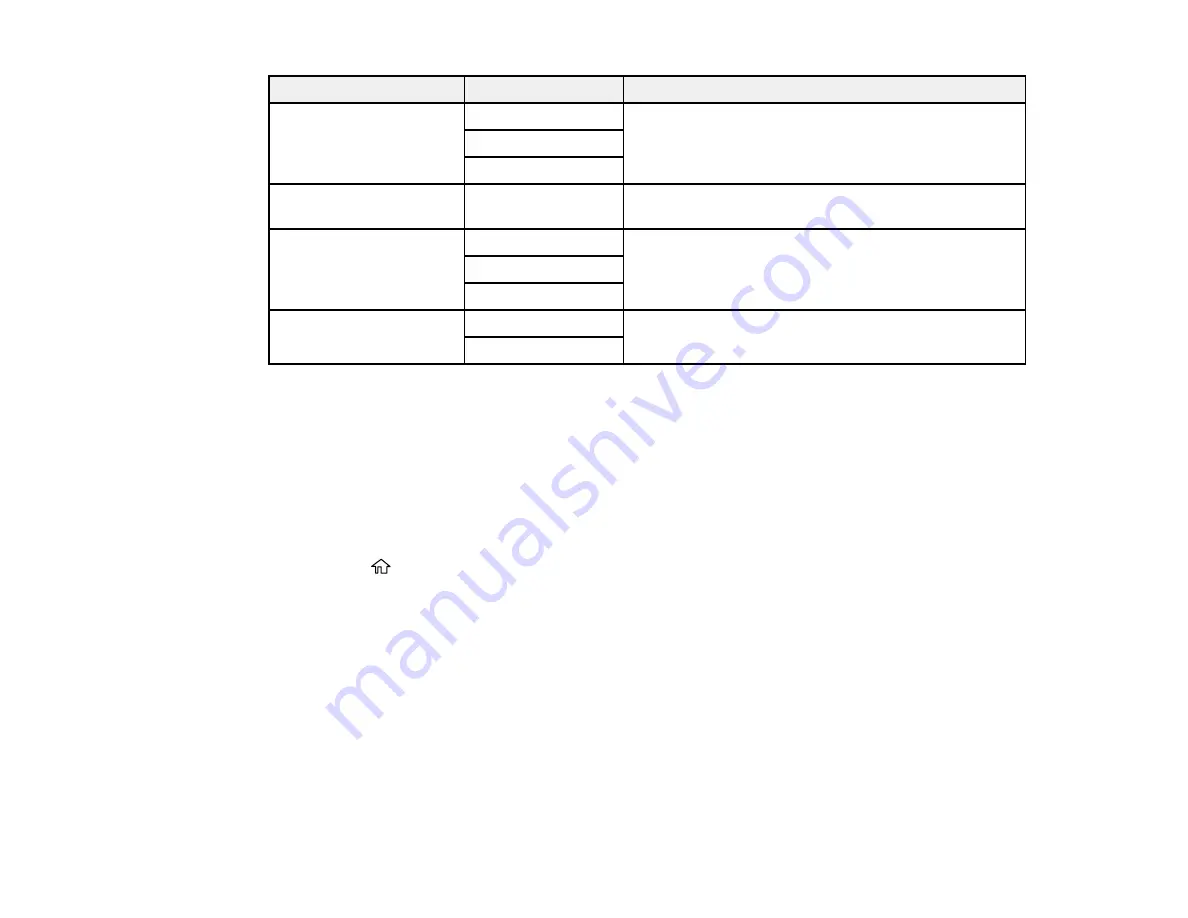
Setting
Options
Description
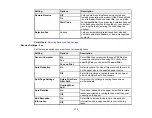
Add Sender Information Off
Lets you include a header, your phone number, or a
destination list in the selected location on your
outgoing faxes
Outside of Image
Inside of Image
Fax Header
Select a header for the recipient (headers must be
created in advance)
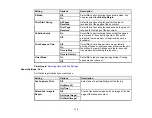
Transmission Report
Print on Error
Lets you select when to print transmission reports
Do Not Print
Clear All Settings
Yes
Restore all settings to their defaults
No
Parent topic:
Sending Faxes from the Product Control Panel
Sending a Fax at a Specified Time
You can send a fax at a time of your choice.
Note:
Make sure the product's date and time settings are correct. You can only send faxes in black-and-
white when you use this option.
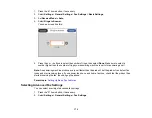
1.
Place your original on the product for faxing.
2.
Press the
home button, if necessary.
3.
Select
Fax
.
4.
Enter a fax number or select a number from the Contacts or Recent lists.
5.
Select
Fax Settings
.
6.
Select
Send Fax Later
.
7.
Select
On
.
8.
Select
Time
, use the displayed keypad on the LCD screen to enter your desired time, and select
OK
.
9.
Select
OK
again to save the settings.
Summary of Contents for C11CK60201
Page 1: ...WF 2960 User s Guide ...
Page 2: ......
Page 17: ...17 Product Parts Inside 1 Document cover 2 Scanner glass 3 Control panel 4 Front cover ...
Page 134: ...134 You see an Epson Scan 2 window like this ...
Page 136: ...136 You see an Epson Scan 2 window like this ...
Page 150: ...150 You see a screen like this 2 Click the Save Settings tab ...
Page 155: ...155 You see this window ...
Page 269: ...269 3 Open the ADF cover 4 Carefully remove any jammed pages from beneath the ADF ...


