211
8.
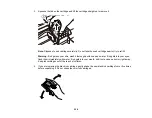
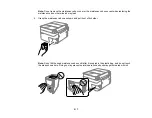
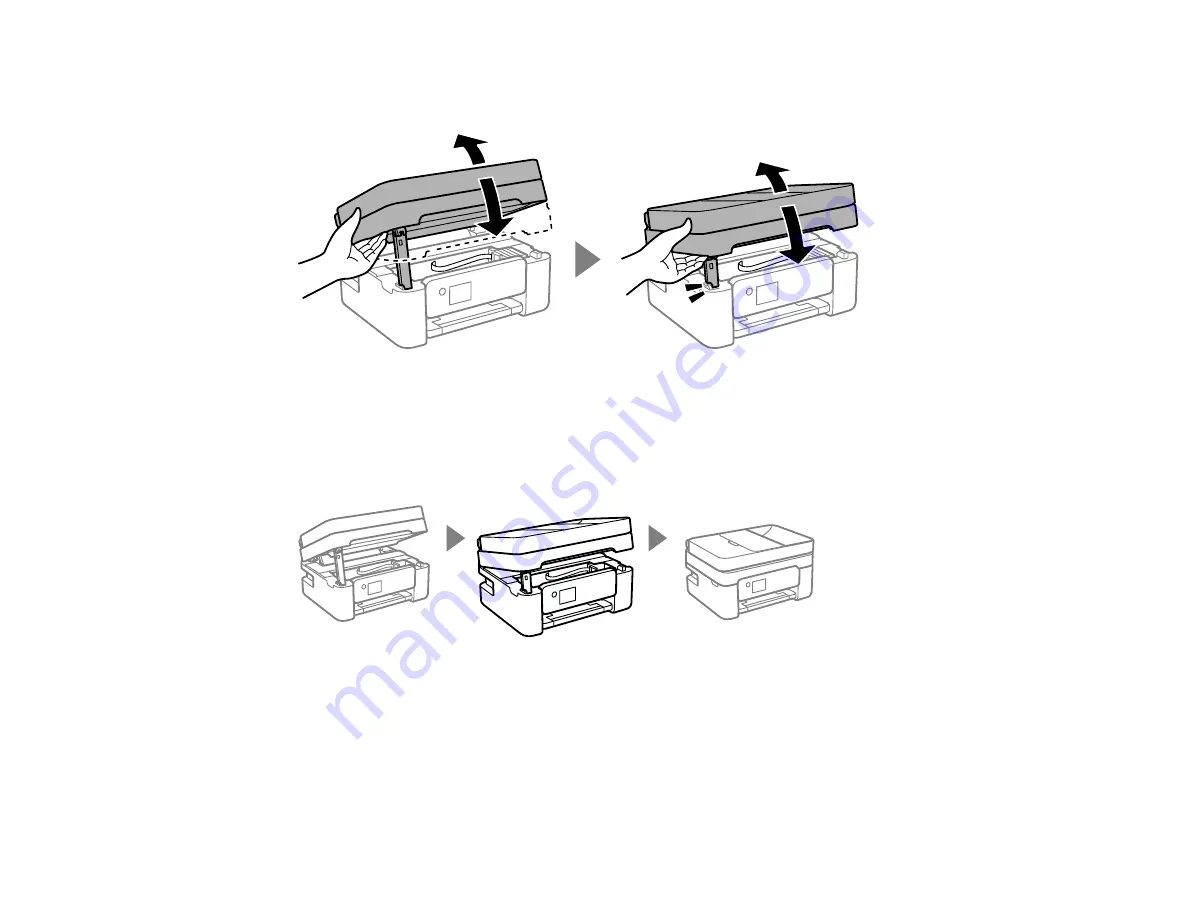
Lift the scanner unit up slightly and lower it. When the scanner unit catches, lift it up again and lower
it completely.
Caution:
Be careful not to trap your hand or fingers when opening or closing the scanner unit or you
may be injured.
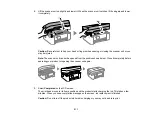
Note:
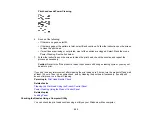
The scanner unit cannot be opened from the position shown below. Close it completely before
operating your product or opening the scanner unit again.
9.
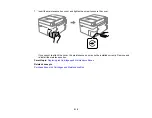
Select
Completed
on the LCD screen.
The print head moves to its home position and the product starts charging the ink. This takes a few
minutes. When you see a completion message on the screen, ink replacement is finished.
Caution:
Do not turn off the product while ink is charging or you may not be able to print.
Summary of Contents for C11CK62201
Page 1: ...WF 2950 User s Guide ...
Page 2: ......
Page 136: ...136 You see an Epson Scan 2 window like this ...
Page 138: ...138 You see an Epson Scan 2 window like this ...
Page 152: ...152 You see a screen like this 2 Click the Save Settings tab ...
Page 157: ...157 You see this window ...
Page 269: ...269 3 Open the ADF cover 4 Carefully remove any jammed pages from beneath the ADF ...
Page 271: ...271 6 Remove the jammed paper 7 Lower the ADF input tray ...
Page 330: ...330 Copyright Attribution 2022 Epson America Inc 8 22 CPD 62194 Parent topic Copyright Notice ...

